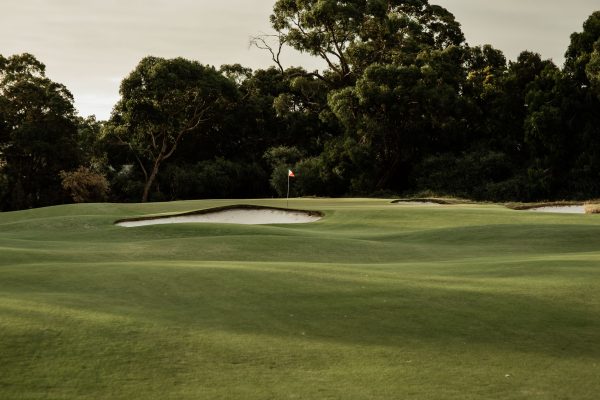
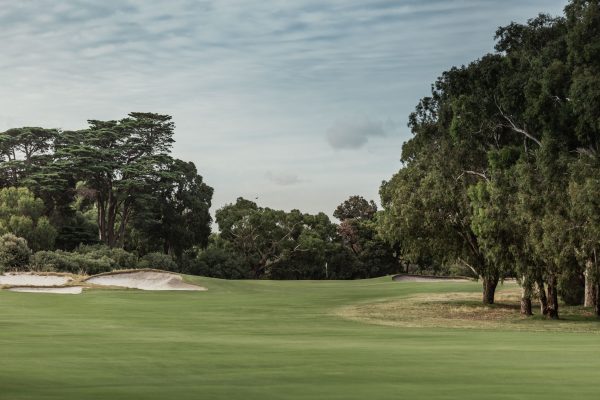
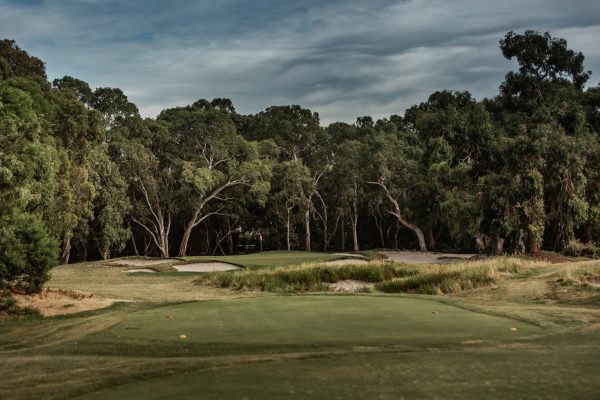
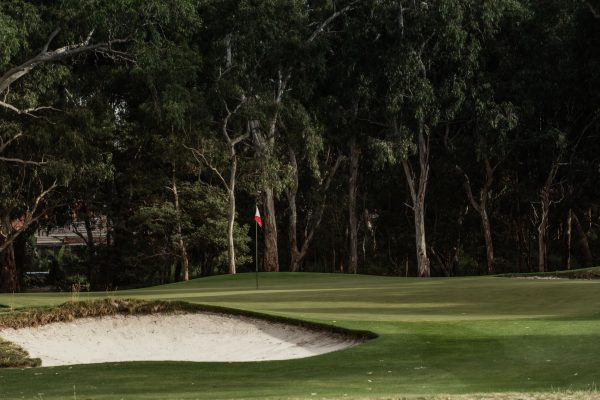
About the Course
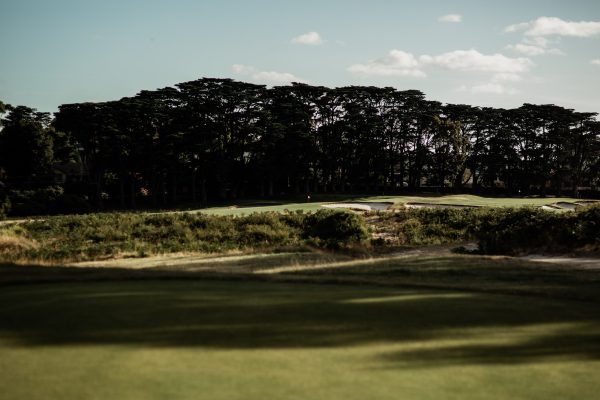
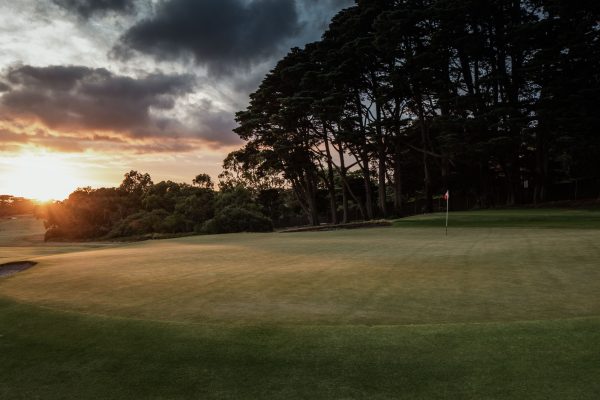
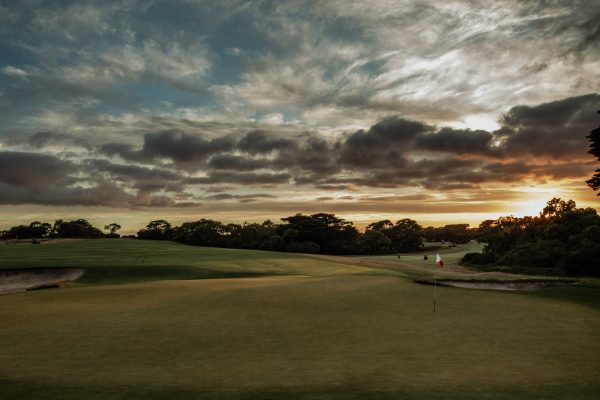
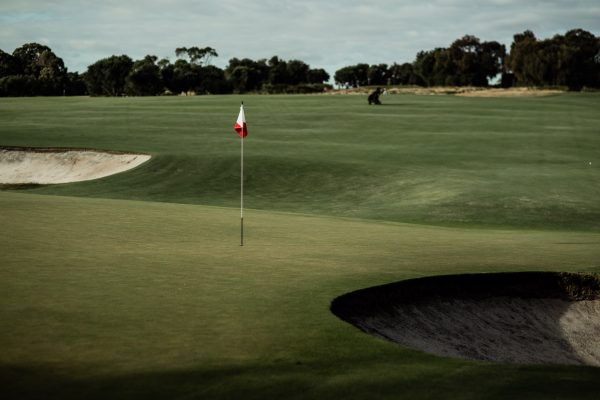
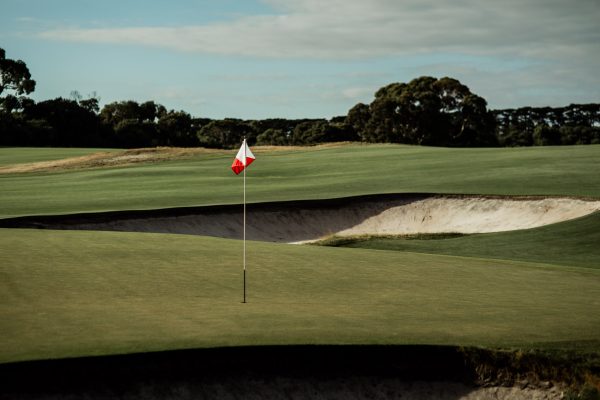
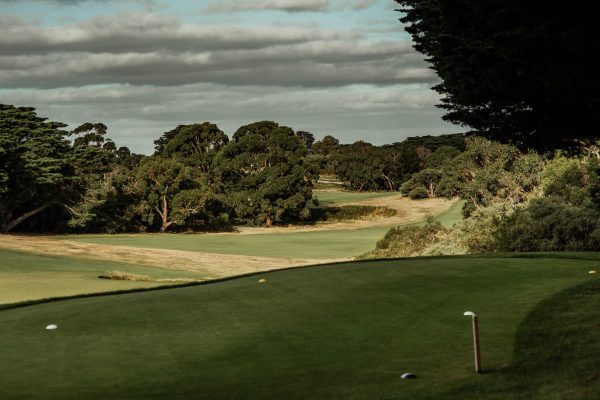
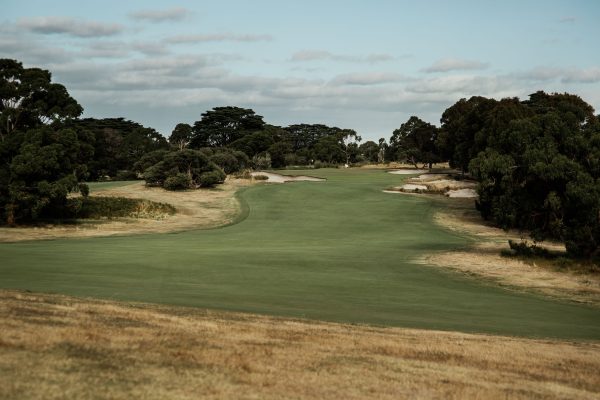
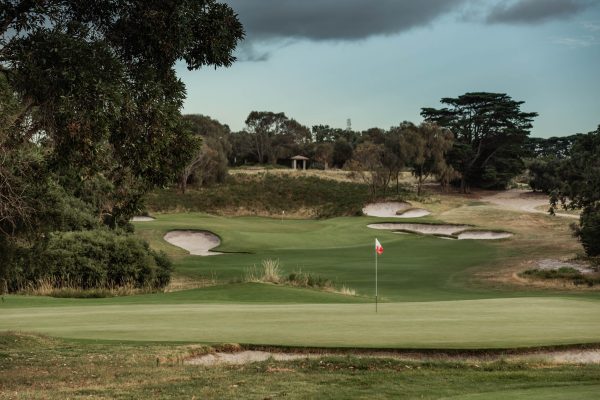
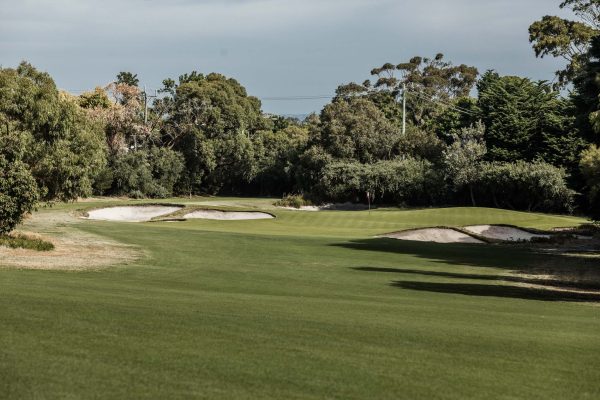
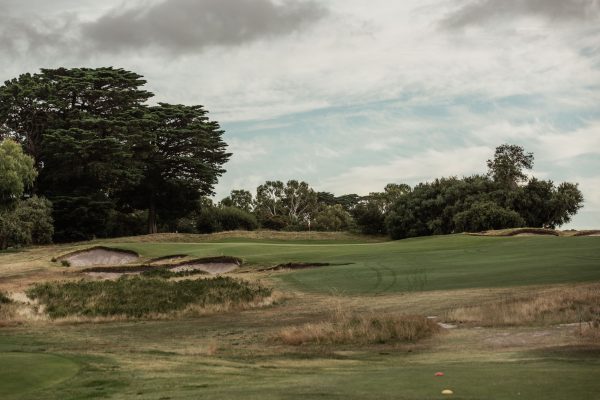
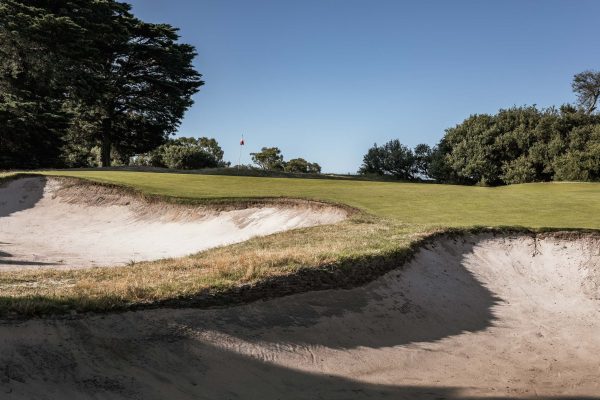
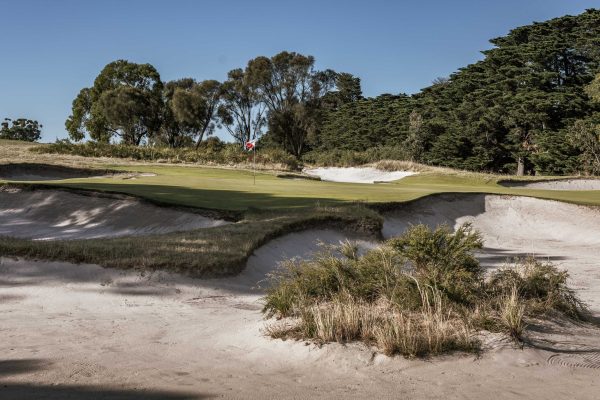
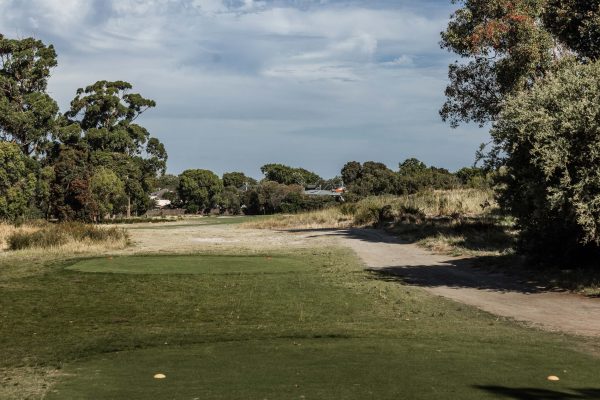
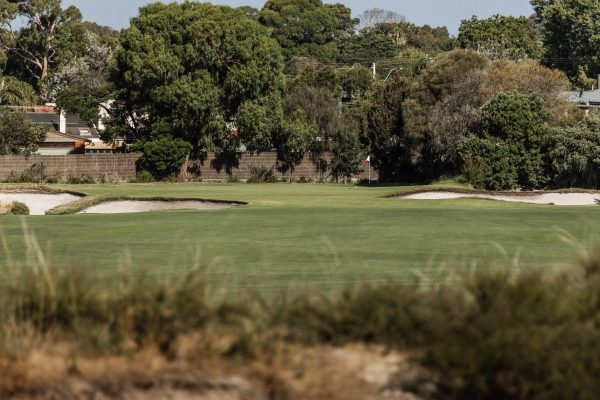
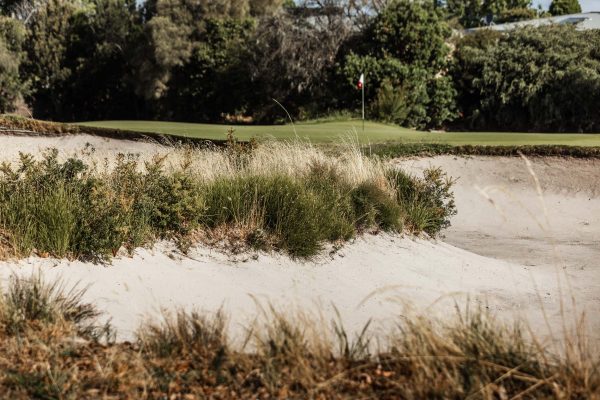
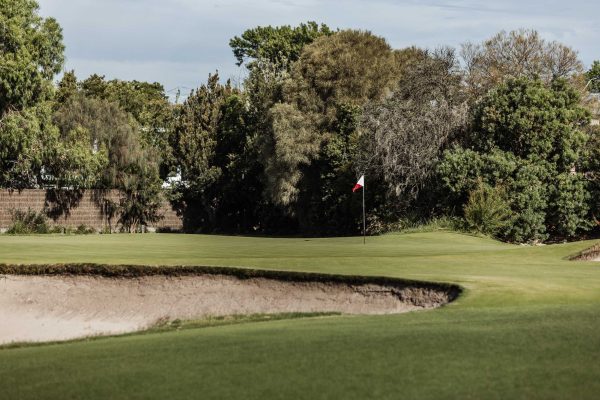
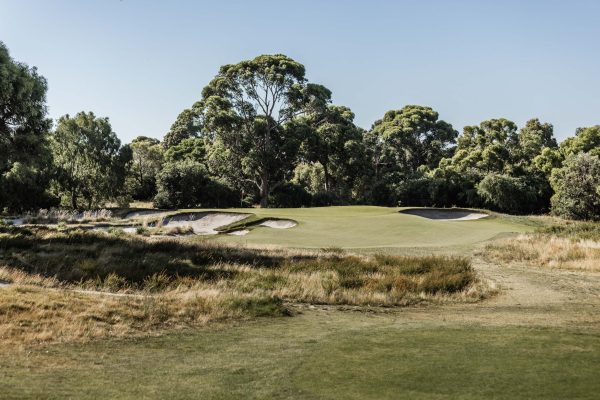
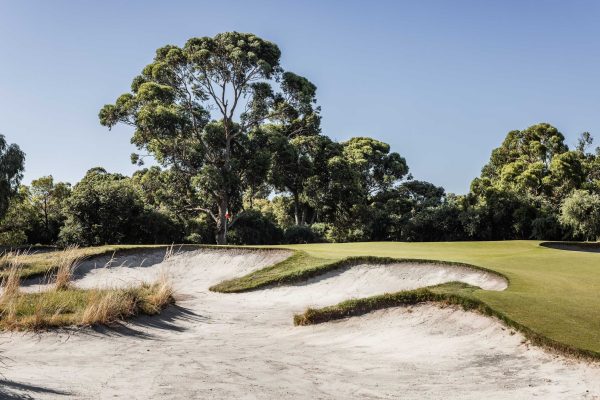
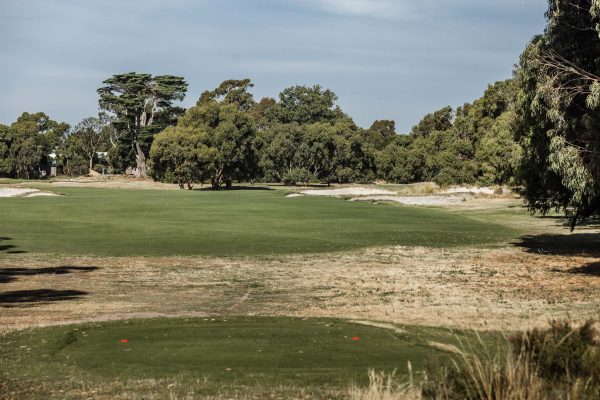
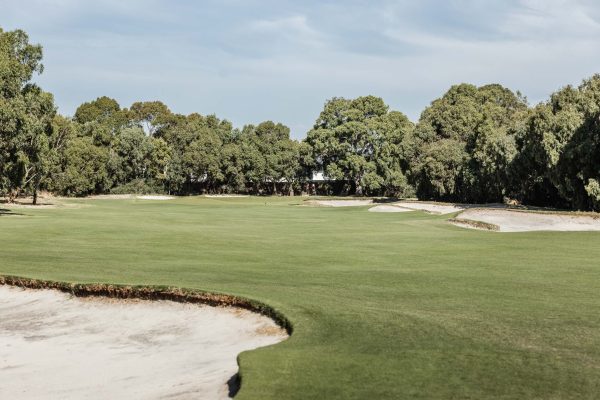
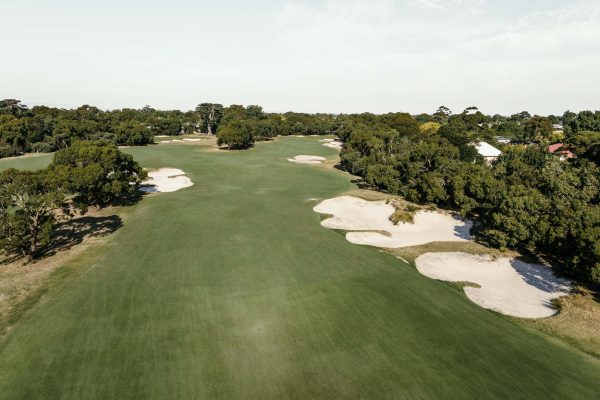
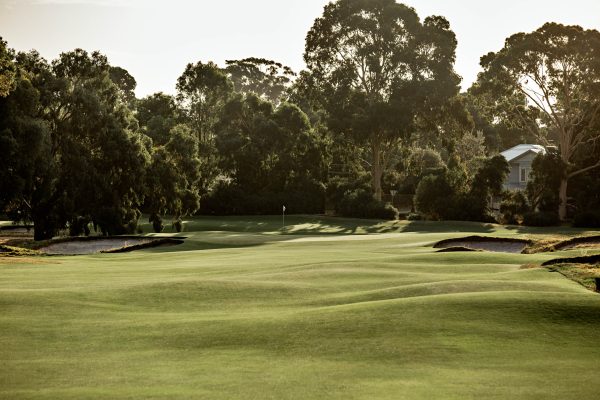
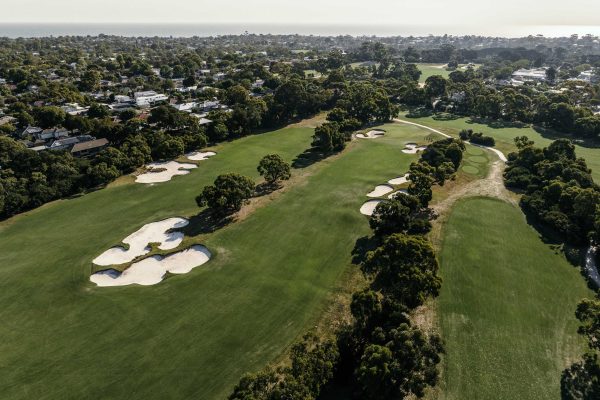
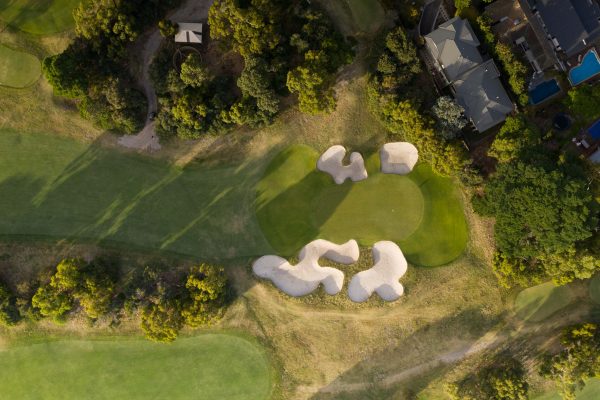
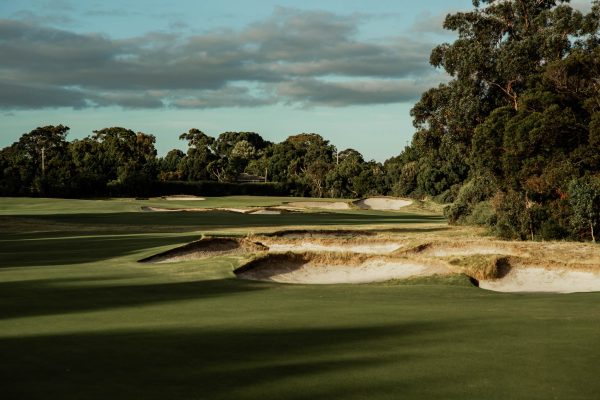
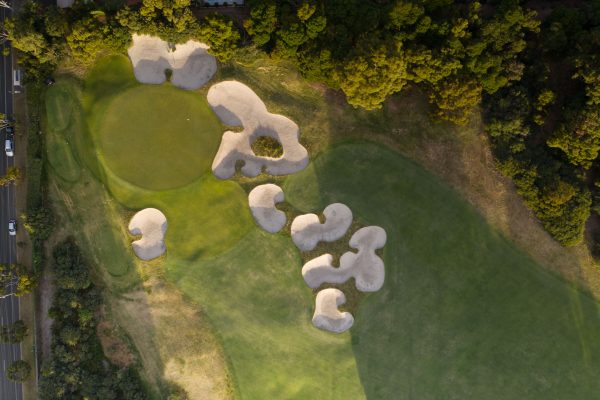
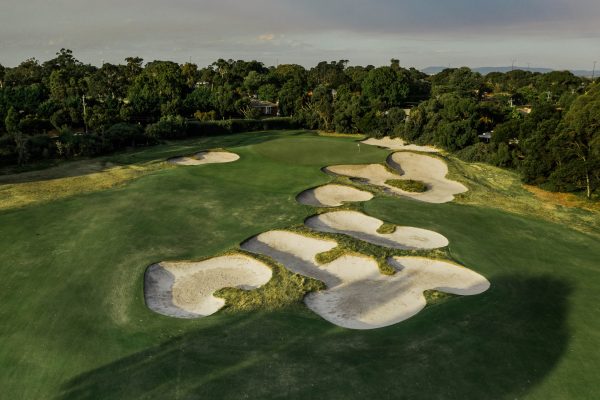
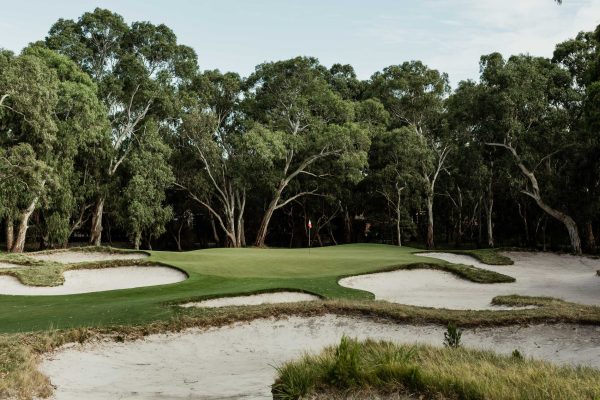
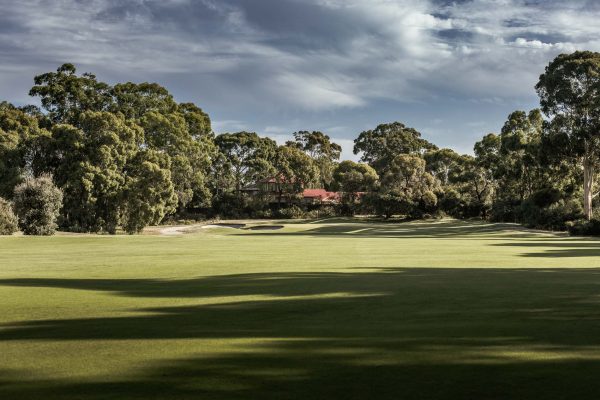
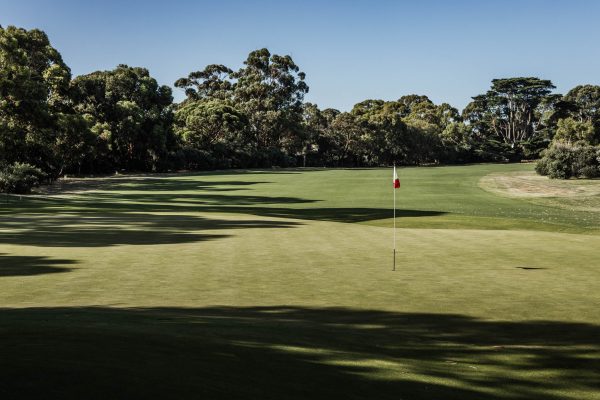
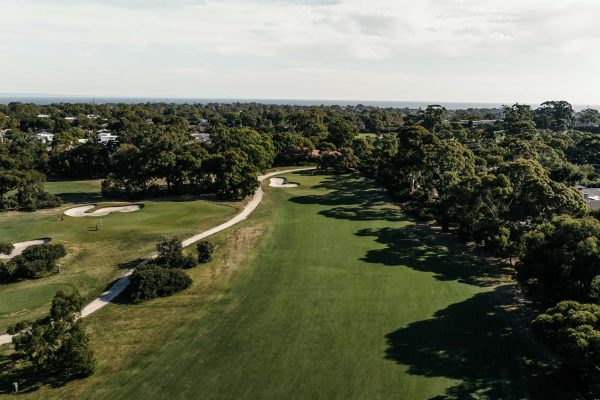
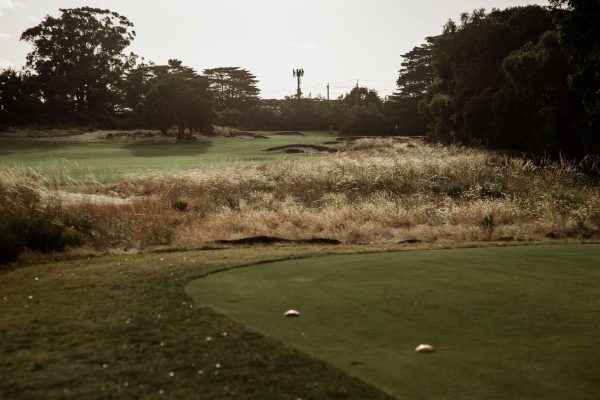
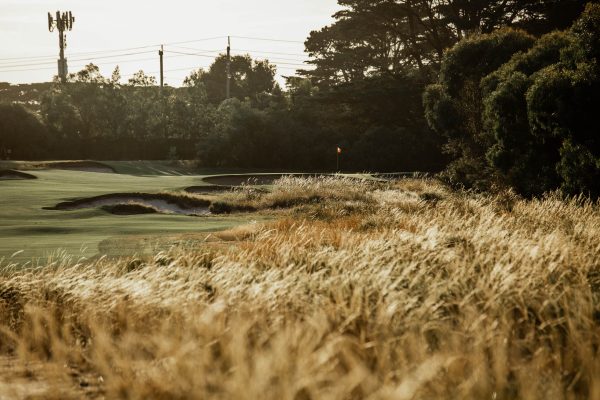
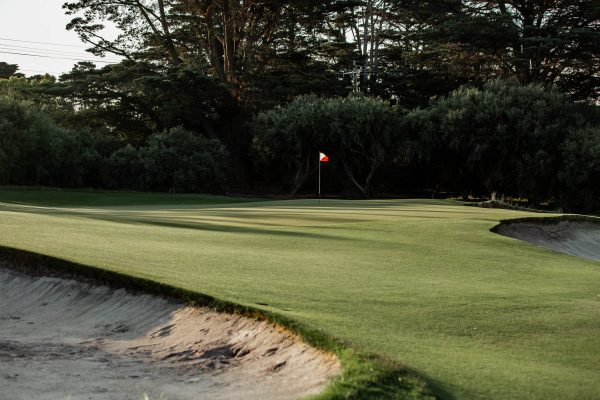
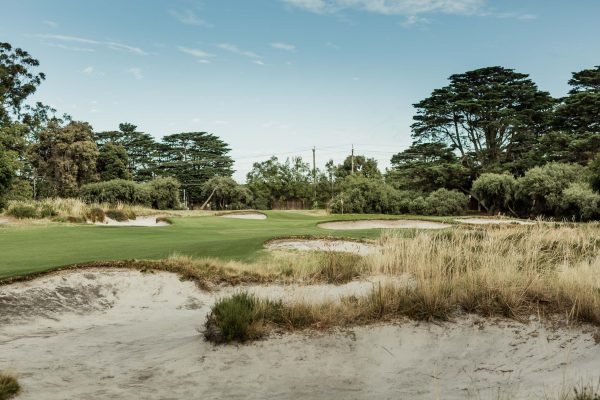
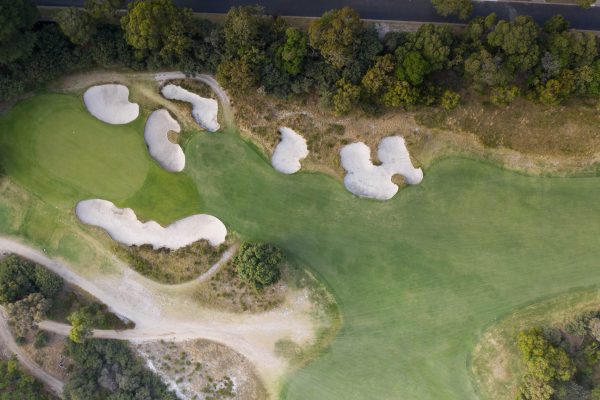
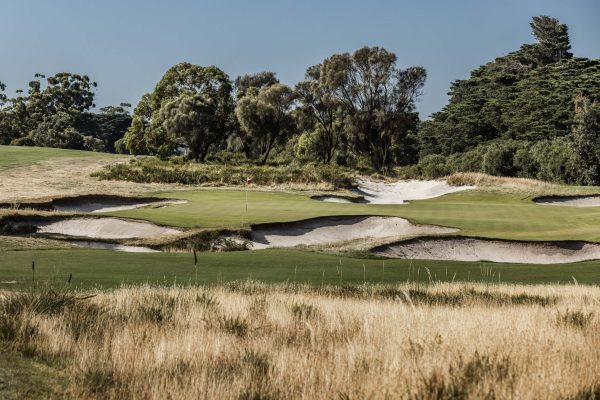
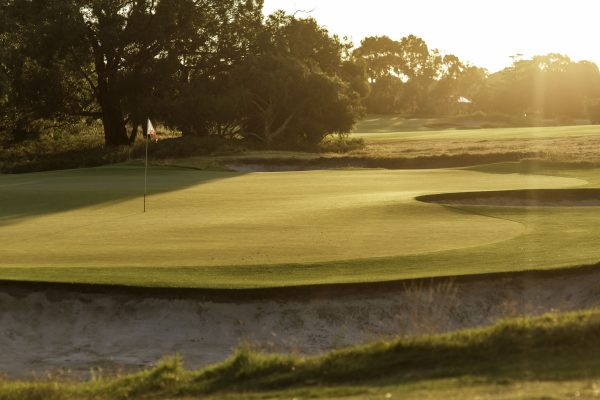
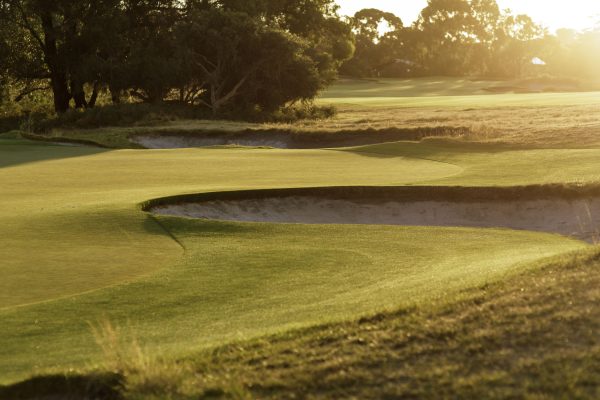
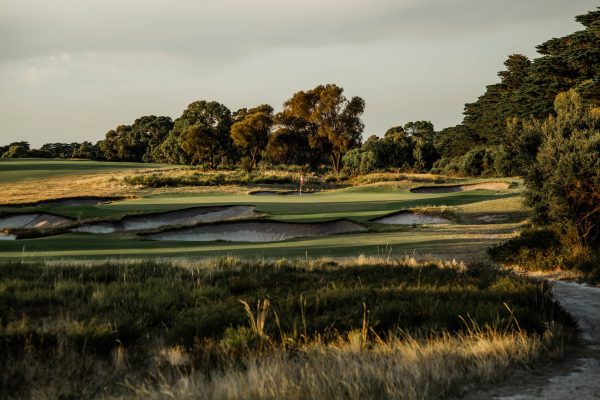
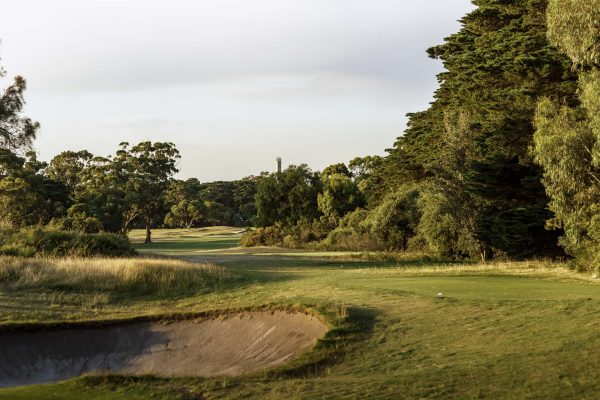
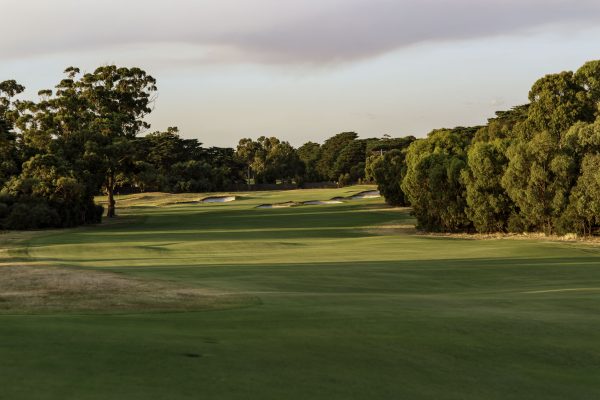
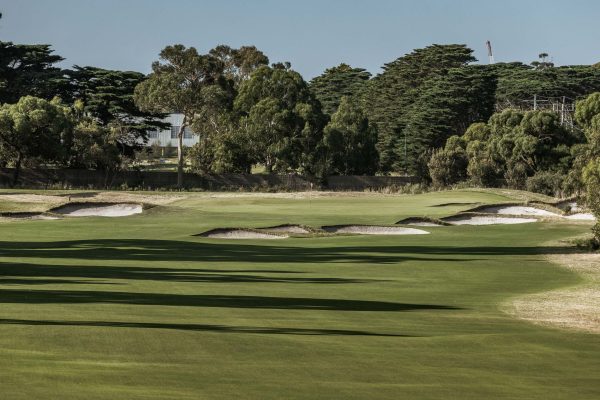
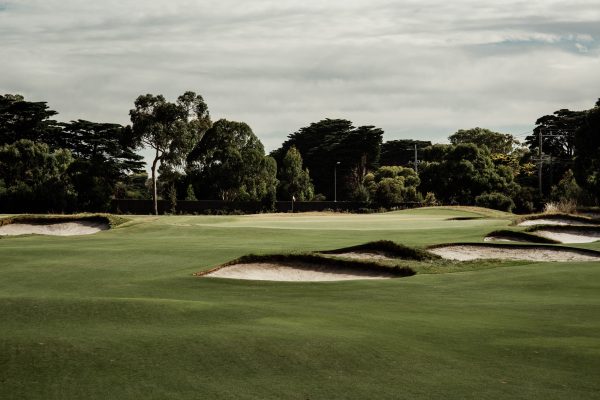
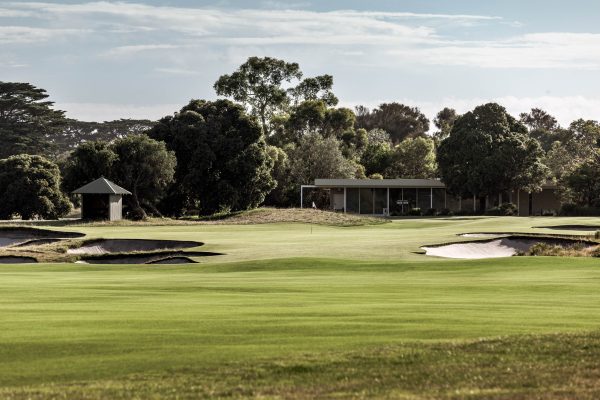
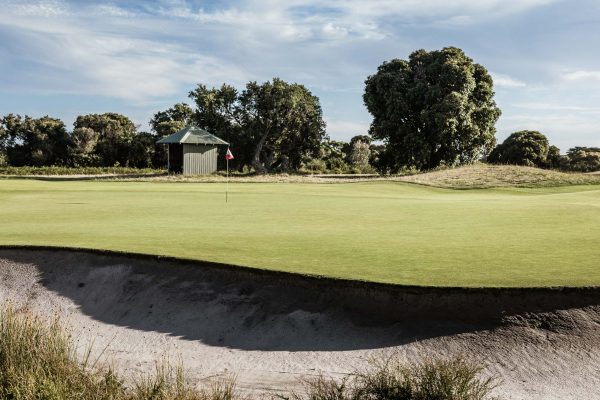
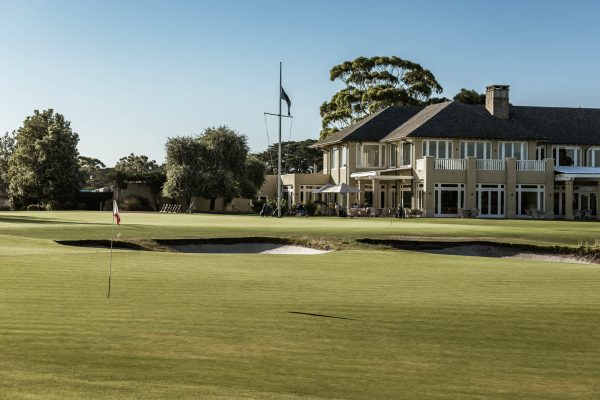
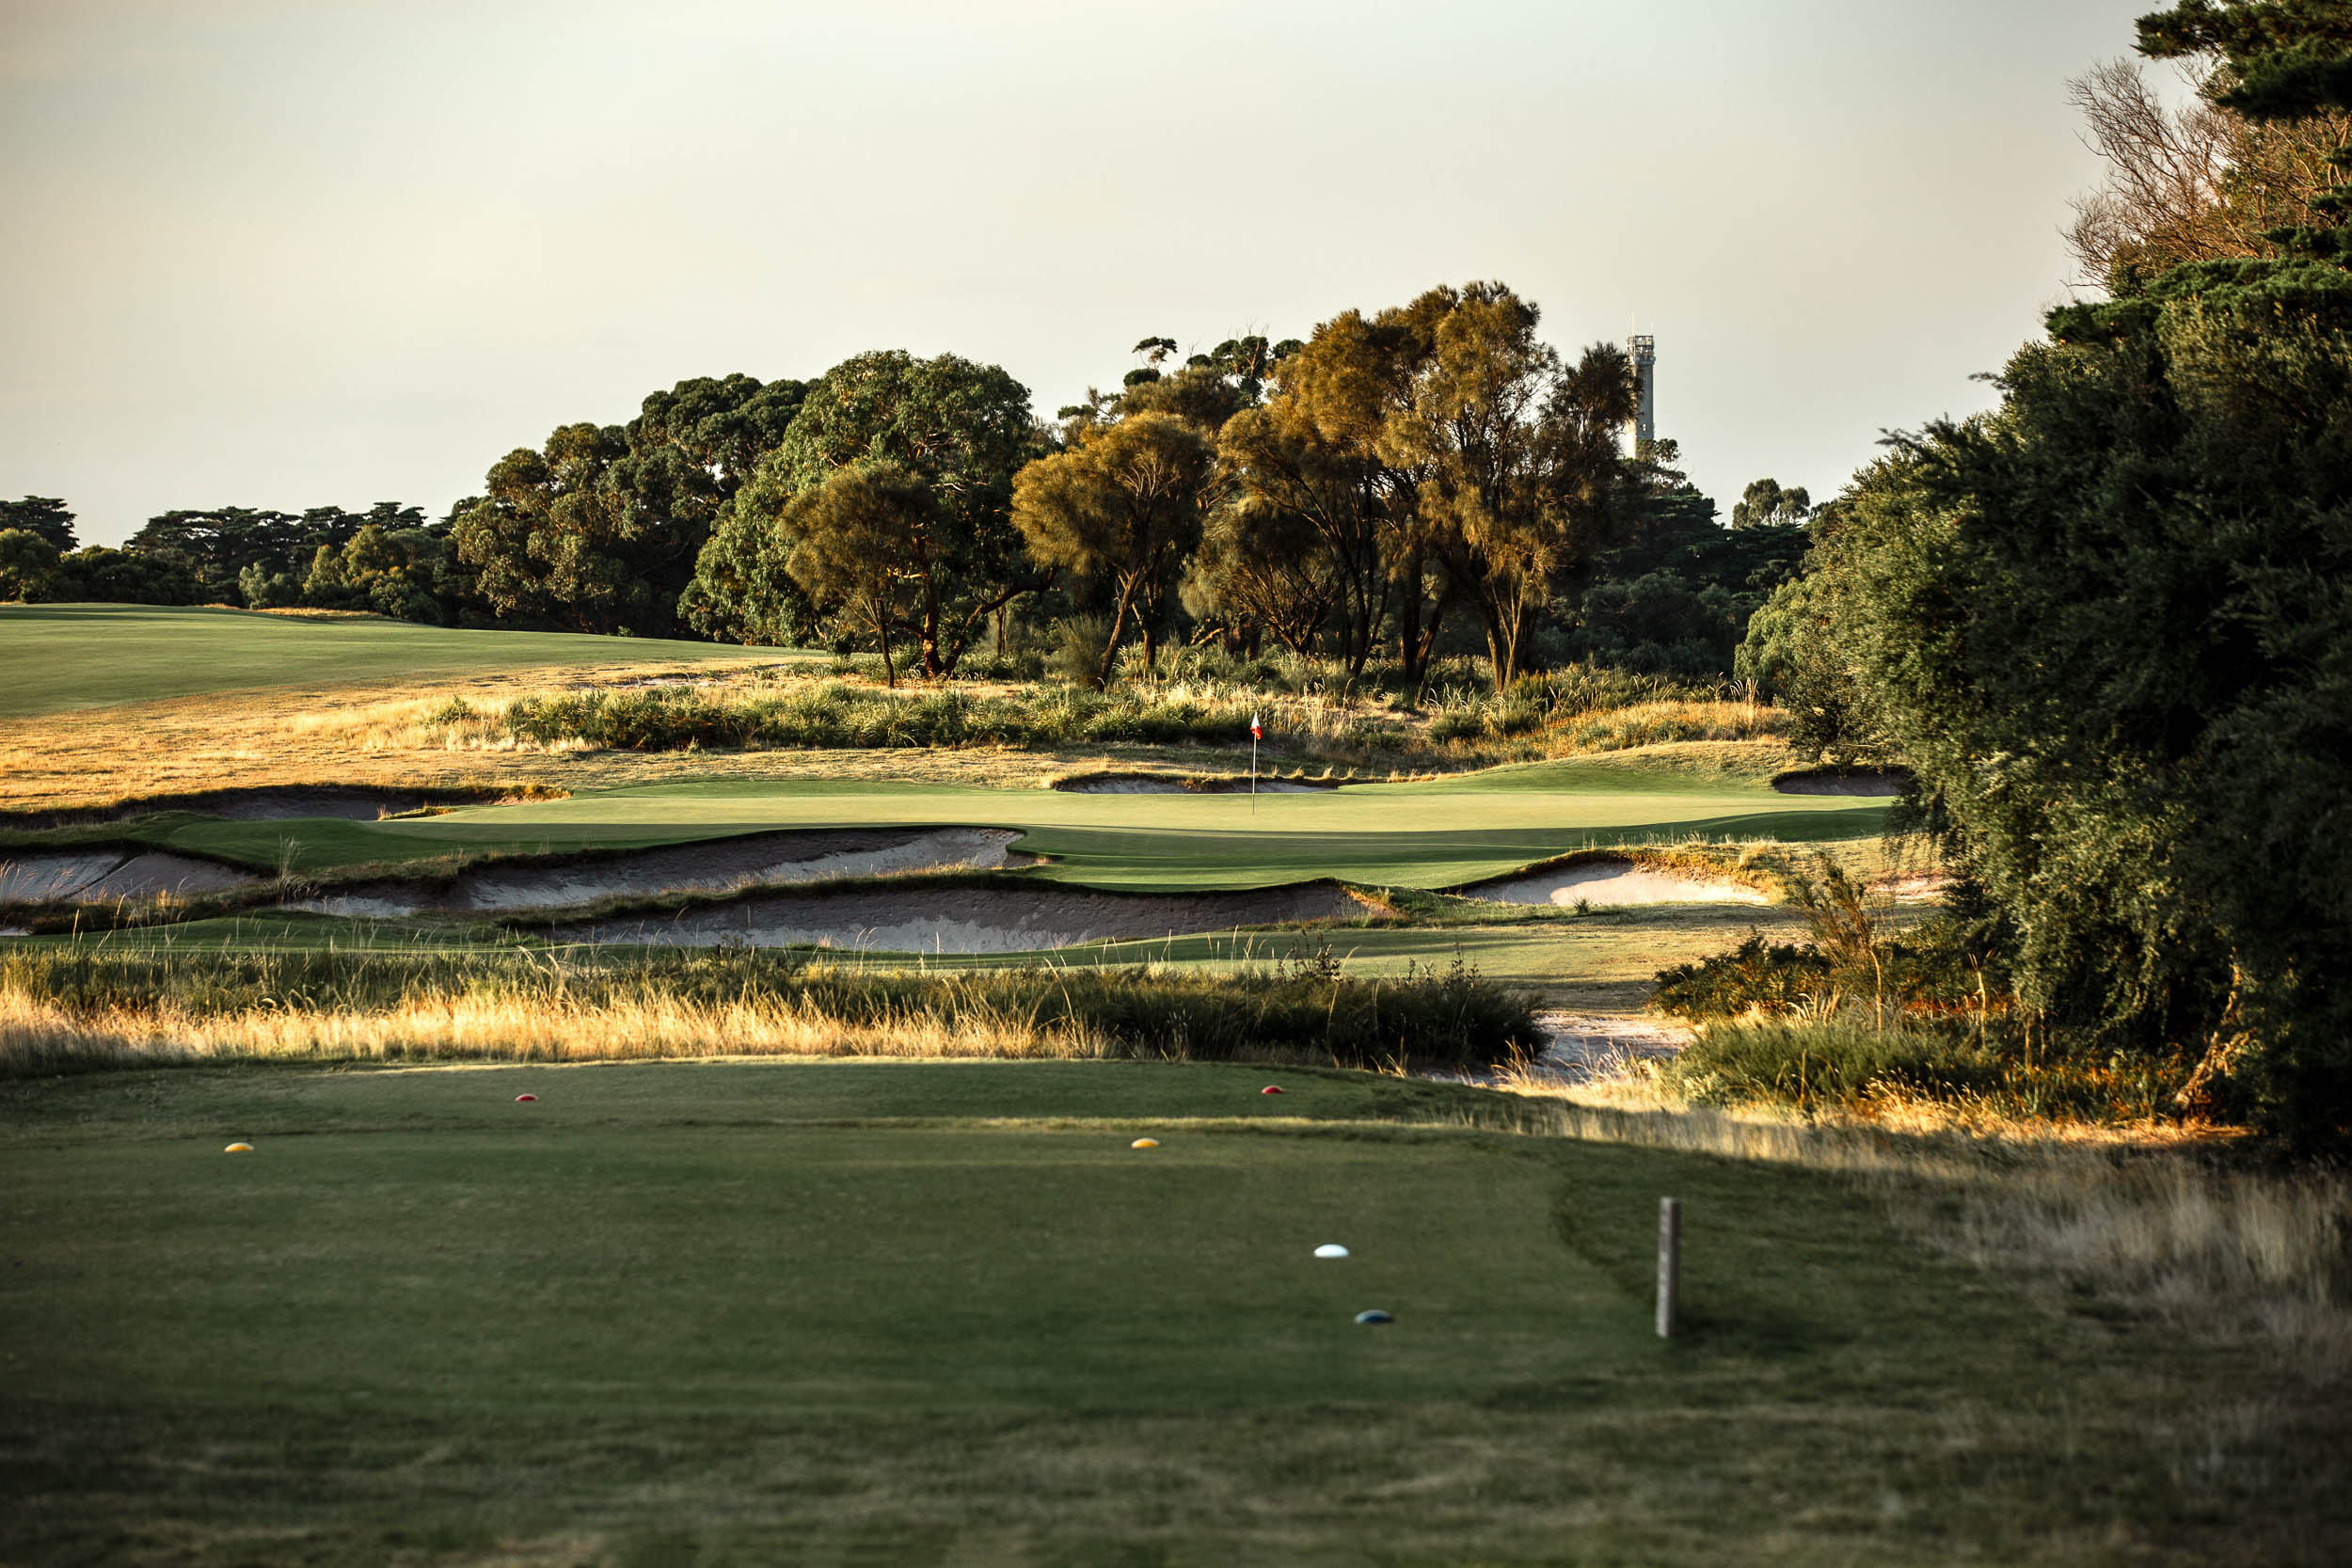
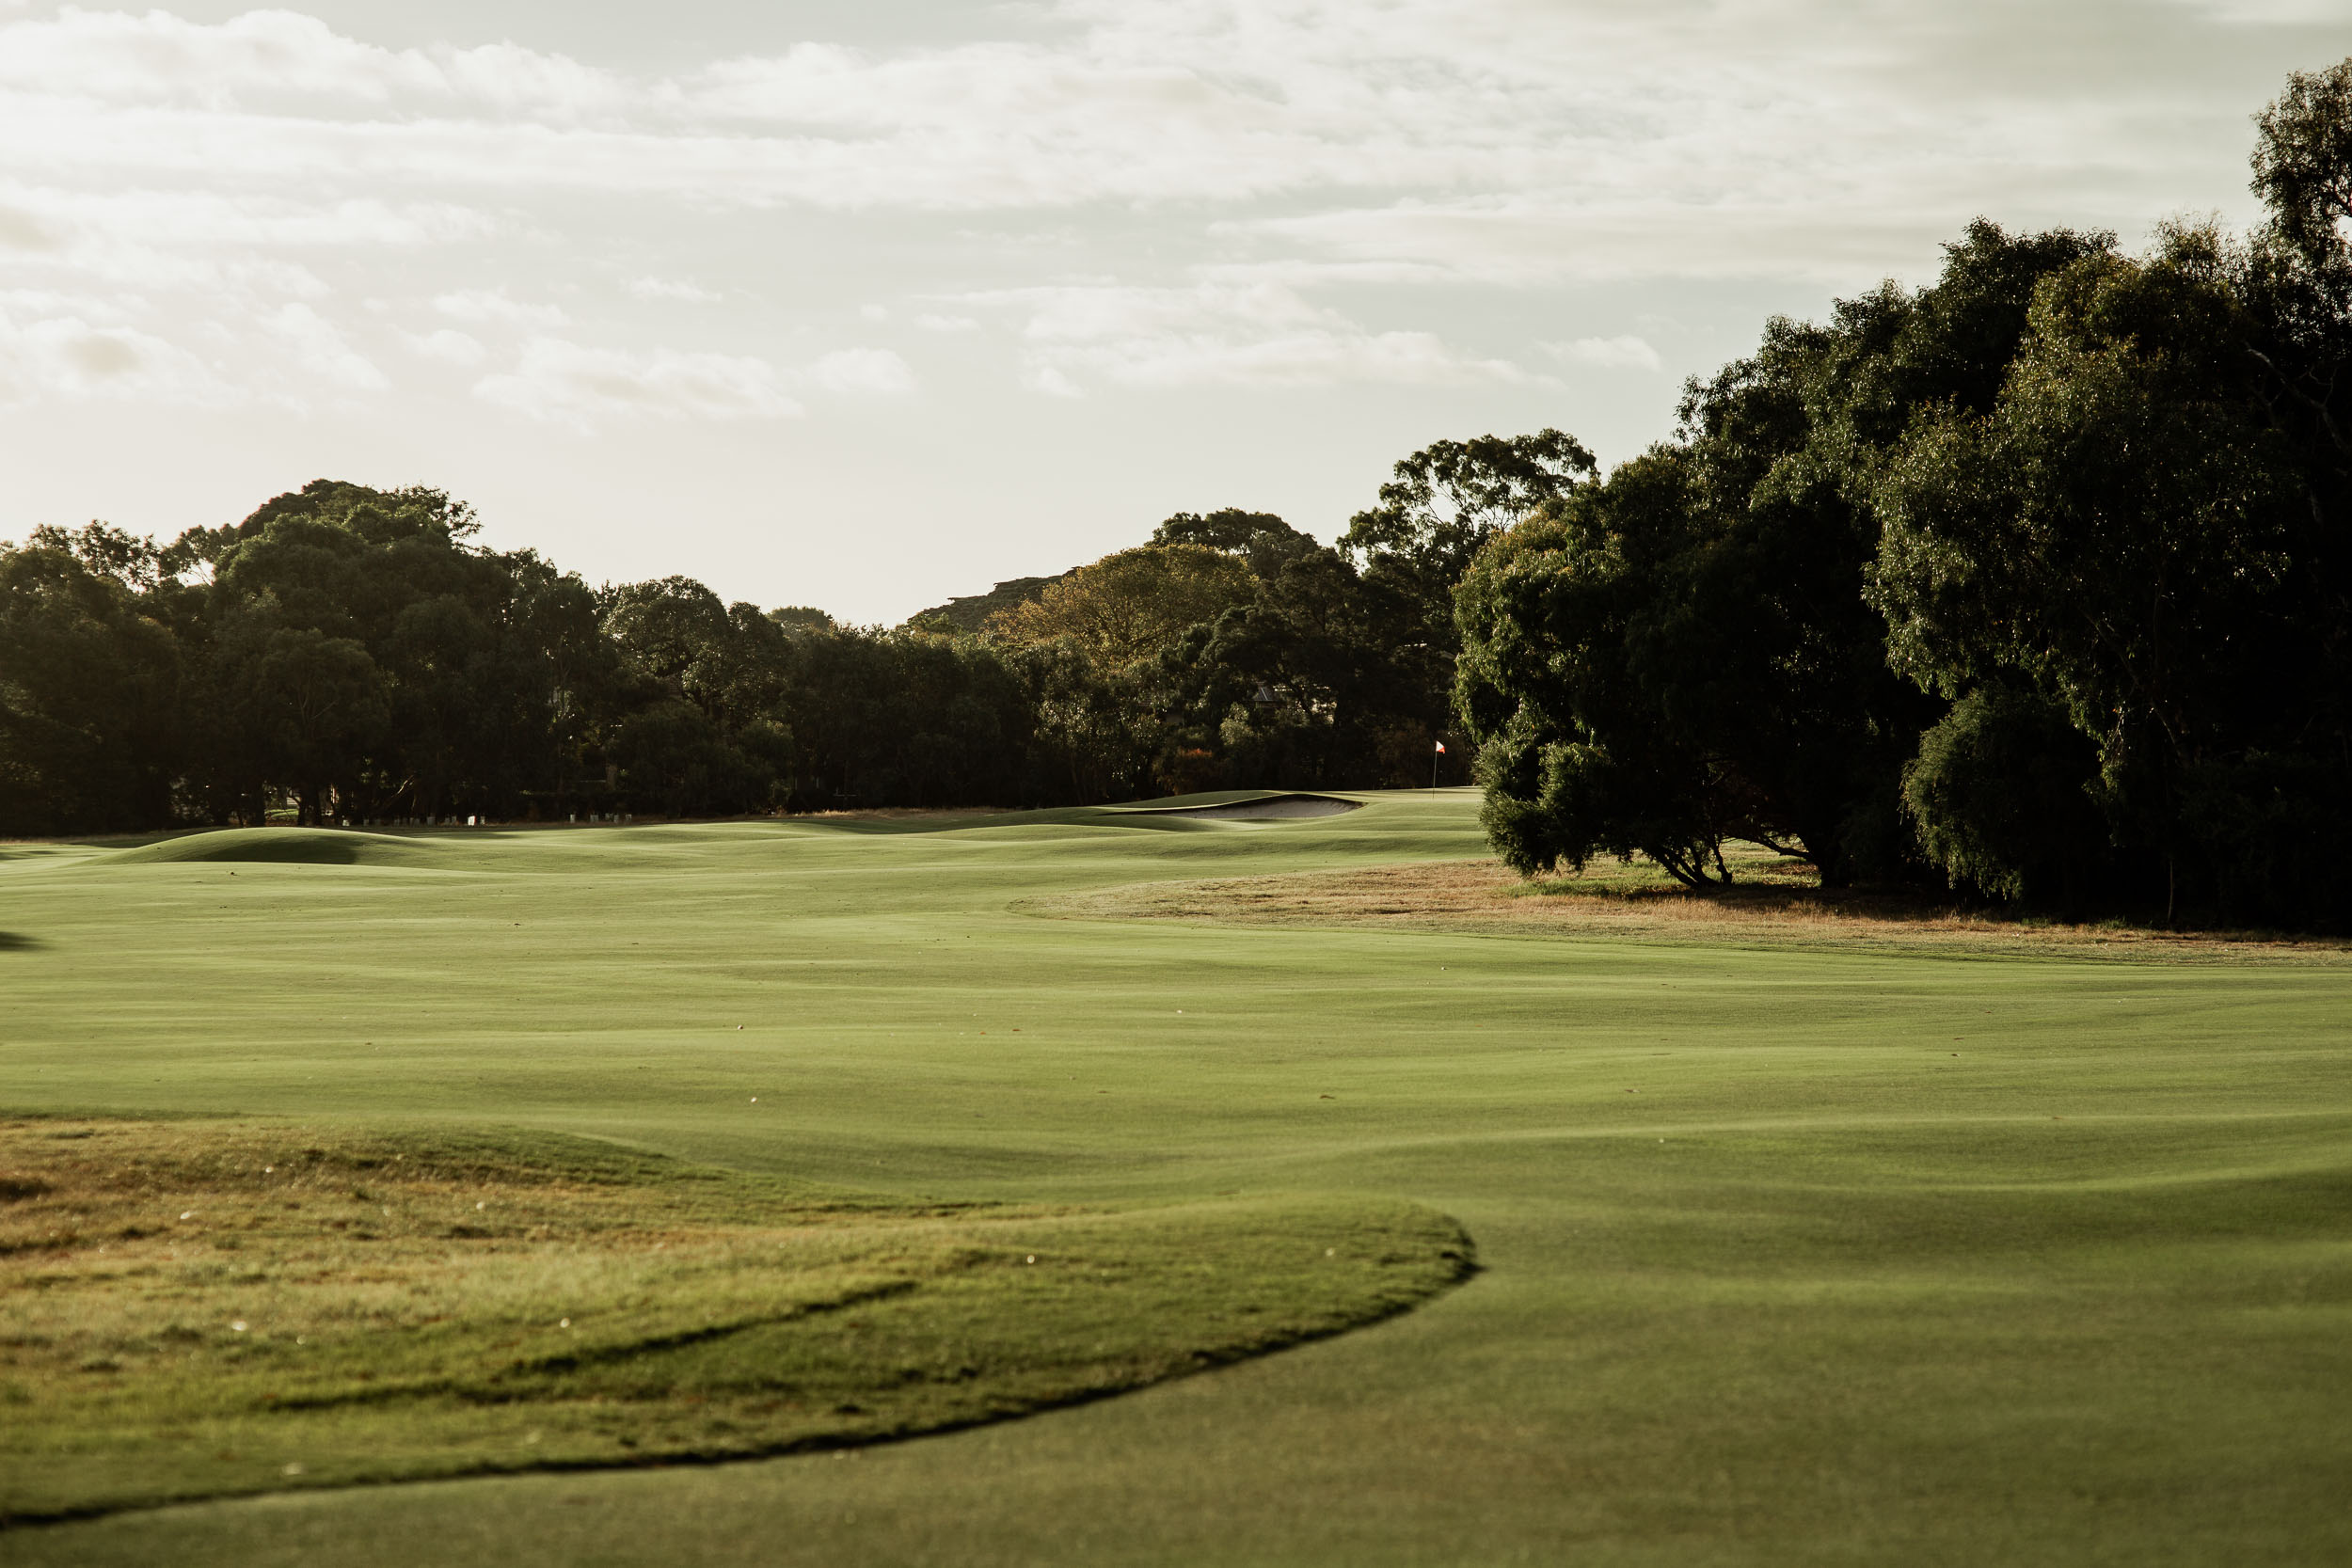
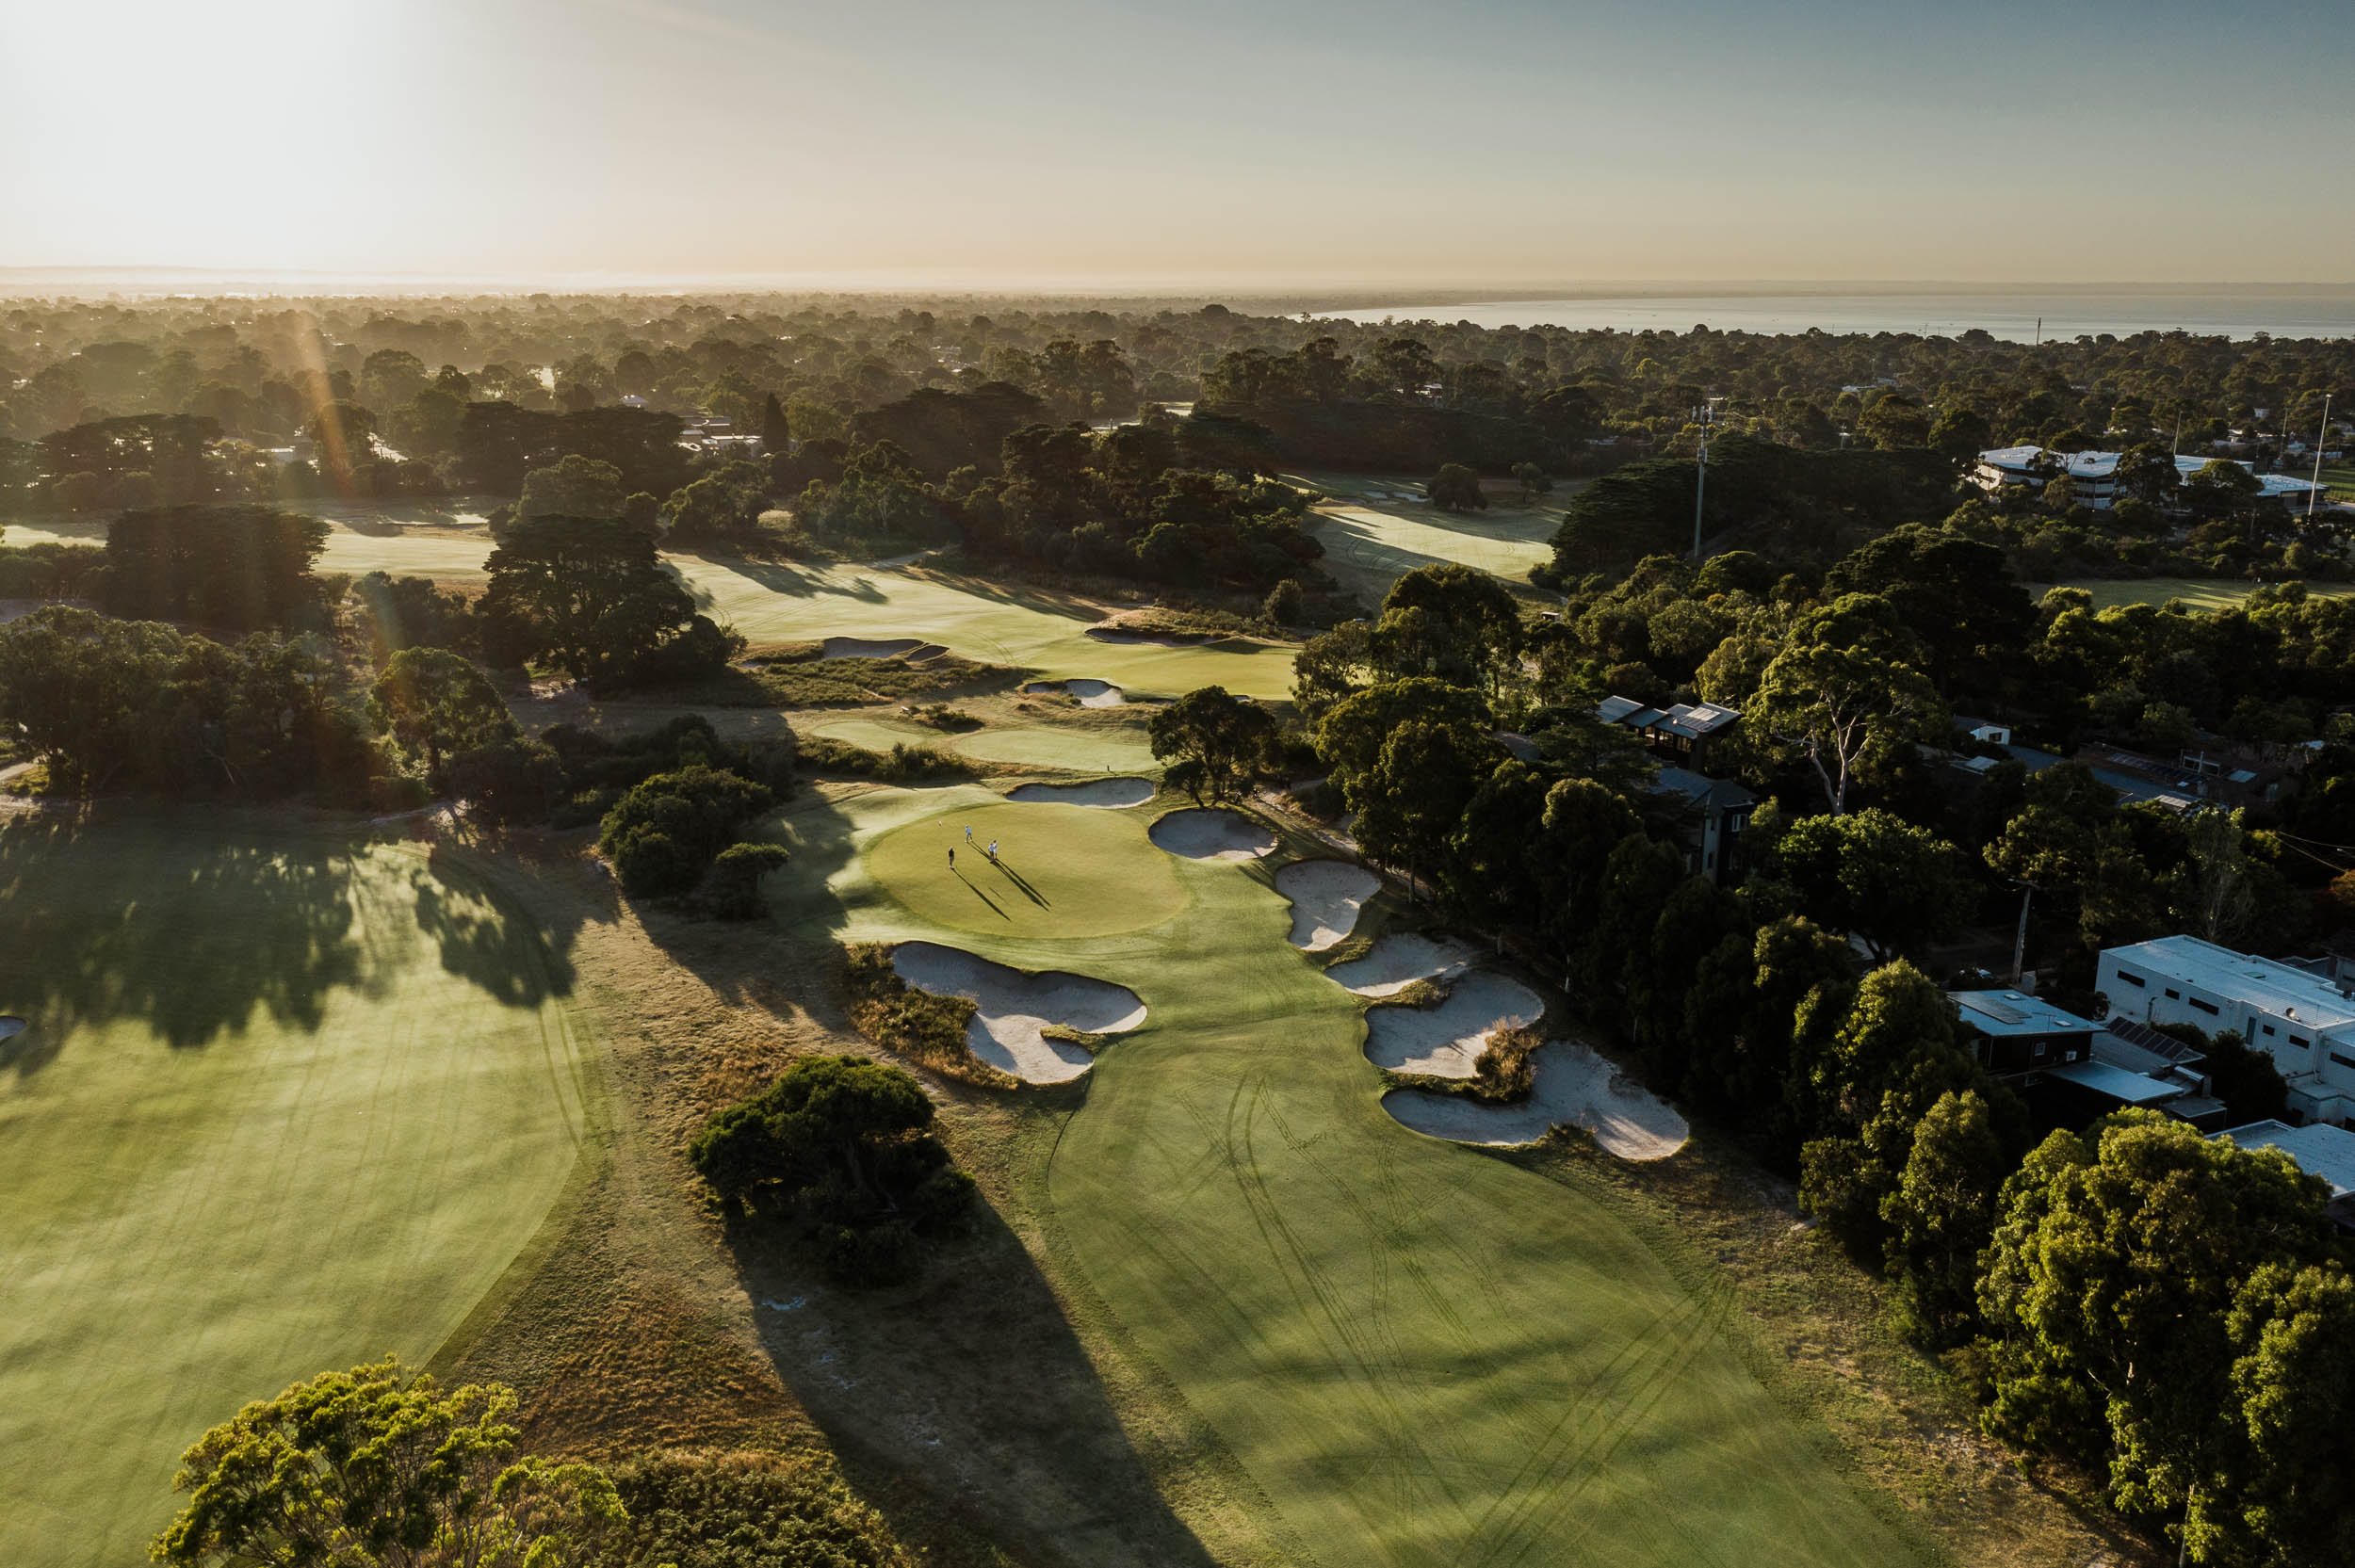
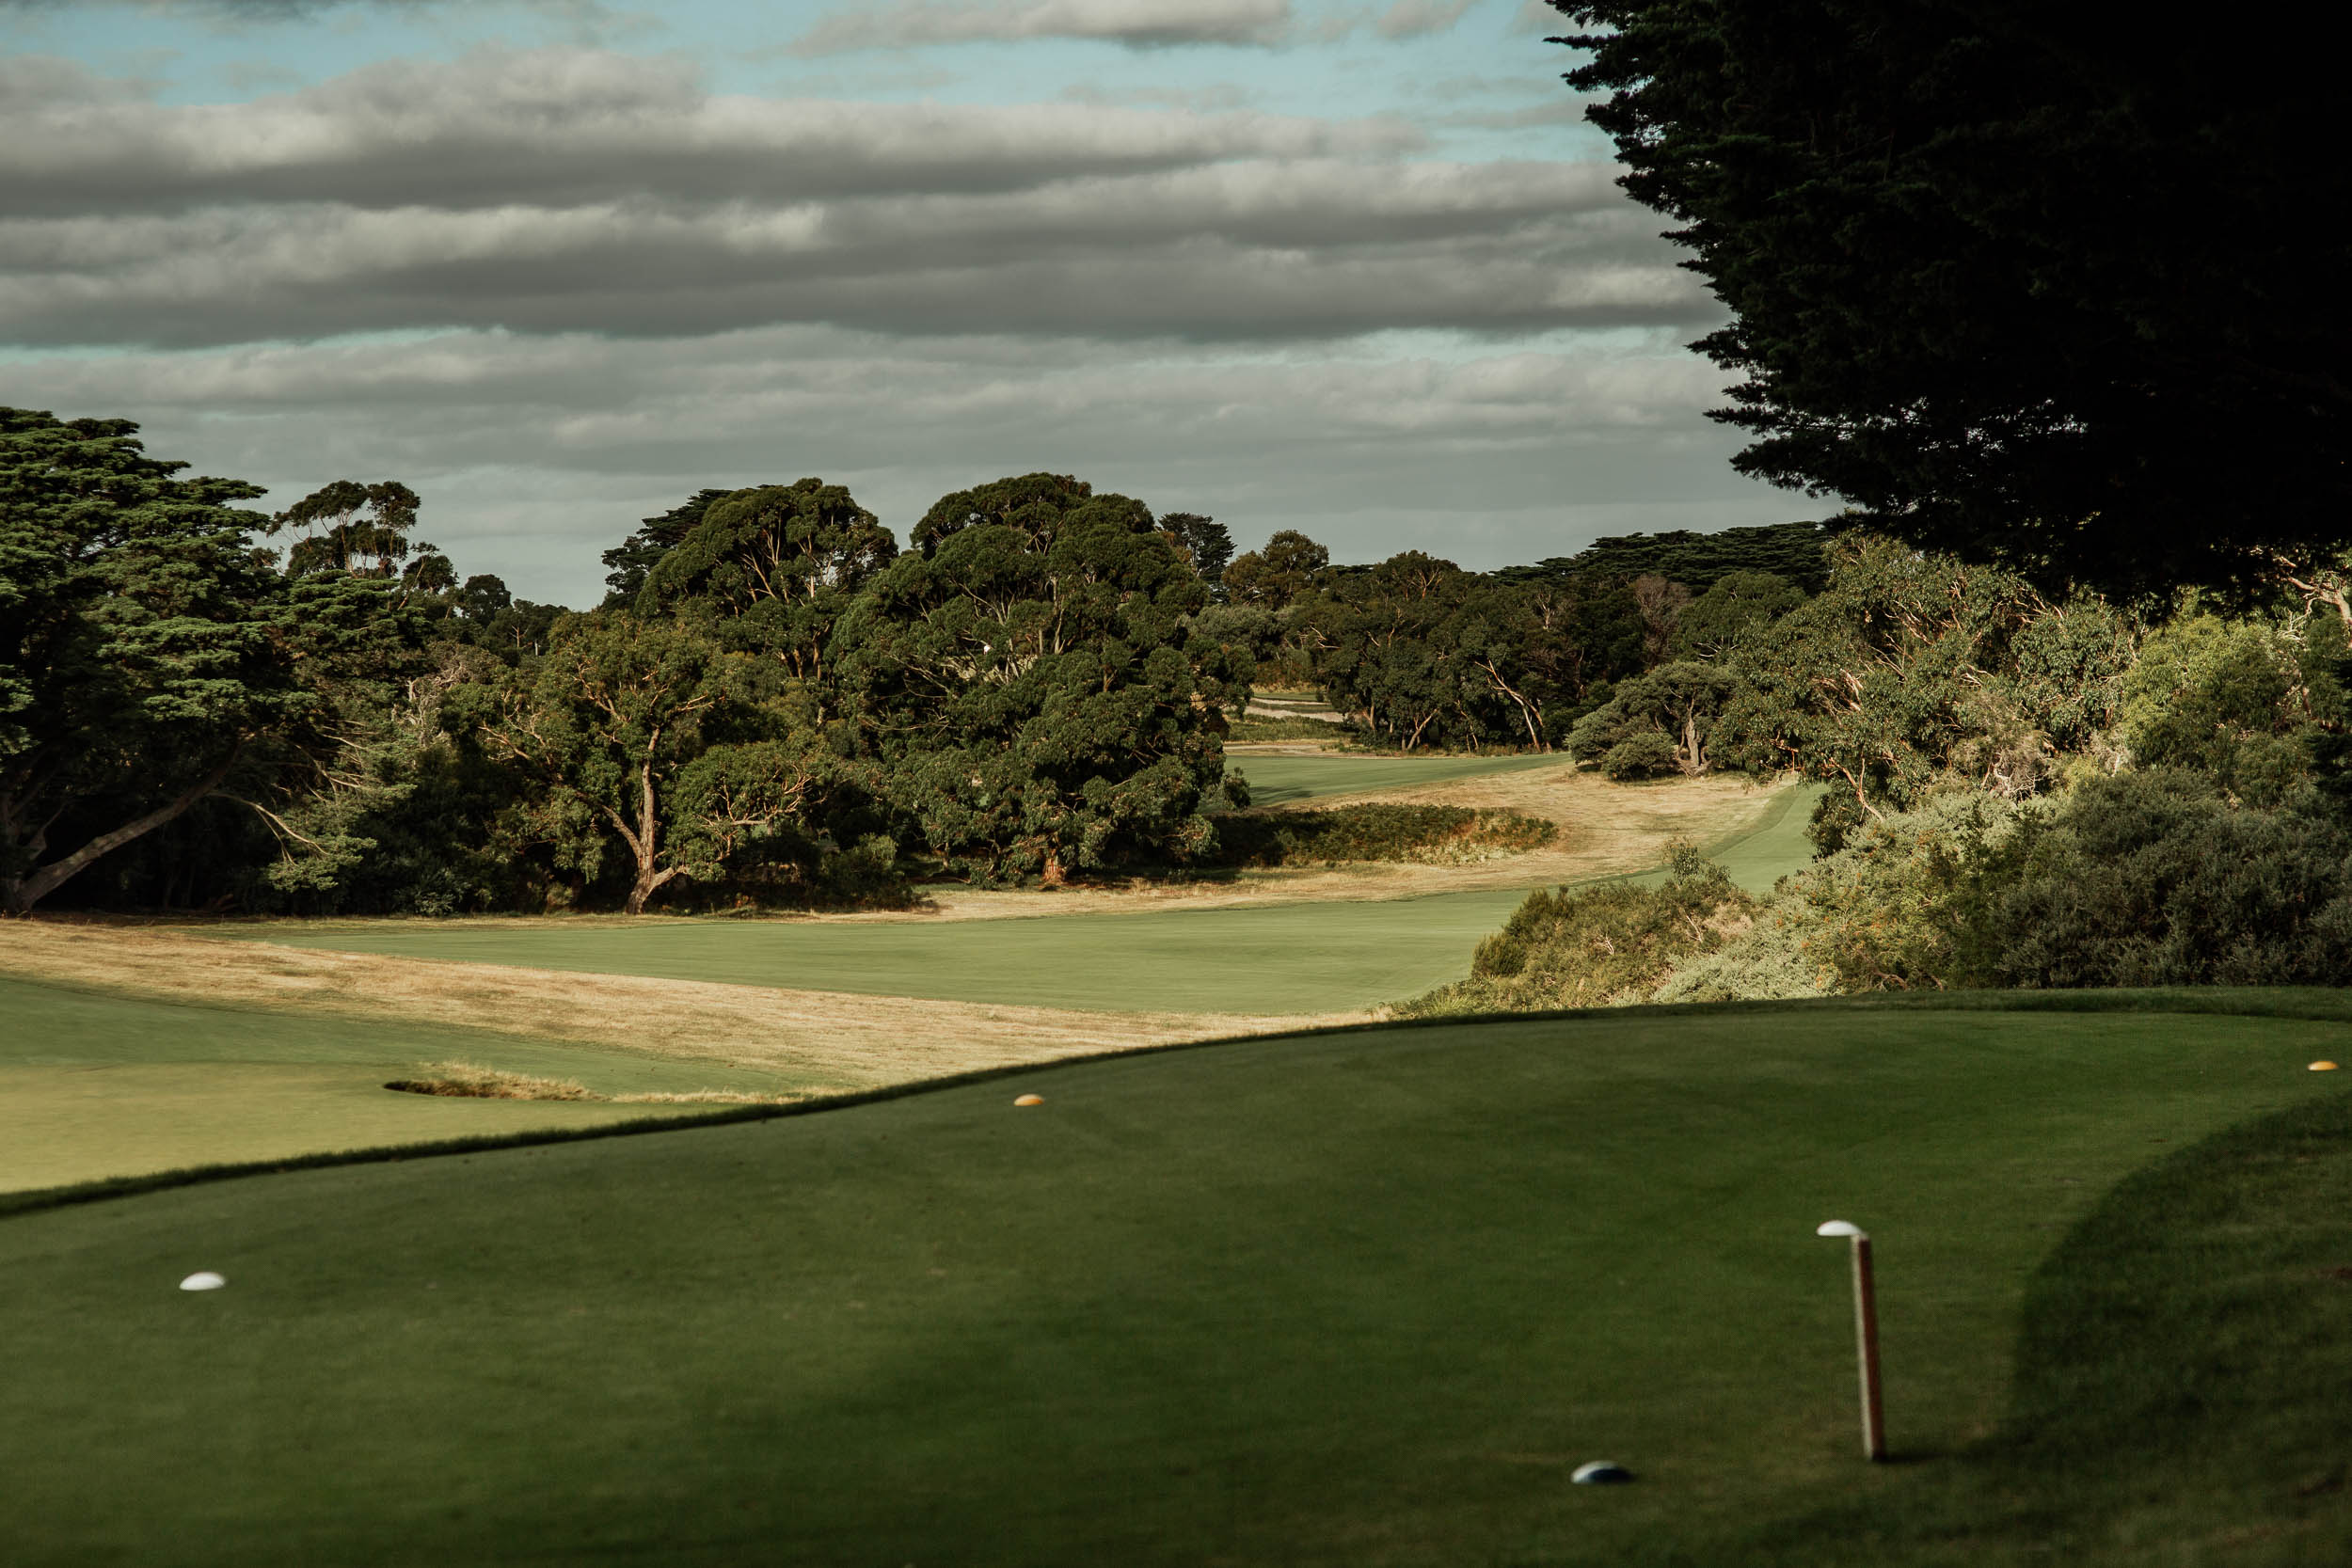
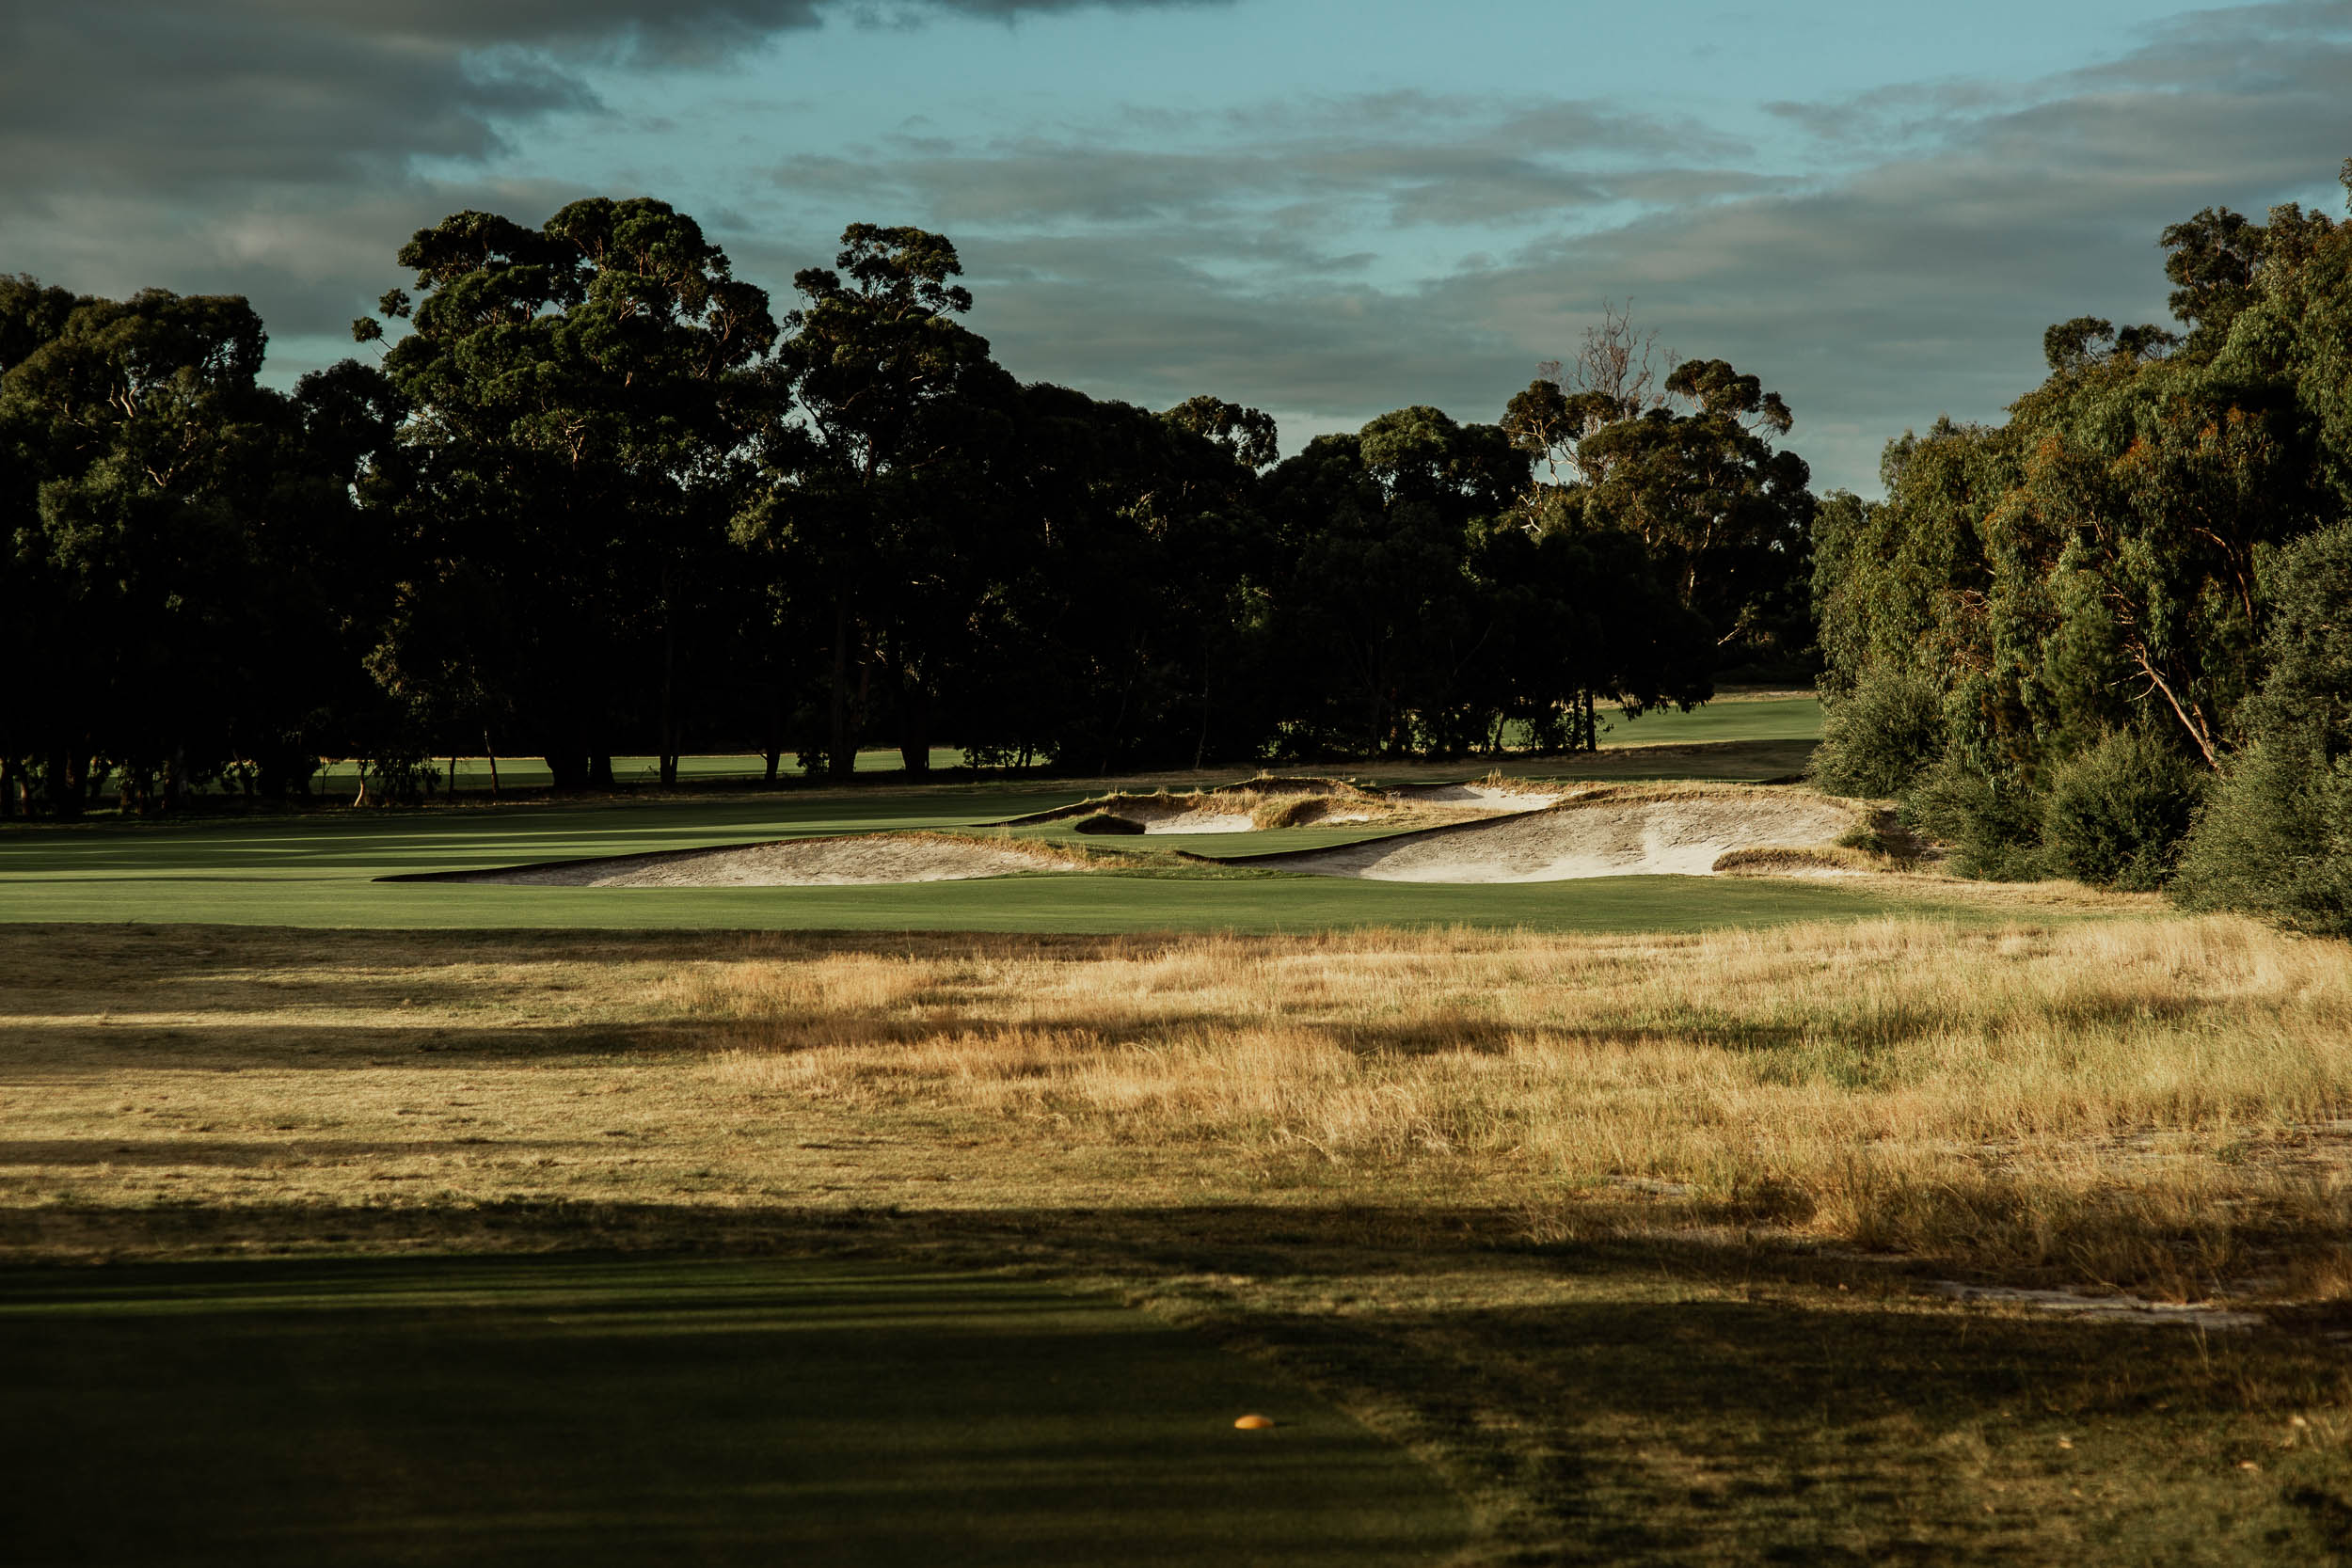
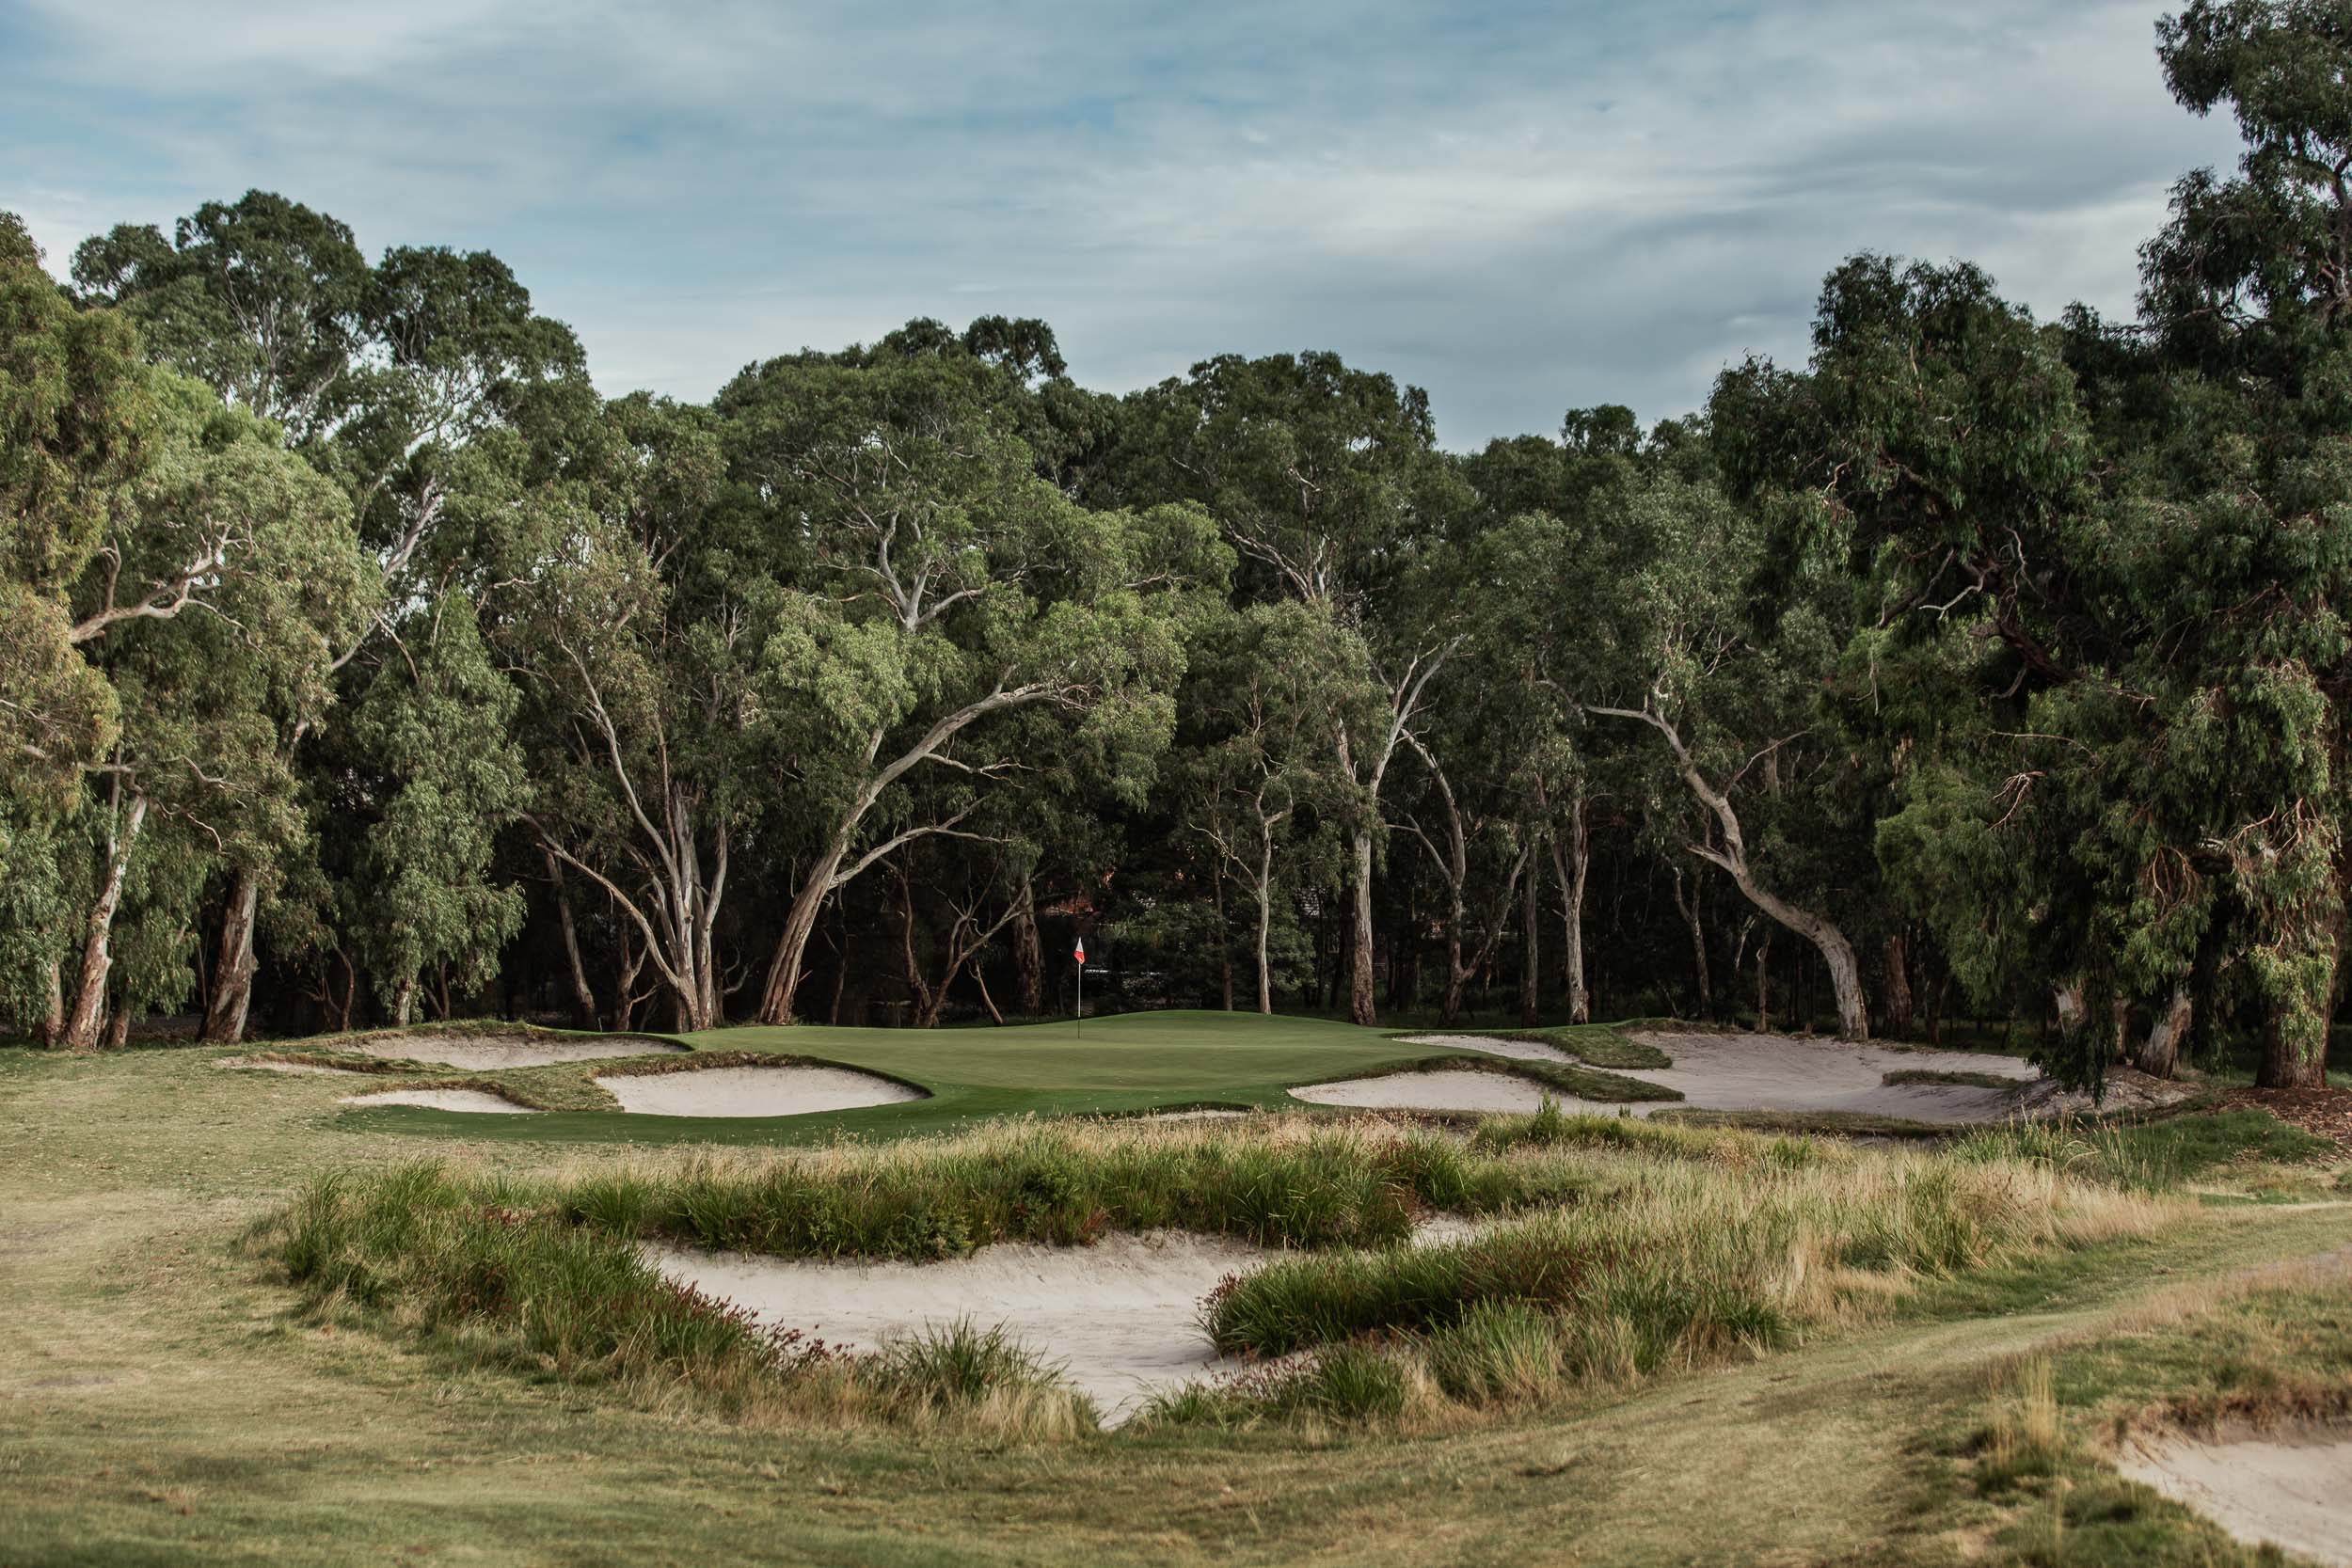
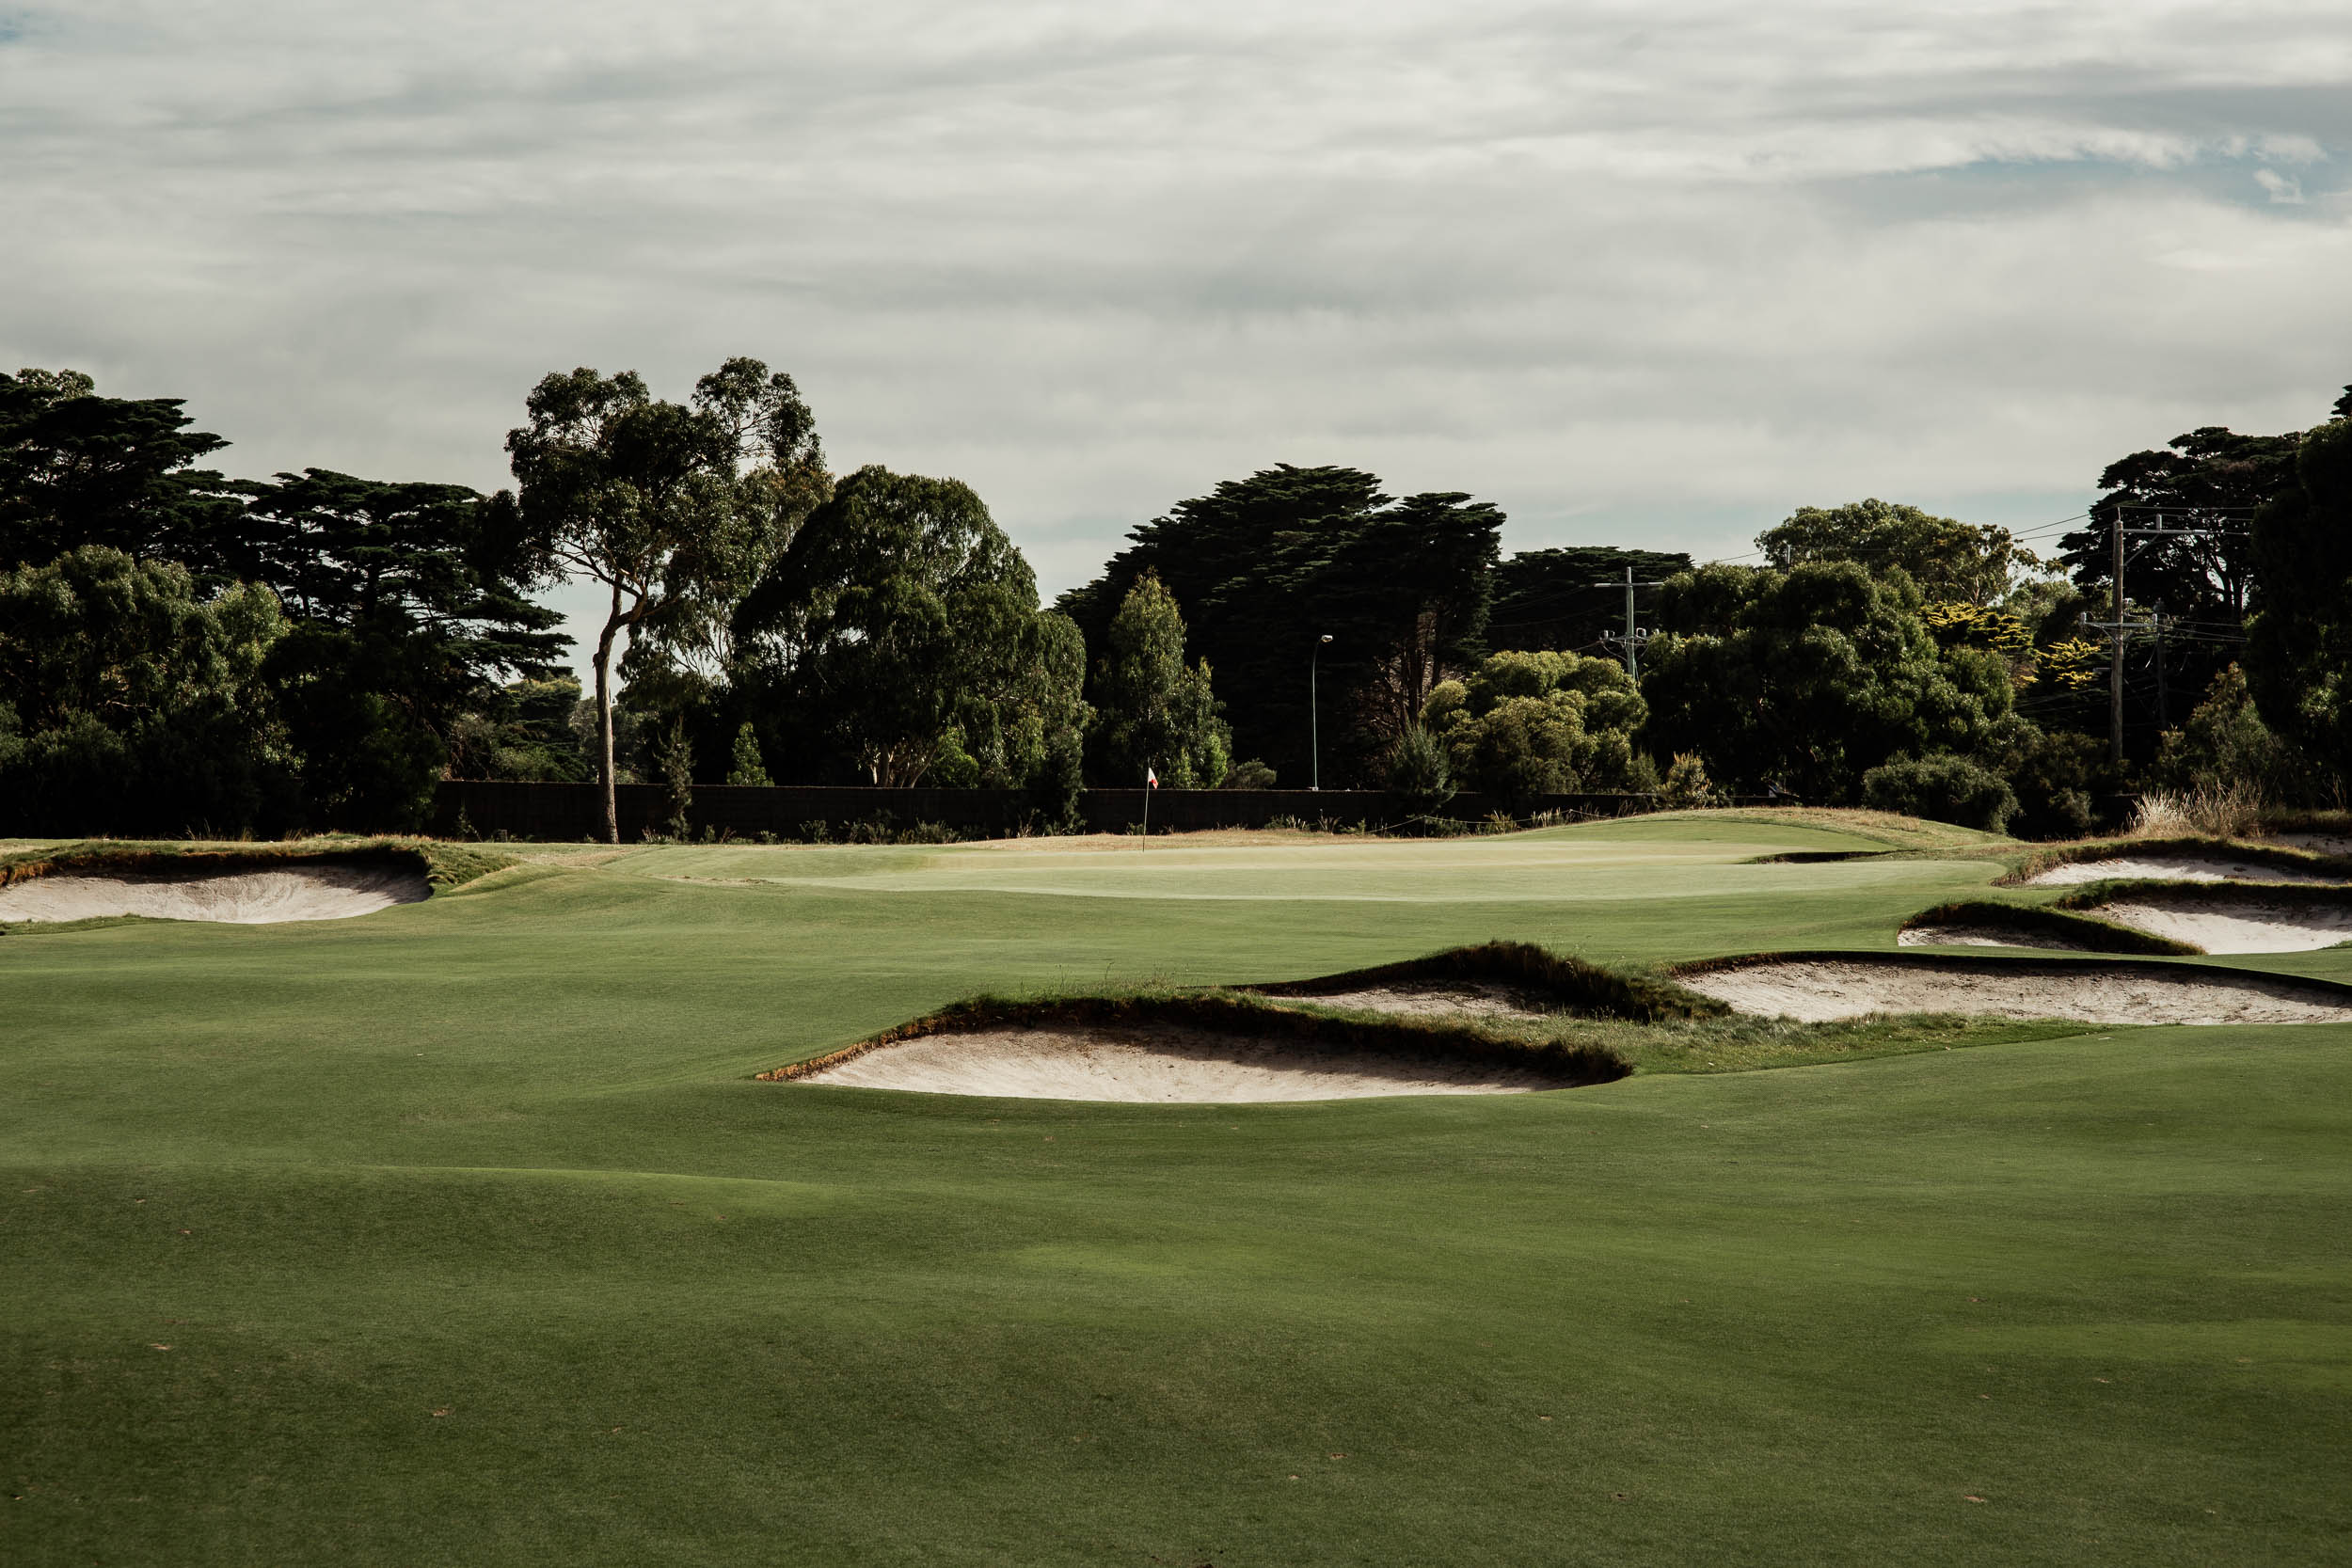
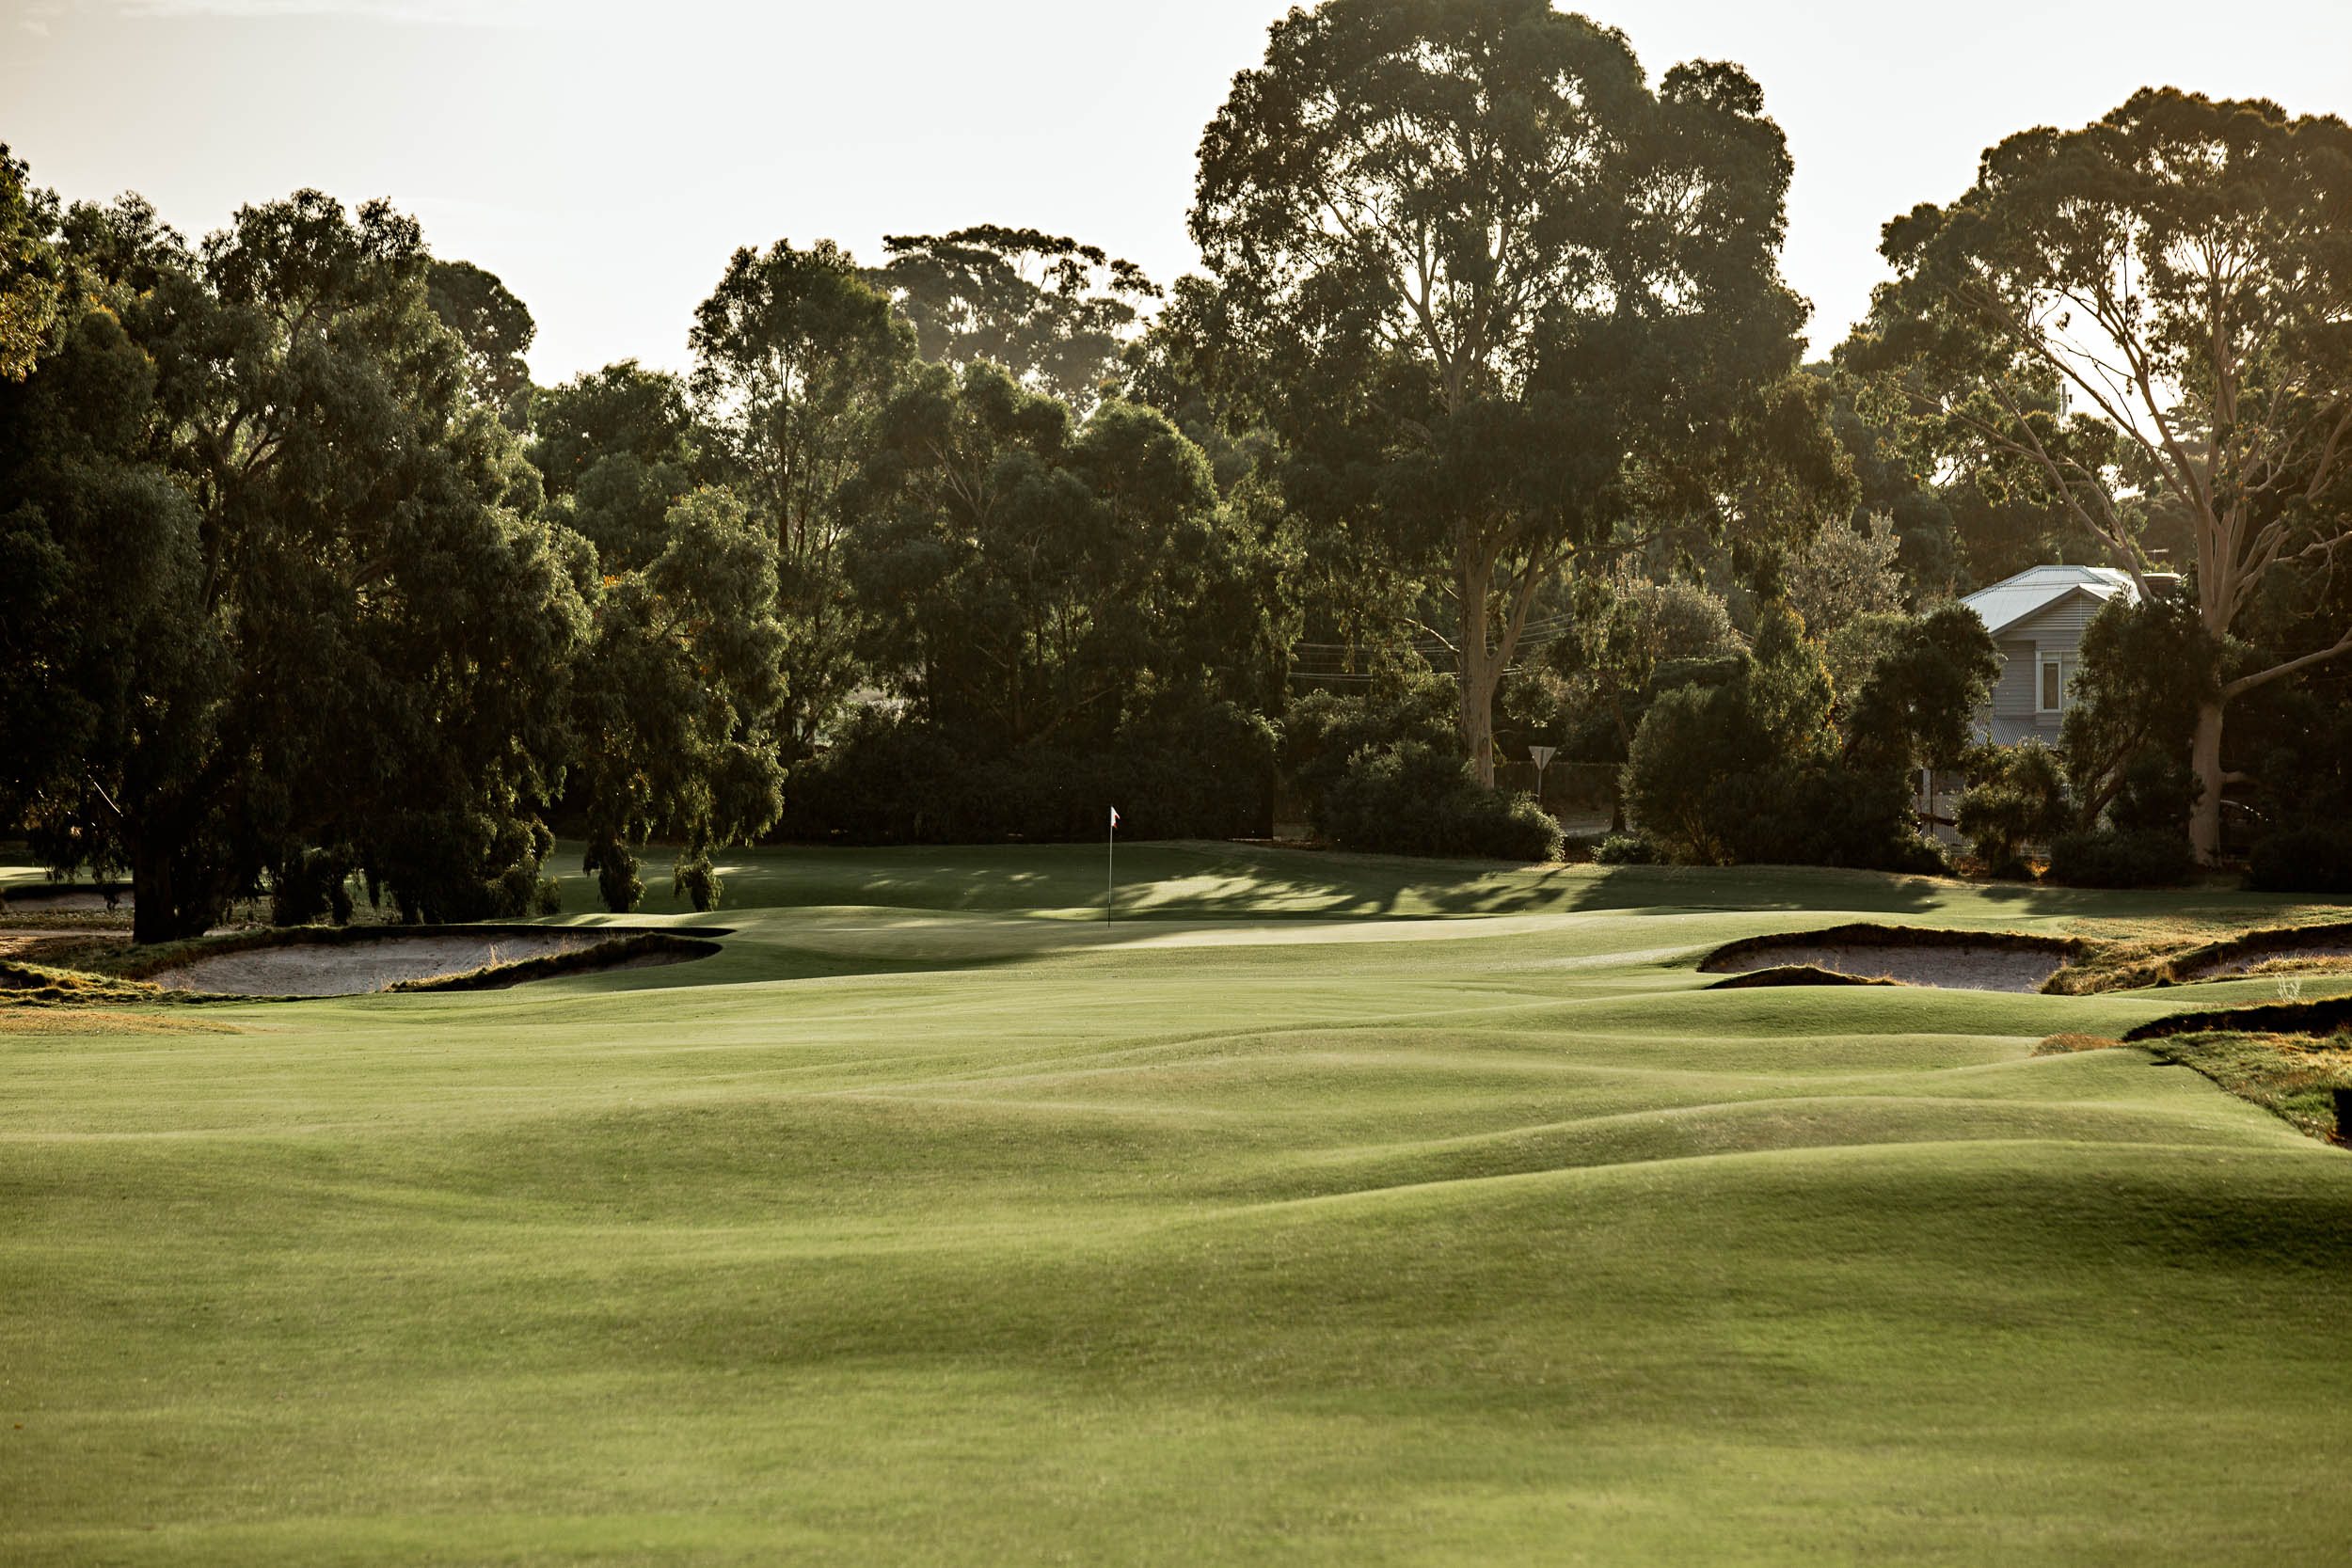
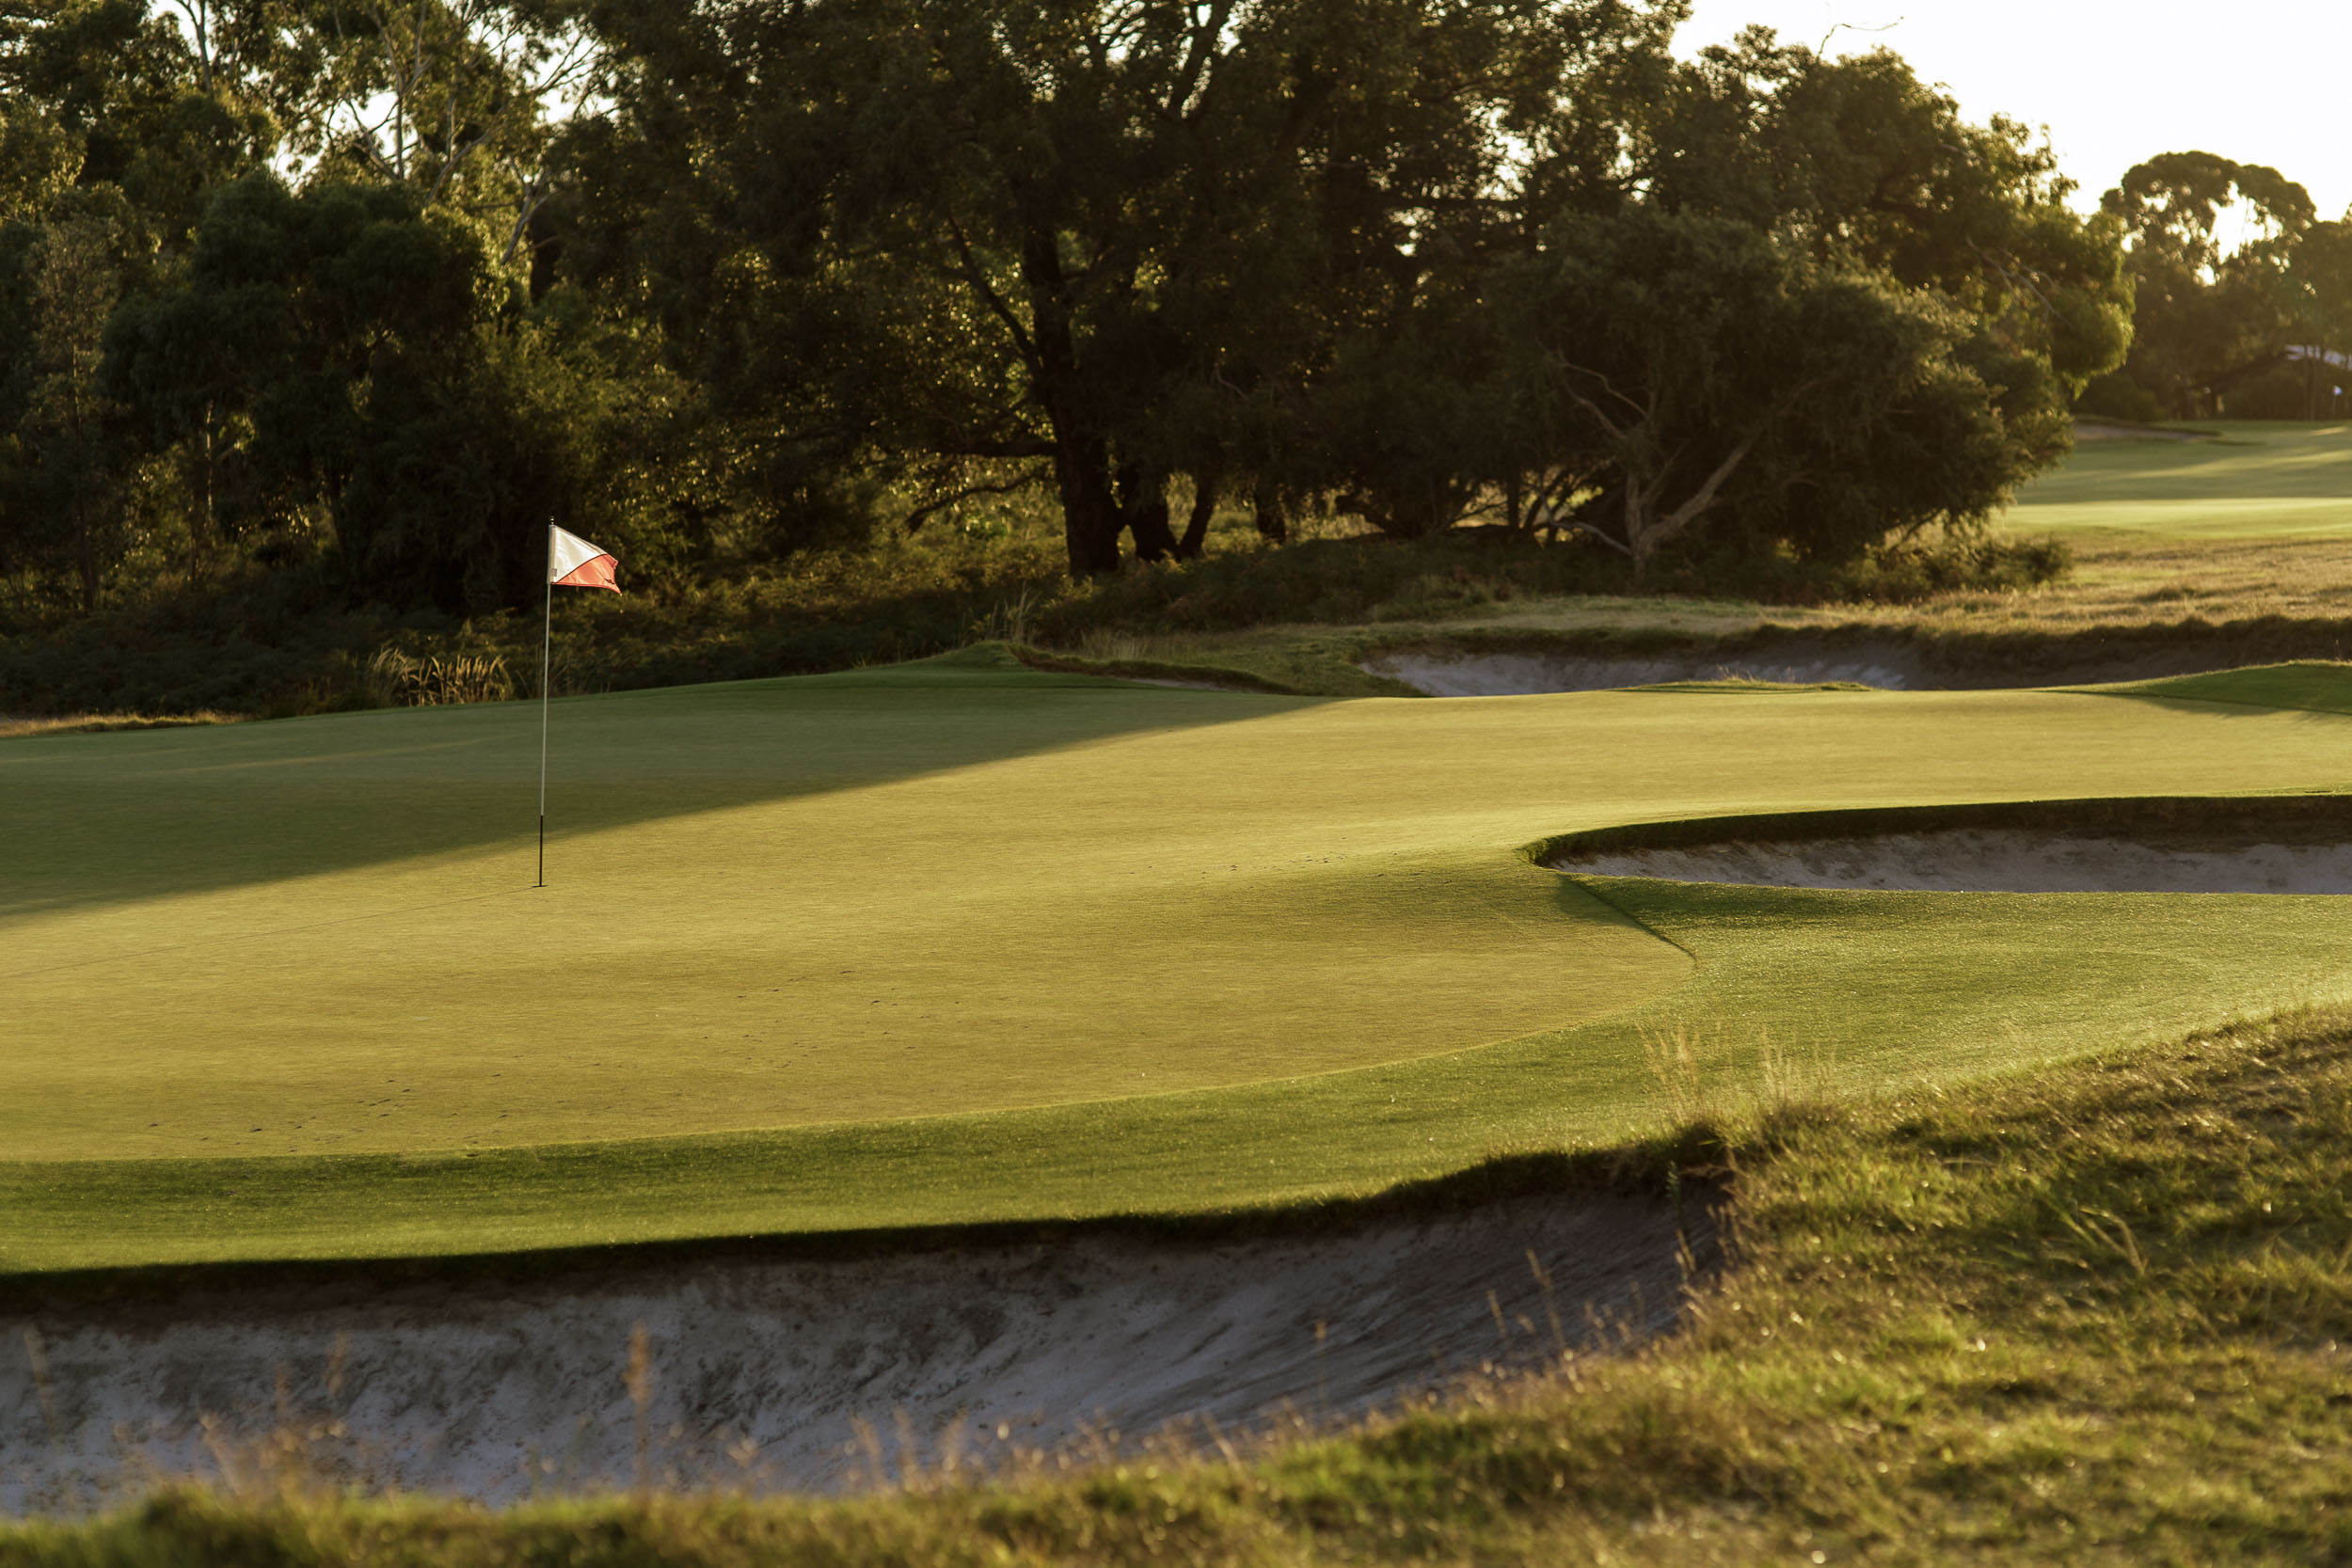
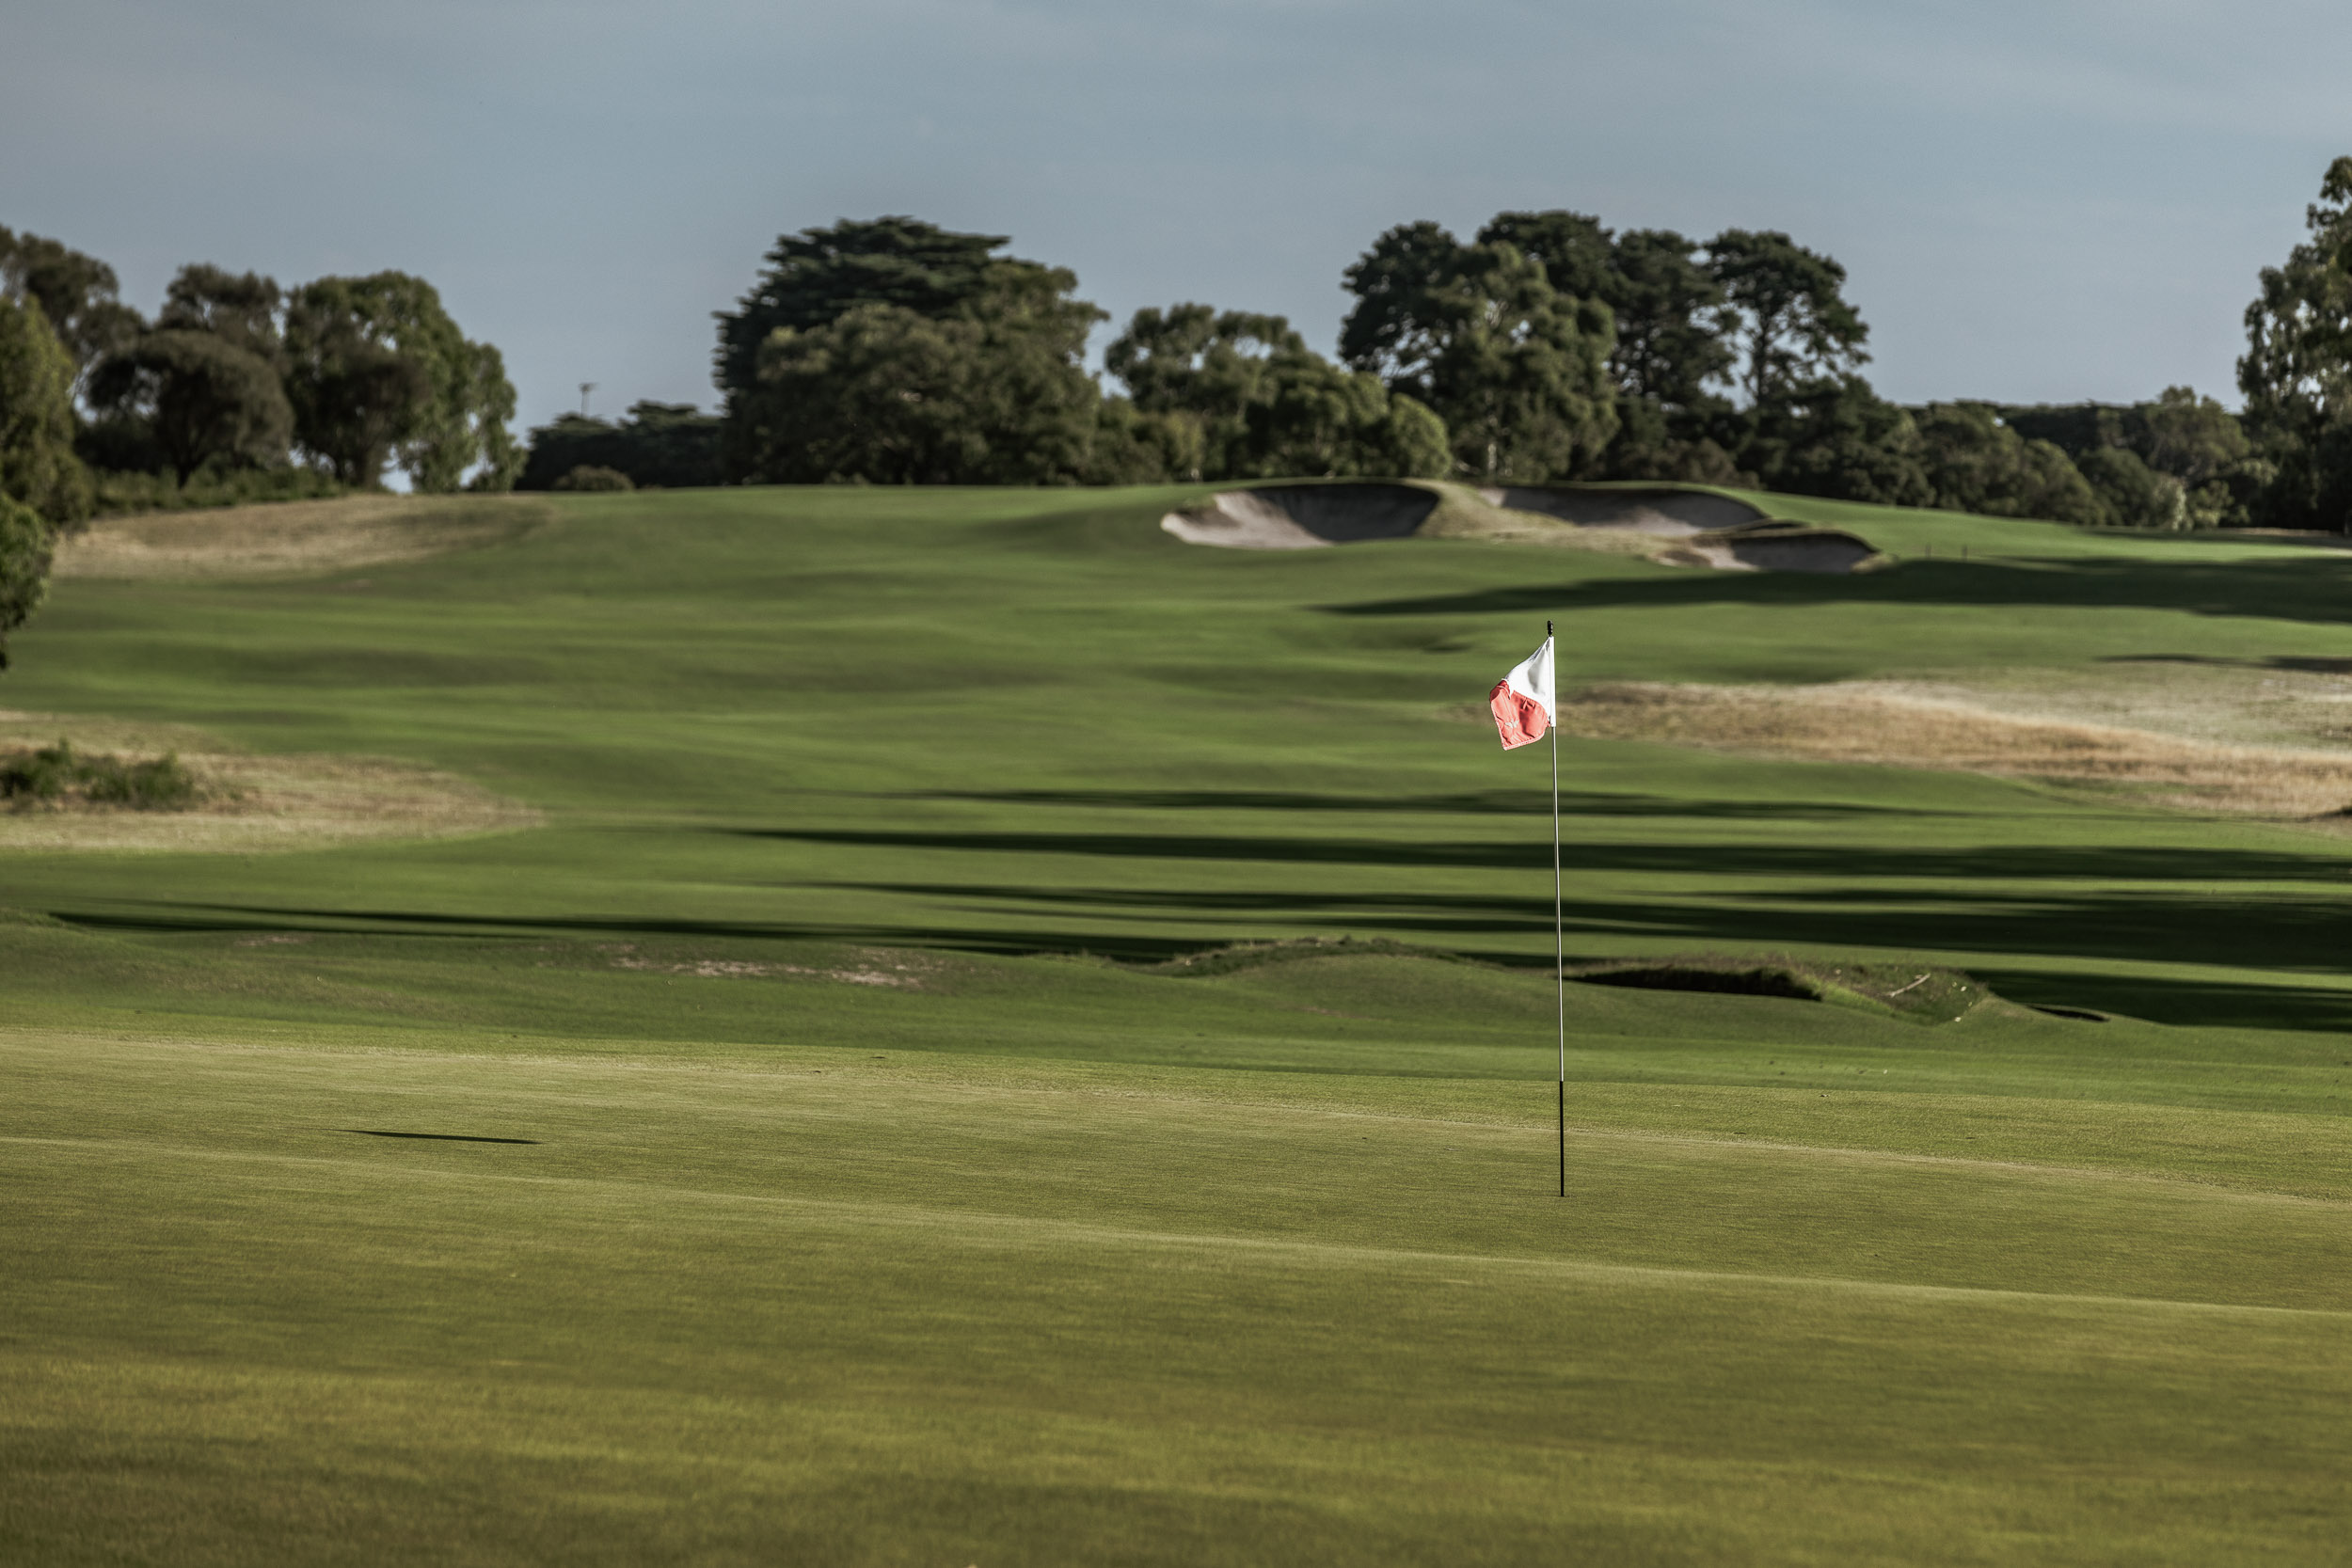
The East Course starts and finishes on the main site and is highlighted by seven ‘home paddock’ holes. The bunkering is superb while the greens, though smaller than the West’s, are as beautifully constructed and sloped. It incorporates some of the most dramatic undulation on the course, the short four, long four, and mid four start is brilliant with clear risk and reward options from the tee and birdie to double bogey possibilities.
The closing stretch starts with the short par 4 15th and the heavily bunkered 16th, which is the flattest ‘home paddock’ hole of either course but one of the best and most underrated par 3s in Melbourne. The final two holes are famously used on the world-renowned Composite Course.
Former Australian Open champion Alex Russell and greenskeeper Mick Morcom built the West Course to Alister MacKenzie’s plans, then added the East in 1932. The bunkering and green contours are very similar to the West. (MacKenzie had routed a nine-hole East Course that was never built, and so Russell incorporated a few of those holes.)
Royal Melbourne’s East Course is routinely ranked among the top handful of courses in Australia and the top 100 in the world.
The East Course feature video
The East Course Breakdown
The East Course – 1st Hole
Par-4
304m / 333y
283m /310y
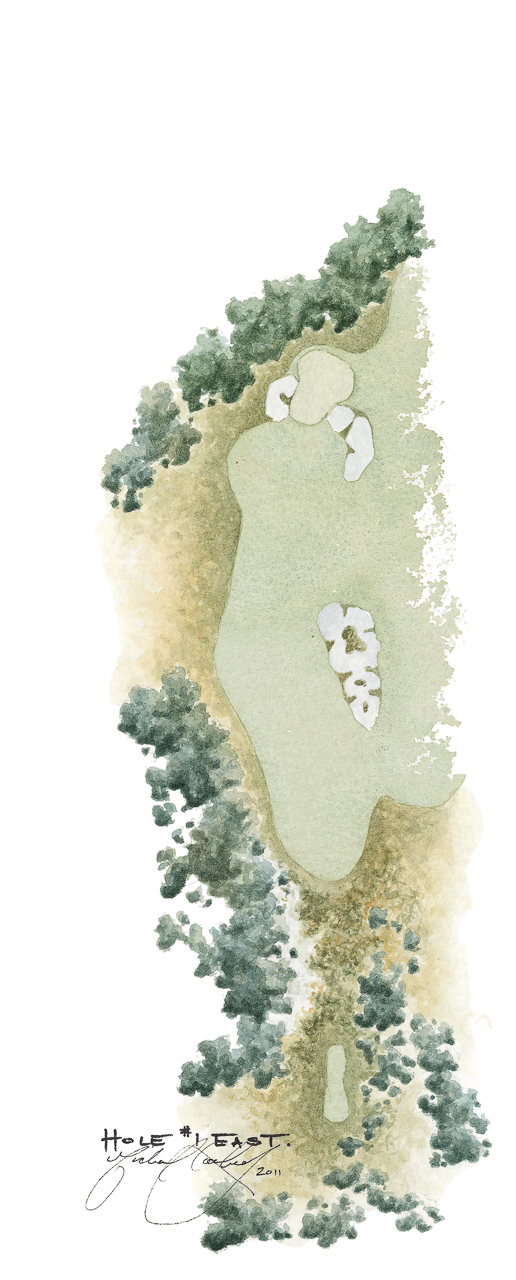
The opening hole on the East Course is a short two-shotter. The fairway is wide and the bunkers on the right hand side are shared with the eighth hole of the West. There is an option to drive directly over the sand, but the pin position on the small fearsome green will dictate the strategy. The deep bunker protecting the front right hand corner of the green must be avoided as saving par from this position is near impossible. From this high point, the green tilts steeply down to the bottom left hand corner.
The East Course – 2nd Hole
Par-4 (Par-5 for Women)
402m / 440y
370m / 405y
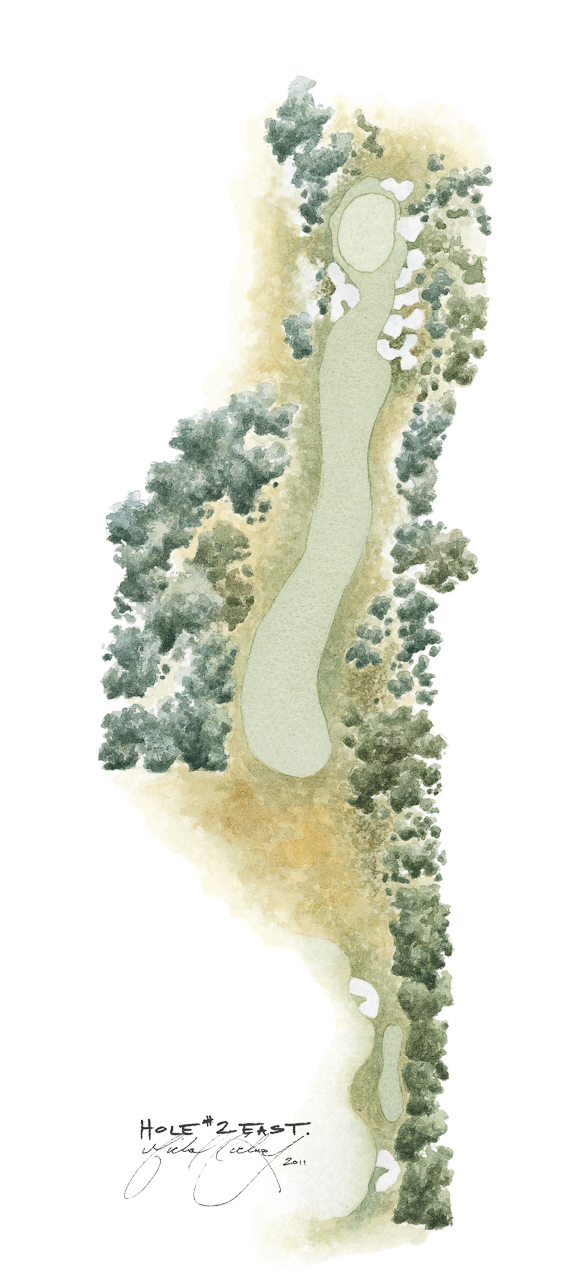
The second is one of the narrowest and most dangerous driving holes on either course. Most of the view of the right half of the fairway from the tee is obscured, resulting in uncertainty as to the precise driving line. The second shot plays steeply up to a long and narrow two tiered green. Whilst there are no fairway bunkers on this hole, seven bunkers flank the green on both the left and right hand sides. A well judged second shot is required here as ninety per cent of shots finish up well short.
The East Course – 3rd Hole
Par-4
350m / 383y
316m / 346y
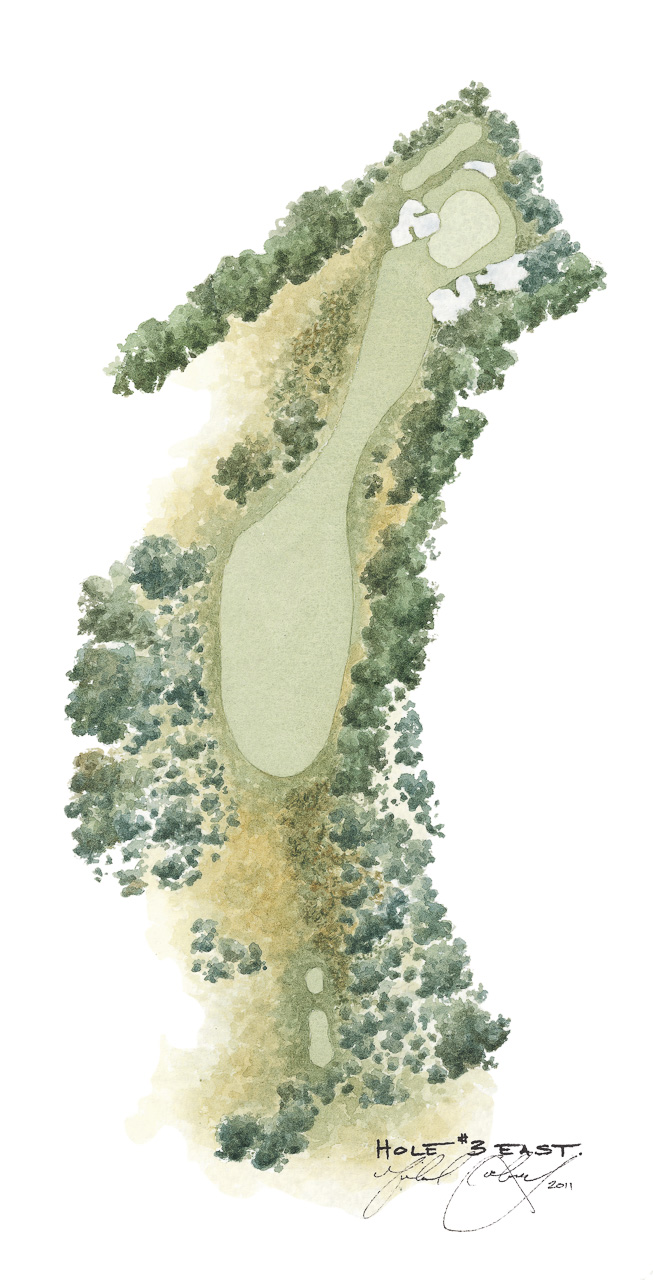
This short two-shotter slides left to right down the hill from the tee. It is short enough to suggest that a long iron from the tee is plenty of club. Those players taking the driver must shape their ball to match the left to right banking of the fairway or risk going into the copse of manna gums. Almost every second shot is played from a down slope and whilst it is an only a short iron, the green is one of the most undulating and challenging on the course. On the green, a hollow feeds down the middle right of the putting surface, separating the front from the back right corner.
The East Course – 4th Hole
Par-3
184m / 201y
160m / 175y
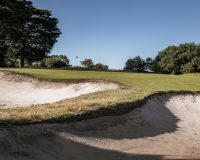
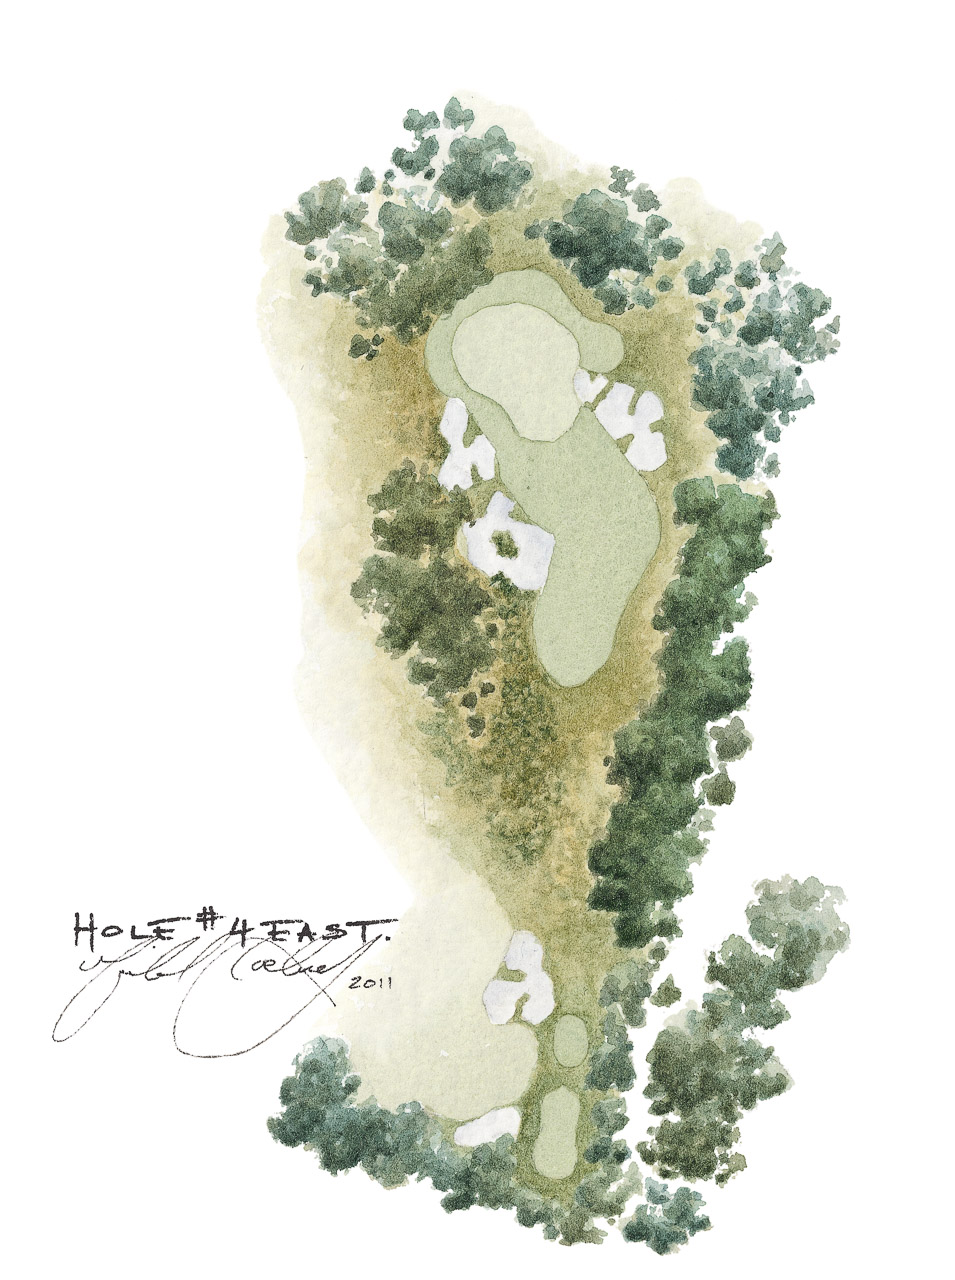
The fourth is one of the best uphill short holes in the game. It calls for a controlled draw from the tee, and the further left the pin, the bigger the turn required from right to left if the player is hoping to get close enough to make a three. The front edge of the green runs diagonally from right to left, so the further left the shot, the longer the carry. The deep front bunker will swallow up shots that fall even a few centimetres short of the putting surface.
The East Course – 5th Hole
Par-4
317m / 347y
285m / 312y
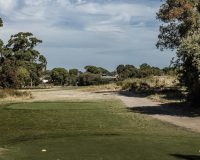
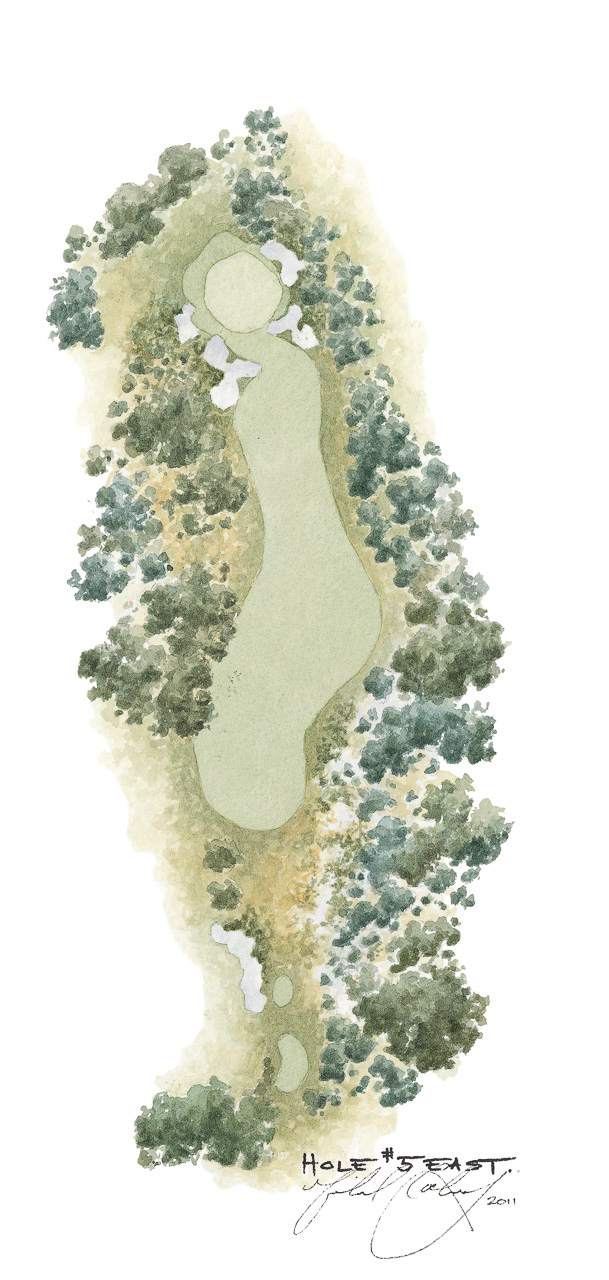
The fifth is a short four played up and over a hill. The best positioned drive is down the left half of the fairway to avoid a potential hanging lie on the right. The trick of this hole is to stop the ball on the small green which slopes noticeably from front to back. Any mishit second shot will not hold the putting surface and will roll some distance beyond the green.
The East Course – 6th Hole
Par-3
160m / 175y
117m / 128y
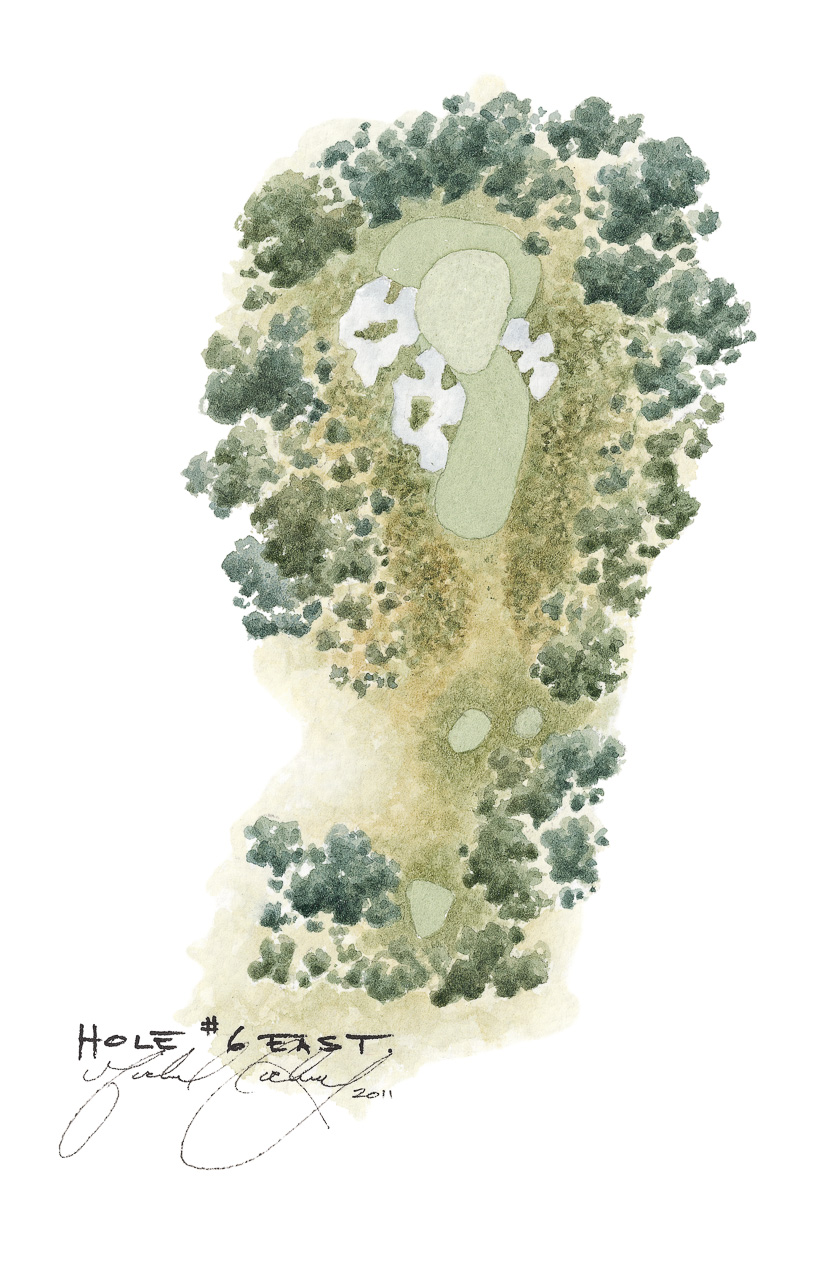
The short sixth hole was moved away from the course boundary 15 degrees in 2004 and further changes were made by course architect, Tom Doak, in 2012. The green favours a shot coming in from right to left. Weak fades that land short inevitably kick into the greenside trap, whilst the bold player aiming to get it close to a pin cut left must flirt with the cavernous and difficult bunkers lying short and left.
The East Course – 7th Hole
Par-5
475m / 520y
421m / 461y
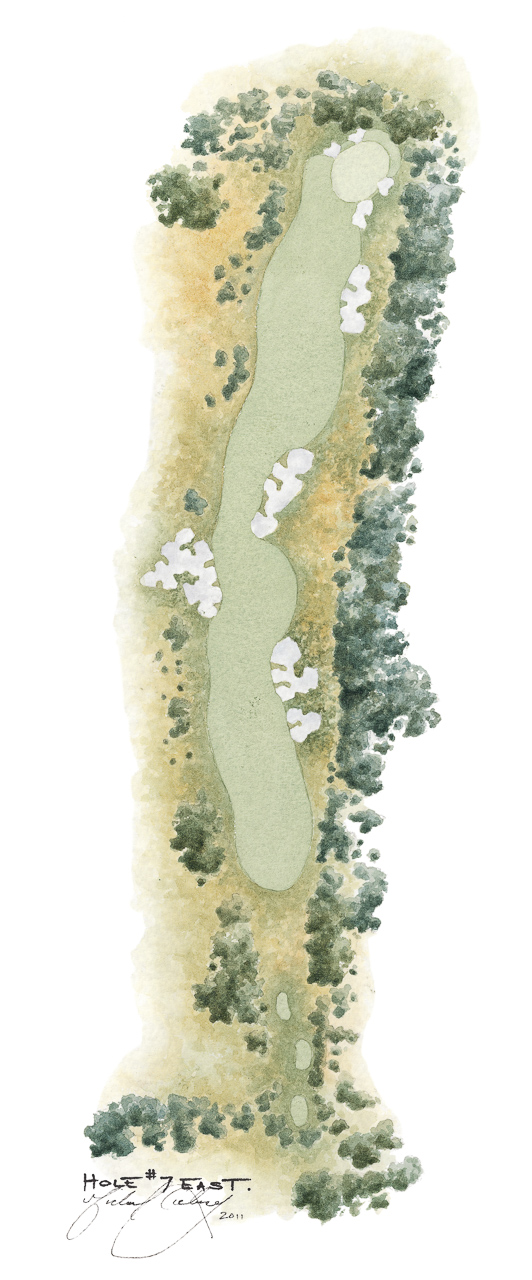
The shape of the seventh hole does everything to encourage players to hit left off the tee. Trees and threatening bunkers guard the right hand side of this hole. After the drive, the hole turns almost imperceptibly to the right and for players hoping to reach the green in two, the long difficult shot will flirt with the green side bunkers. Shorter hitters must avoid the large bunker on the right hand side with their second shots. By playing left this will also give the player the best angle into the green.
The East Course – 8th
Par-4 (Par-5 for Women)
396m / 435y
374m / 411y
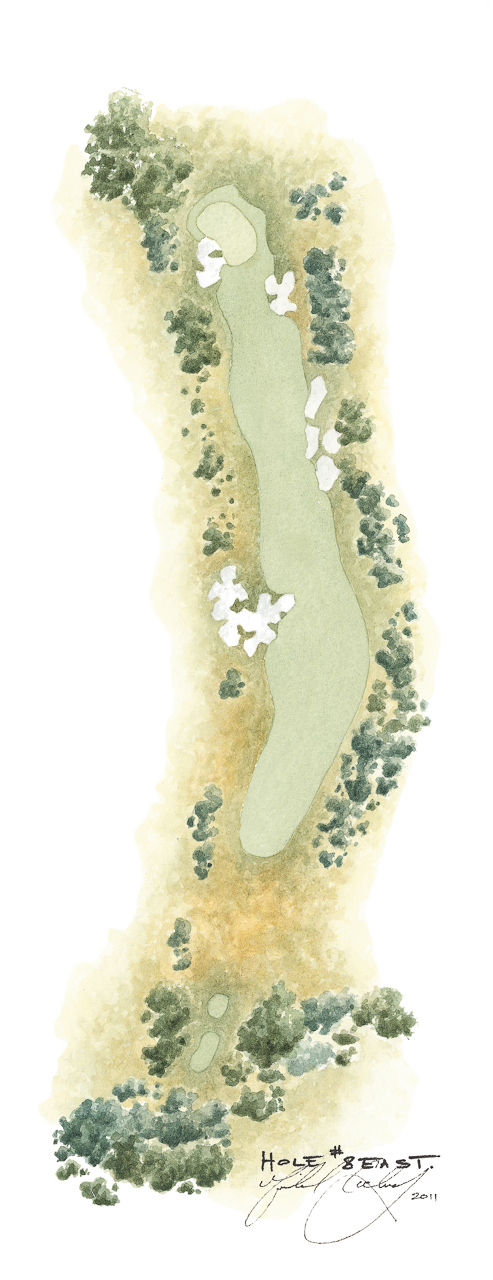
This testing hole features a bunker complex down the left side of the fairway, making the tee shot one of the more difficult on the course. The fairway shapes from right to left and clearly rewards a drive turning the same way. Although the green is quite small for a long hole, it is not an unreasonable target for a lengthy second shot; the ball can also be run onto the green from well short.
The East Course – 9th Hole
Par-4
350m / 383y
317m / 347y
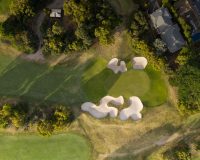
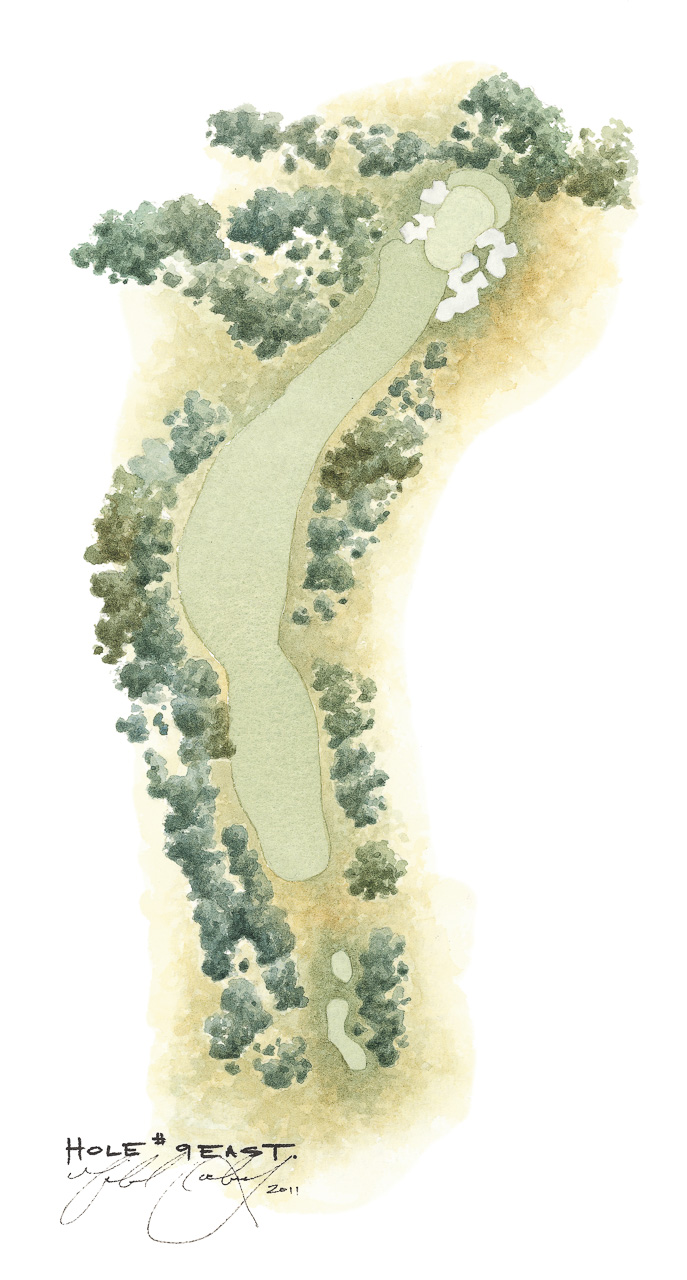
The ninth hole moves from left to right in almost the opposite movement to the previous hole. The danger off the tee is pulling your shot left and running through the fairway into an unplayable lie in the trees. The tee shot is all about positioning the ball on the fairway as length is not a great advantage here. The challenge of the second shot is made by the small and narrow green, which is protected on both sides by sand. The swale at the front creates movement to make the approach shot look both more demanding and interesting to play.
The East Course – 10th Hole
Par-5
457m / 520y
410m / 449y
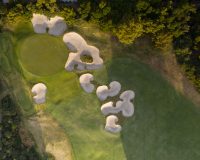
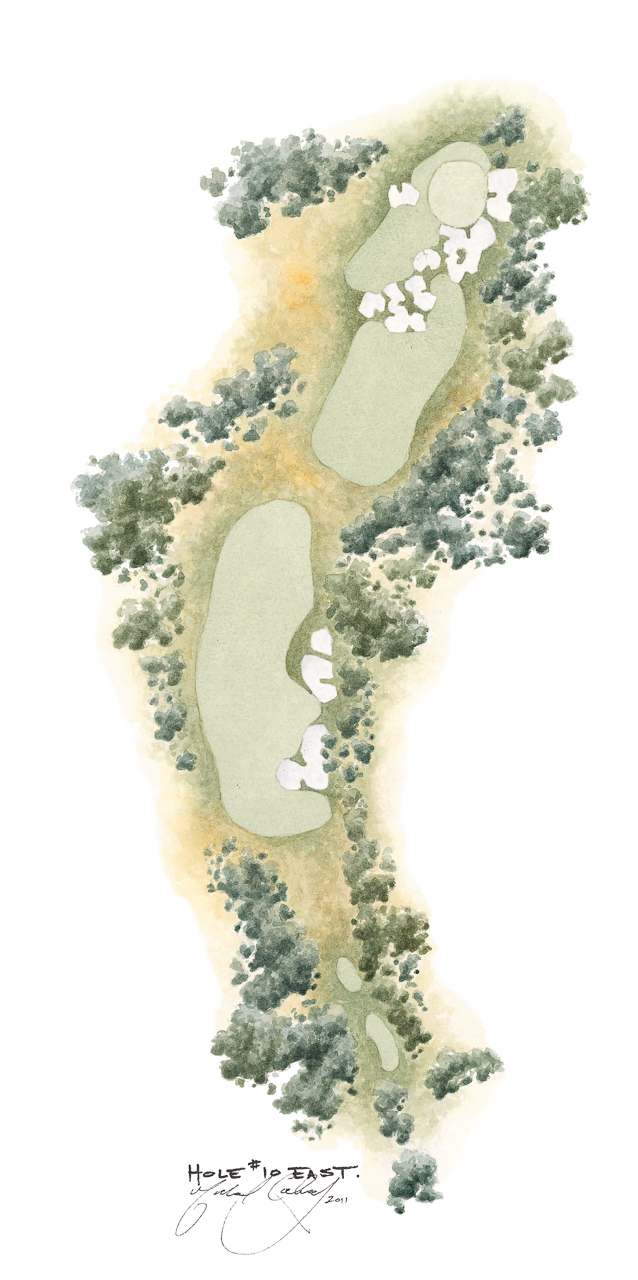
This sweeping left to right dogleg par five can easily be negotiated in three shots by the better player but those wishing to reach the green in two must take care. Four drive bunkers on the inside of the dogleg, of which only two are visible from the tee, are ready catch the less-than-perfect drive. Once players arrive at their second shots they are confronted with one of the most dramatic and strategically challenging second shots in golf.
Course designer Alex Russell positioned the cross bunkers in such a way that players have a multitude of choices about how to play and position their second shots. The tenth green slopes sharply from front to back and has two distinctive levels. Find yourself on the wrong level especially above the hole you are then faced with a treacherous putt back down.
The East Course – 11th Hole
Par-4
329m / 360y
285m /312y
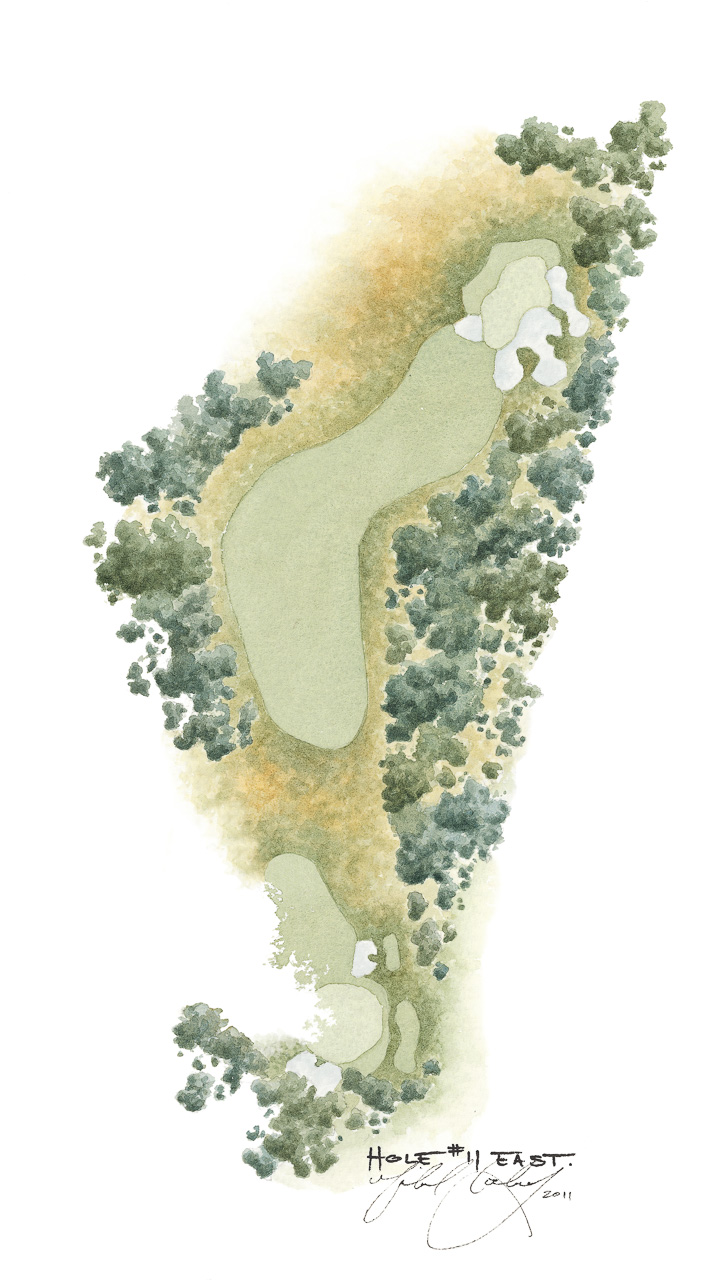
The eleventh hole tee shot looks uncomplicated running down hill to a blind landing area. There are no sand hazards to drive into but a weak fade from the tee can end up in a thicket of trees that guard the ideal line to the green. The further left the player goes off the tee, the more difficult the angle of approach is to one of the narrowest greens on the course. The green slopes gently away from the bunkers on the right hand side of the green before a more dramatic collection point half way along on the left hand side.
The East Course – 12th Hole
Par-4
412m / 451y
335m / 367y
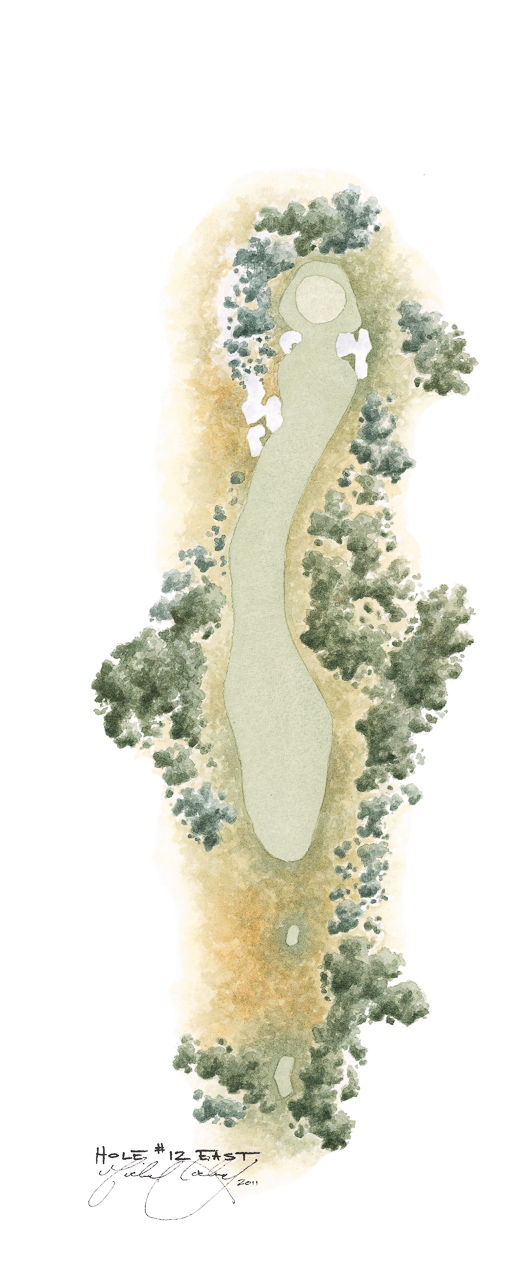
The twelfth hole is the longest par four on the East Course. The fairway is wide enough, befitting the difficulty of the hole. A drive too far to the right forces players to fade a long second shot around a group of river gums. The second shot plays slightly uphill, generally into the prevailing wind, and is often undertaken with a fairway wood or long iron. A nest of bunkers built into the hill 70 metres short and left of the green are in play for the shorter hitters. Anything landing short that avoids sand can easily be putted across the grass onto the putting surface.
The East Course – 13th Hole
Par-3
135m / 148y
110m / 120y
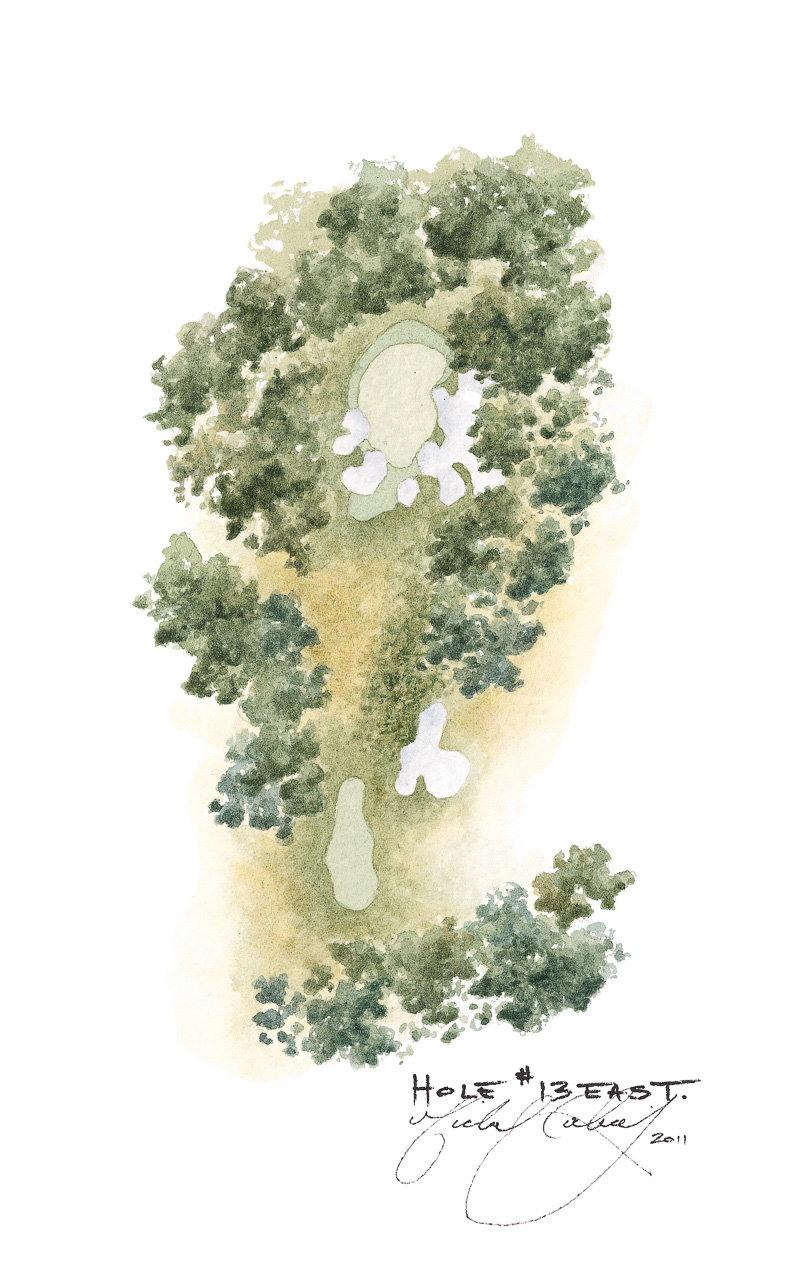
Measuring only 135 metres from the tee to the middle of the green, the thirteenth involves little more than a pitch with an eight or nine iron. This is not a difficult shot but it’s certainly a fun one because the green and the surrounding bunkers have been so beautifully constructed. The other feature of the hole is the backdrop of red river gums. These ancient trees are a prominent marker of the often wet pocket land on which this hole was constructed.
The East Course – 14th Hole
Par-4
393m / 430y
362m / 396y
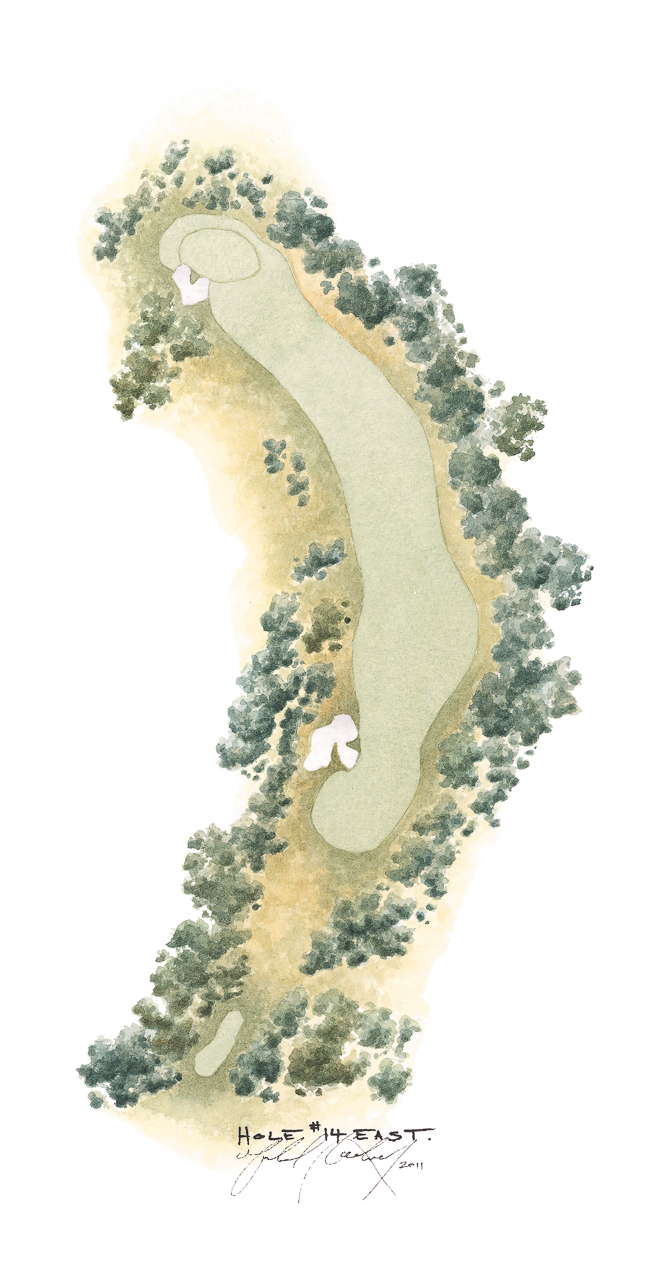
The fourteenth hole on the East Course is a dogleg hole that turns hard from right to left. The shape of the hole rewards a long right to left tee shot, but the fairway stretches far enough to the right to accommodate those playing safely away from the corner. The fairway bunker on the left involves a 170-metre carry and is of little concern to the better player. Although the section of fairway that leads to the fourteenth green is notable for its lack of any significant undulation, there is however a small subtle hollow that eats into the front left of the putting surface which feeds balls into the left bunker.
The East Course – 15th Hole
Par-4
277m / 303y
261m / 286y
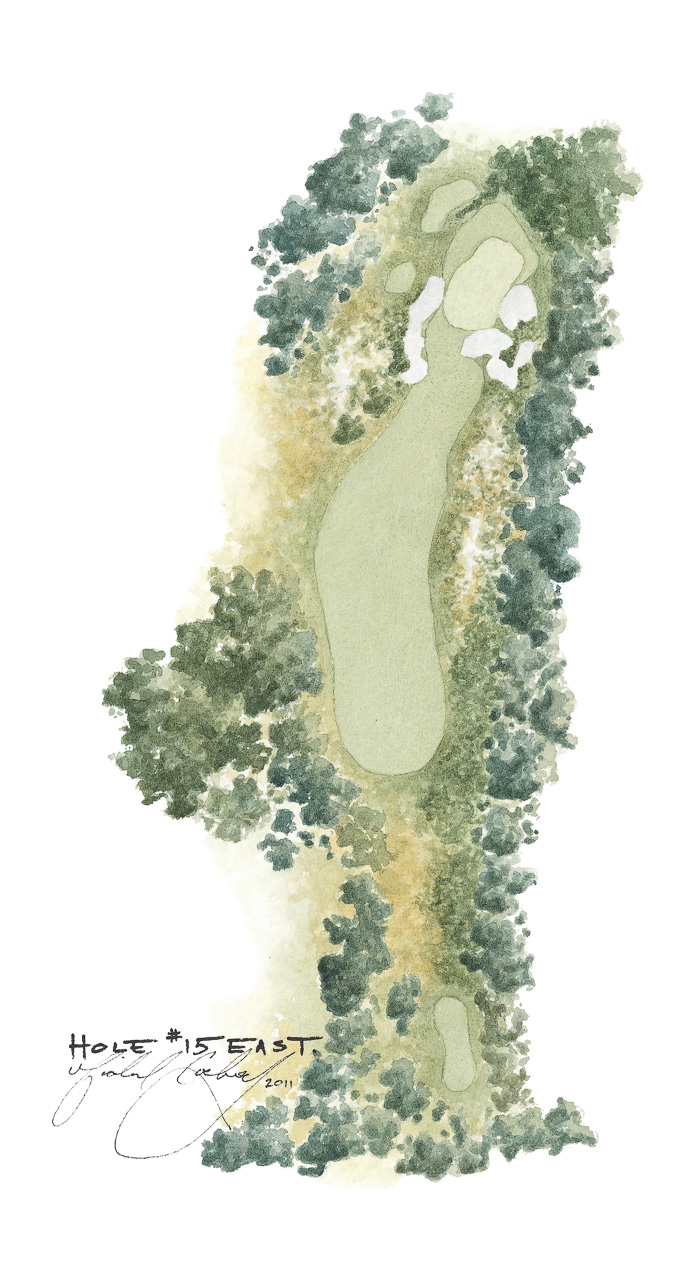
As with the sixth hole, the short par-four fifteenth has recently undergone some changes firstly in 2004 then again under the guidance of Tom Doak. Heathland and new bunkering down the right hand side encourage golfers to keep their tee shots away from the boundary fence. The bold player can still drive the green. Shorter hitters can take the conservative line left from the tee and pitch simply onto the green that has been orientated to the left to make play from the left easier. The green generally slopes from front to back with many approach shots finding their way into the runoff area beyond the putting surface.
The East Course – 16th Hole
Par-3
151m / 166y
121m / 133y
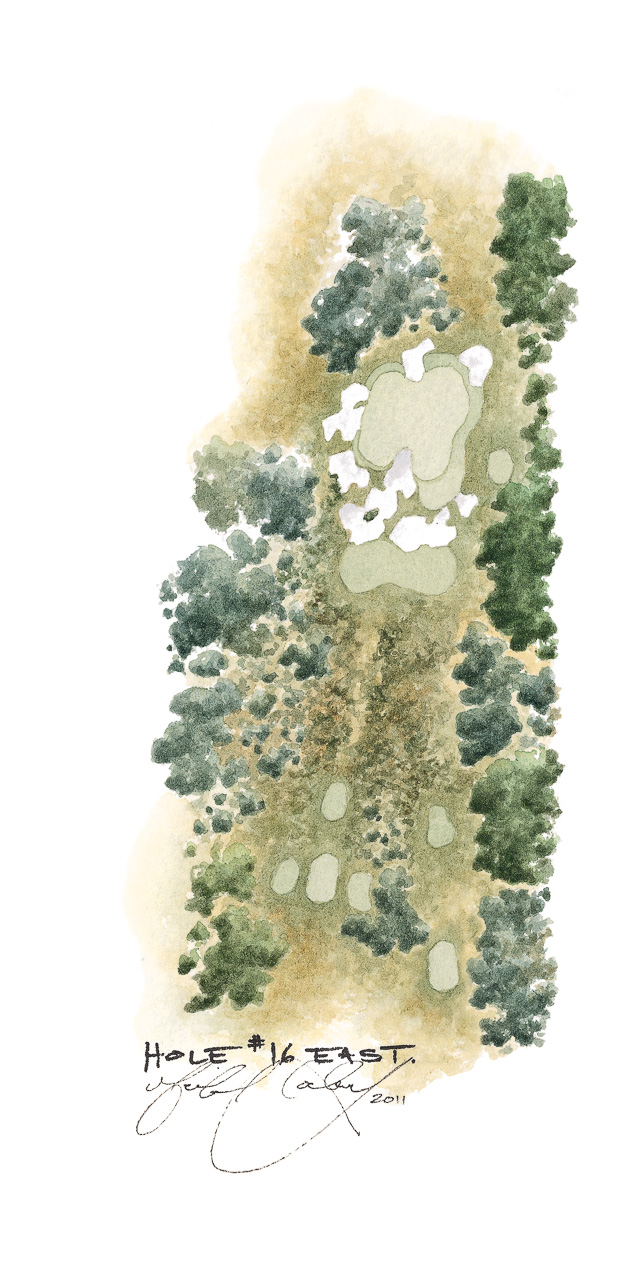
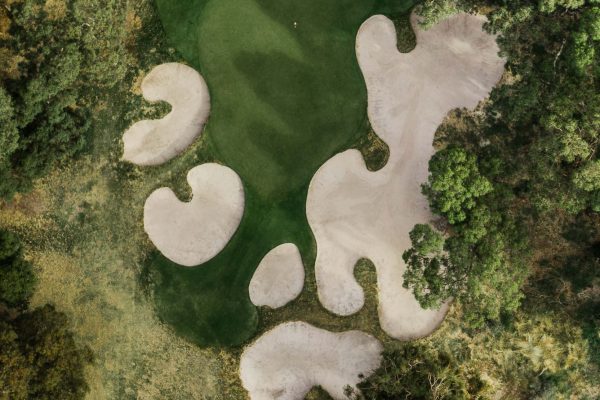
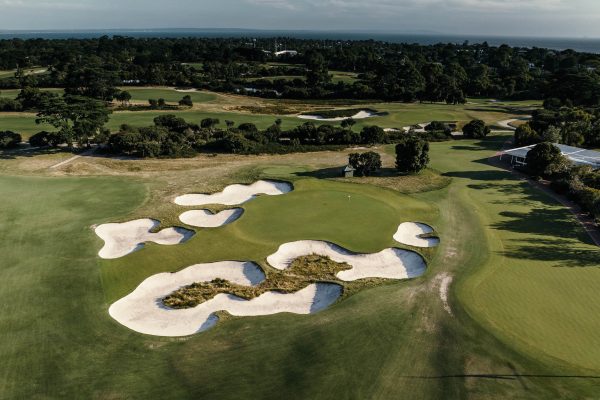
Described by Ben Crenshaw when he first saw the sixteenth hole as one of the most beautiful par threes he had ever seen, this medium length par three requires the strong player to hit only a seven or eight iron. A deep bunker eats into the front middle portion of this uniquely shaped green, designed by Alex Russell, separating the front left wing from the front right corner. When the pin is cut in the front left of the green, the wayward player who finishes right of the bunker, but still on the green may find that the only way to reach the pin is to pitch across the corner of the intruding sand. More bunkers defend the left and back of the green.
The East Course – 17th Hole
Par-5
520m / 572y
423m / 465y
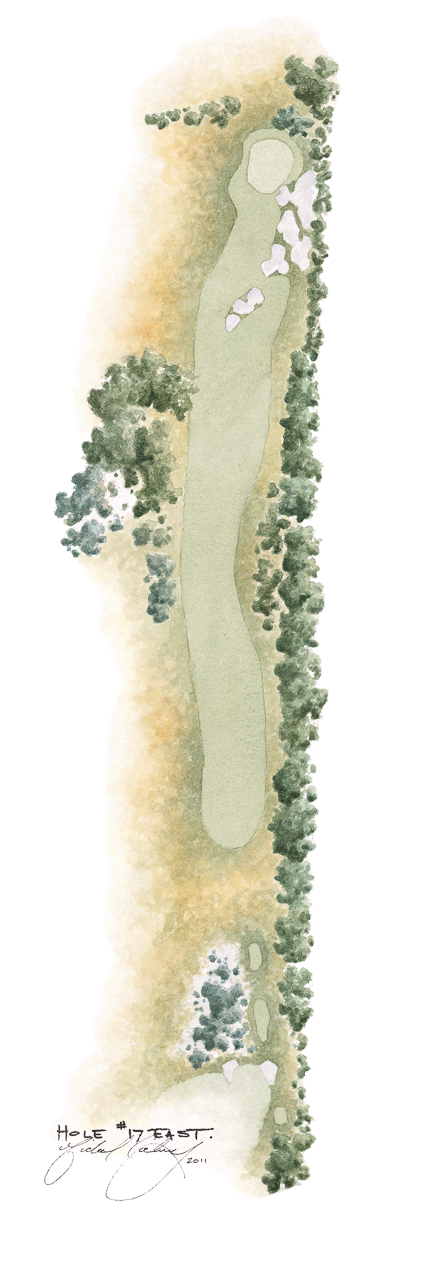
The par five seventeenth is the longest hole on either course. The drive is a relatively simple affair across and down a hill, which makes it all but a blind tee shot. Interest is all in the second shot where there is a multitude of choices for the approach for each standard of golfer. A well-placed, diagonal line of bunkers cross the fairway some 100 metres from the green. Players are now faced with a critical decision: play safe for two or attempt to fly the sand and reach the green, or at least the apron. The green is large and has a subtle valley in the green which starts in the centre and moves to the left.
The East Course – 18th Hole
Par-4 (Par-5 for Women)
395m / 432y
366m / 400y
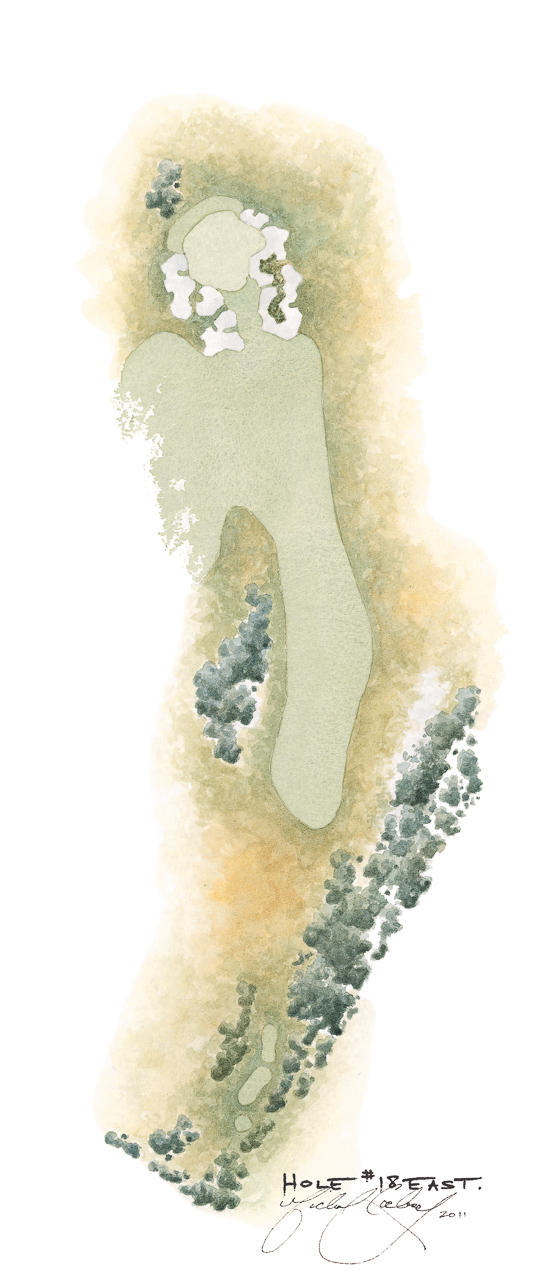
The finishing hole on the East Course has almost no undulation from tee to green but the angle of approach to the green, especially if the pin is cut in the right half, is paramount. The fairway stretches far to the right and has no fairway bunkers. The inside of the dogleg, however, is protected by a clump of tea-tree which means any player who flies their ball too far left will be faced with a pitch out at best. It is very easy for the fearful driver to turn what is usually a longish par four (par five for women) into one that is much more difficult. Apart from a perfectly positioned drive, every approach shot to the large, two tiered green will have to carry one of the greenside bunkers.
Many a championship has been decided on this iconic finishing hole, an observation best illustrated by New South Welshman Billy Dunk who saved par to beat David Graham from the island of heath inside the front right hand bunker. The area is now known as Dunk’s Island.
East Course Scorecard - Blue Tees
Front Nine
| Hole | 1 | 2 | 3 | 4 | 5 | 6 | 7 | 8 | 9 | Out |
|---|---|---|---|---|---|---|---|---|---|---|
| Blue Tees | 304 | 402 | 350 | 184 | 317 | 160 | 475 | 396 | 350 | 2938 |
| Men’s Par | 4 | 4 | 4 | 3 | 4 | 3 | 5 | 4 | 4 | 35 |
| Women’s Par | 4 | 5 | 4 | 3 | 4 | 3 | 5 | 5 | 4 | 37 |
Back Nine
| Hole | 10 | 11 | 12 | 13 | 14 | 15 | 16 | 17 | 18 | In | Total |
|---|---|---|---|---|---|---|---|---|---|---|---|
| Blue Tees | 457 | 329 | 412 | 135 | 393 | 277 | 151 | 520 | 395 | 3069 | 6007 |
| Men’s Par | 5 | 4 | 4 | 3 | 4 | 4 | 3 | 5 | 4 | 36 | 71 |
| Women’s Par | 5 | 4 | 5 | 3 | 5 | 4 | 3 | 5 | 5 | 39 | 76 |
East Course Scorecard - Red Tees
Front Nine
| Hole | 1 | 2 | 3 | 4 | 5 | 6 | 7 | 8 | 9 | Out |
|---|---|---|---|---|---|---|---|---|---|---|
| Red Tees | 283 | 370 | 316 | 160 | 285 | 117 | 421 | 374 | 317 | 2643 |
| Men’s Par | 4 | 4 | 4 | 3 | 4 | 3 | 5 | 4 | 4 | 35 |
| Women’s Par | 4 | 5 | 4 | 3 | 4 | 3 | 5 | 5 | 4 | 37 |
Back Nine
| Hole | 10 | 11 | 12 | 13 | 14 | 15 | 16 | 17 | 18 | In | Total |
|---|---|---|---|---|---|---|---|---|---|---|---|
| Red Tees | 410 | 285 | 335 | 110 | 362 | 261 | 118 | 430 | 366 | 2677 | 5320 |
| Men’s Par | 5 | 4 | 4 | 3 | 4 | 4 | 3 | 5 | 4 | 36 | 71 |
| Women’s Par | 5 | 4 | 4 | 3 | 4 | 4 | 3 | 5 | 5 | 37 | 74 |
View East Course Map
Royal Melbourne East Course Map, by Mike Cocking
Numbers indicate the green location for each hole. Hover for hole descriptions.
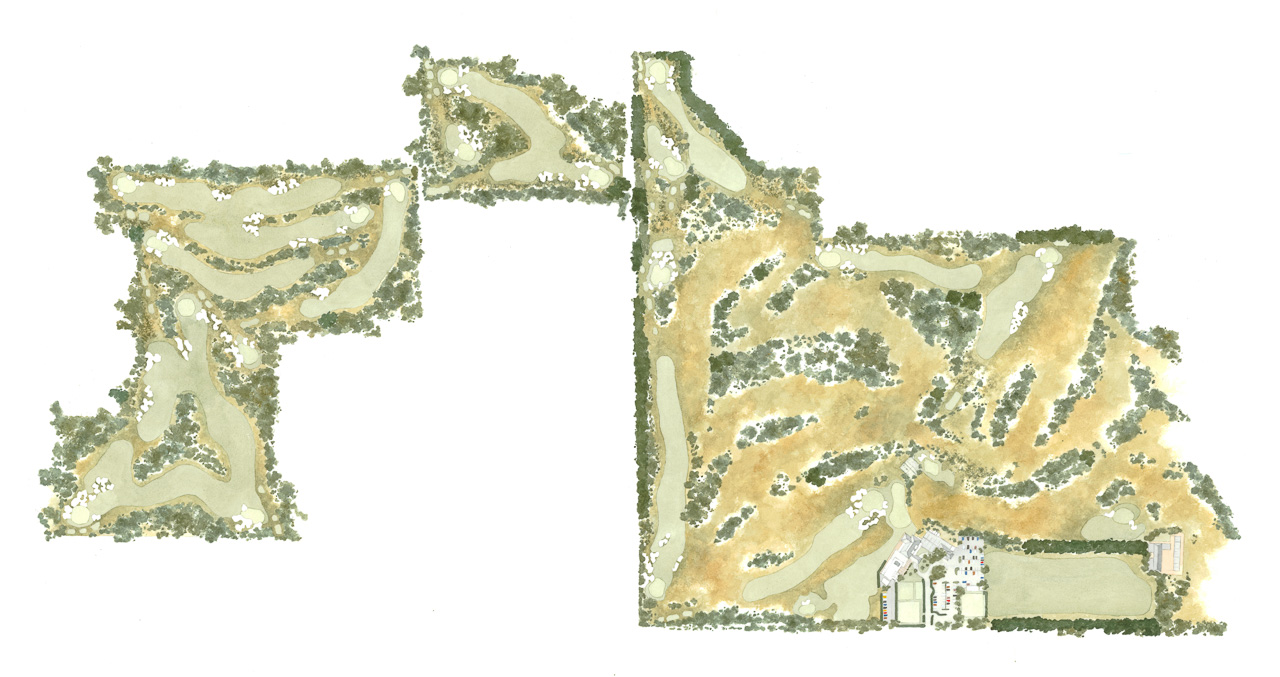
The East Course Breakdown
The East Course – 1st Hole
Par-4
304m / 333y
283m /310y
The opening hole on the East Course is a short two-shotter. The fairway is wide and the bunkers on the right hand side are shared with the eighth hole of the West. There is an option to drive directly over the sand, but the pin position on the small fearsome green will dictate the strategy. The deep bunker protecting the front right hand corner of the green must be avoided as saving par from this position is near impossible. From this high point, the green tilts steeply down to the bottom left hand corner.
The East Course – 2nd Hole
Par-4 (Par-5 for Women)
402m / 440y
370m / 405y
The second is one of the narrowest and most dangerous driving holes on either course. Most of the view of the right half of the fairway from the tee is obscured, resulting in uncertainty as to the precise driving line. The second shot plays steeply up to and long and narrow two tiered green. Whilst there are no fairway bunkers on this hole, seven bunkers flank the green on both the left and right hand sides. A well judged second shot is required here as ninety per cent of shots finish up well short.
The East Course – 3rd Hole
Par-4
350m / 383y
316m / 346y
This short two-shotter slides left to right down the hill from the tee. It is short enough to suggest that a long iron from the tee is plenty of club. Those players taking the driver must shape their ball to match the left to right banking of the fairway or risk going into the copse of mana gums. Almost every second shot is played from a down slope and whilst it is an only a short iron, the green is one of the most undulating and challenging on the course. On the green, a hollow feeds down the middle right of the putting surface, separating the front from the back right corner.
The East Course – 4th Hole
Par-3
184m / 201y
160m / 175y
The fourth is one of the best uphill short holes in the game. It calls for a controlled draw from the tee, and the further left the pin, the bigger the turn required from right to left if the player is hoping to get close enough to make a three. The front edge of the green runs diagonally from right to left, so the further left the shot, the longer the carry. The deep front bunker will swallow up shots that fall even a few centimetres short of the putting surface.
The East Course – 5th Hole
Par-4
317m / 347y
285m / 312y
The fifth is a short four played up and over a hill. The best positioned drive is down the left half of the fairway as to avoid a potential hanging lie on the right. The trick of this hole is to stop the ball on the small green which slopes imperceptibly from front to back. Any miss-hit second shot will not hold the putting surface and will roll quite a substantial distance beyond the green.
The East Course – 6th Hole
Par-3
160m / 175y
117m / 128y
The short sixth hole was moved away from the course boundary 15 degrees in 2004 and further changes to the hole occurred in 2012, by well renowned course architect, Tom Doak. The green favours a shot coming in from right to left. Weak fades that land shot inevitably kick into the greenside trap, whilst the bold player aiming to get it close to a pin cut left must flirt with the cavernous and difficult bunkers lying short and left.
The East Course – 7th Hole
Par-5
475m / 520y
421m / 461y
The shape of the seventh hole does everything to encourage players to hit left off the tee. Trees and threatening bunkers guard the right hand side of this hole. After the drive, the holes turns almost imperceptibly to the right and for players hoping to reach the green in two, the long difficult shot will flirt with the green side bunkers. Shorter hitters must avoid the large “Russell Bunker” on the right hand side with their second shots. By playing left this will also give the player the best angle into the green.
The East Course – 8th
Par-4 (Par-5 for Women)
396m / 435y
374m / 411y
This long par four with bunkers on both sides of the fairway, pinched in at the driving distance, make the tee shot one of the more difficult on the course. The fairway shapes from right to left and clearly rewards and drive turning the same way. Although the green is quite small for a long par four, it is hardly unreasonable target for a long second shot; the ball can also be run onto the green from well shot.
The East Course – 9th Hole
Par-4
350m / 383y
317m / 347y
The ninth holes moves from left to right in almost the opposite movement to the previous hole. The danger of the tee is pulling it left and running through the fairway into an unplayable lie in the trees. The tee shot is all about positioning the ball on the fairway as length is not a great advantage here. The challenge of the second shot is made by the small and narrow green, which is protected on both sides by sand. The swale at the front creates movement to make the approach shot look both more demanding and interesting to play.
The East Course – 10th Hole
Par-5
457m / 520y
410m / 449y
This sweeping left to right dogleg par five can easily be negotiated in three shots by the better player but those wishing to reach the green in two must take care. Four drive bunkers on the inside of the dogleg, which only two are visible from the tee are ready catch the drive not struck well enough. Once players arrive at their second shots they are confronted with one of the most dramatic and strategically second shots in golf.
Course designer Alex Russell positioned the cross bunkers in such a way that players have a multitude of choices about how to play and position their second shots. The tenth green slopes sharply from front to back and has two distinctive levels. Find yourself on the wrong level especially above the hole you are then faced with a treacherous putt back down.
The East Course – 11th Hole
Par-4
329m / 360y
285m /312y
The eleventh hole tee shot looks uncomplicated running down hill to a blind landing area. There are no sand hazards to drive into but a weak fade from the tee can end up in the thick tea tree that guards the ideal line to the green. The further and safer left the player goes off the tee the more difficult the angel of approach is to one the narrowest green on the course. The green slopes gently way from the bunkers on the right hand side of the green before a more dramatic collection point half way along on the left hand side.
The East Course – 12th Hole
Par-4
412m / 451y
335m / 367y
The twelfth hole is the longest par four on the East Course. The fairway is wide enough, befitting the difficulty of the hole. A drive too far to the right forces players to fade a long second shot around a group of river gums. The second shot plays slightly uphill, generally into the prevailing wind, and is often undertaken with the longest of irons. A nest of bunkers built into the hill 70 metres short and left of the green are in play for the shorter hitters. Anything landing short that avoids sand can easily be putted across the grass onto the putting surface.
The East Course – 13th Hole
Par-3
135m / 148y
110m / 120y
Measuring only 135 metres from the tee to the middle of the green, the thirteenth involves little more than a pitch with an eight or nine iron. This is not a difficult shot but it’s certainly a fun one because the green and the surrounding bunkers have been so beautifully constructed. The other feature of the hole is the back drop of red river gums. These ancient trees are a prominent marker of the often wet pocket land on which this hole was constructed.
The East Course – 14th Hole
Par-4
393m / 430y
362m / 396y
The fourteenth hole on the East Course is a dogleg hole that turns hard from right to left. The shape of the hole rewards a long right to left tee shot, but the fairway stretches far enough to the right to accommodate those playing safely away from the corner. The fairway bunker on the left takes barely 170 metres to carry and little concern to the better player. Although the section of fairway that leads to the fourteenth green is notable for its lack of any significant undulation, there is however a small subtle hollow that eats into the front left of the putting surface which feeds balls into the left bunker.
The East Course – 15th Hole
Par-4
277m / 303y
261m / 286y
Like the sixth hole, the short par four fifteenth hole has recently undergone some changes firstly in 2004 then further alterations again under the guidance of Tom Doak. Heathland and new bunkering down the right hand side encourage golfers to keep their tee shots away from the boundary fence. The bold player can still drive the green. Shorter hitters can take the conservative line left from the tee and pitch simply onto the green that has been orientated to the left to make play from the left easier. The green generally slopes from front to back with many approach shots finding their way into the runoff area beyond the putting surface.
The East Course – 16th Hole
Par-3
151m / 166y
121m / 133y
Described by Ben Crenshaw when he first saw the sixteenth hole as one of the most beautiful par threes he had ever seen, this medium length par three requires the strong player to hit only a seven or eight iron. Designed by Alex Russell, the uniquely shaped green into which the front bunker eats, perfectly separating the front left wing from the front right corner. When the pin is cut in the front left of the green, the wayward player who finishes right of the bunker, but still on the green may find that the only way to reach the pin is to pitch across the corner of the intruding sand. More bunkers defend the left and back of the green.
The East Course – 17th Hole
Par-5
520m / 572y
423m / 465y
The par five seventeenth is the longest hole on either course. The drive is a relatively simple affair across and down a hill, which makes it all but a blind tee shot. Interest is all in the second shot where there is a multitude of choices for the approach for each standard of golfer. Well placed a diagonal line of bunkers cross the line of the long second shot some 100 metres from the green. Players are faced with a critical decision, play shot for two or attempt to fly the sand and reach the green, or at least the apron. The green is large and has a subtle valley in the green which starts in the centre and moves to the left.
The East Course – 18th Hole
Par-4 (Par-5 for Women)
395m / 432y
366m / 400y
The finishing hole on the East Course has almost no undulation from tee to green but the angle of approach to the green, especially if the pin is cut in the right half, is paramount. The fairway stretches far to the right and has no fairway bunkers. The inside of the dogleg, however, is protected by a clump of tea-tree that guarantees any player that flies their ball to far left are faced with a pitch out at best. It is very easy for the fearful driver to turn what is usually a reasonably easy hole into one that is much more difficult. Apart from a perfectly position drive every approach shot to the large two tiered green will have to carry one of the green side bunkers.
Many a championship has been decided around this eighteenth green, no greater than New South Welshman Billy Dunk who saved par to beat David Graham from the island of heath inside the front right hand bunker. The area is now known as Dunk Island.
The Royal Melbourne
Golf Club
Cheltenham Road, Black Rock
Victoria, Australia 3193
Contact Us
+61 3 9599 0500
rmgc@royal.melbourne


